How to Fill In Drawer Holes
Many times when refinishing furniture it's necessary to replace the hardware. But unless the new drawer pulls are an exact fit, it will also be necessary to fill in the old holes. Today I will show you how to fill in the old holes so they are undetectable.
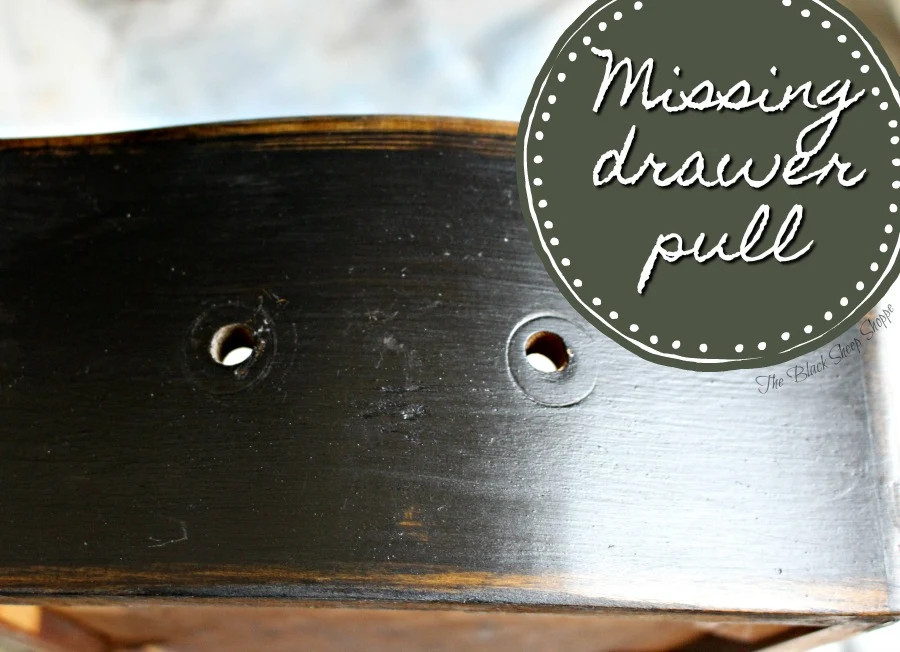
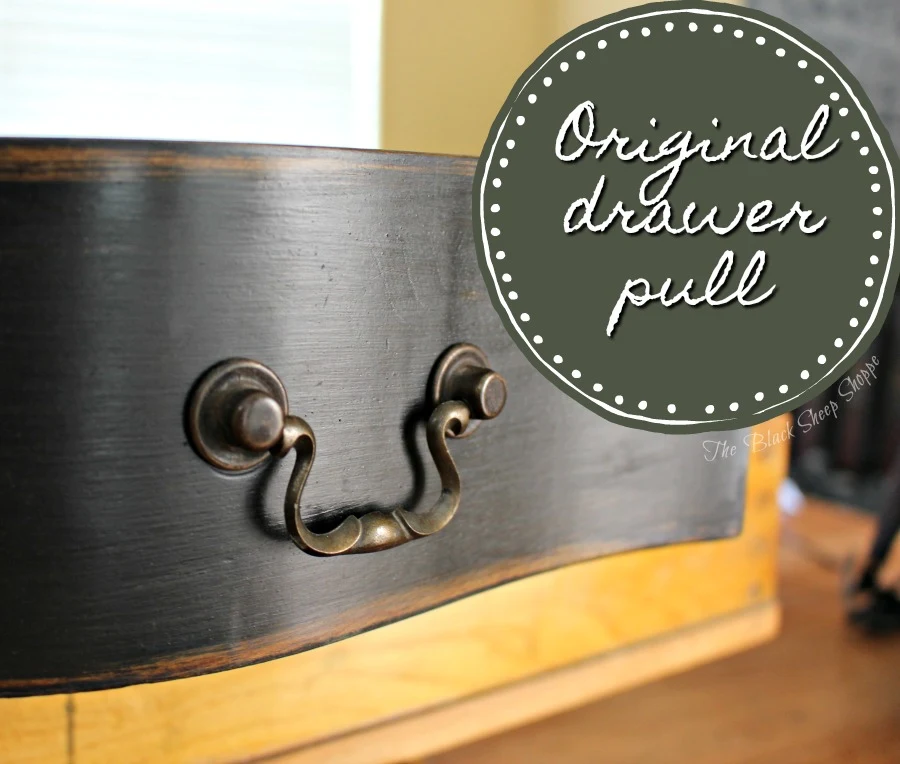
The desk I am working on is an antique that was made in 1901. The center drawer pull is missing. Because it is an antique it would be extremely difficult to find an exact replacement. The photo below shows one of the remaining two original drawer pulls.
Since an exact replica wasn't available, I decided to replace the drawer pull with a small knob that I had on hand. This will require filling in the existing holes and drilling a new hole.
(I previously published the project HERE, but the tutorial section got lost within the post, so I am creating a separate post for your convenience.)
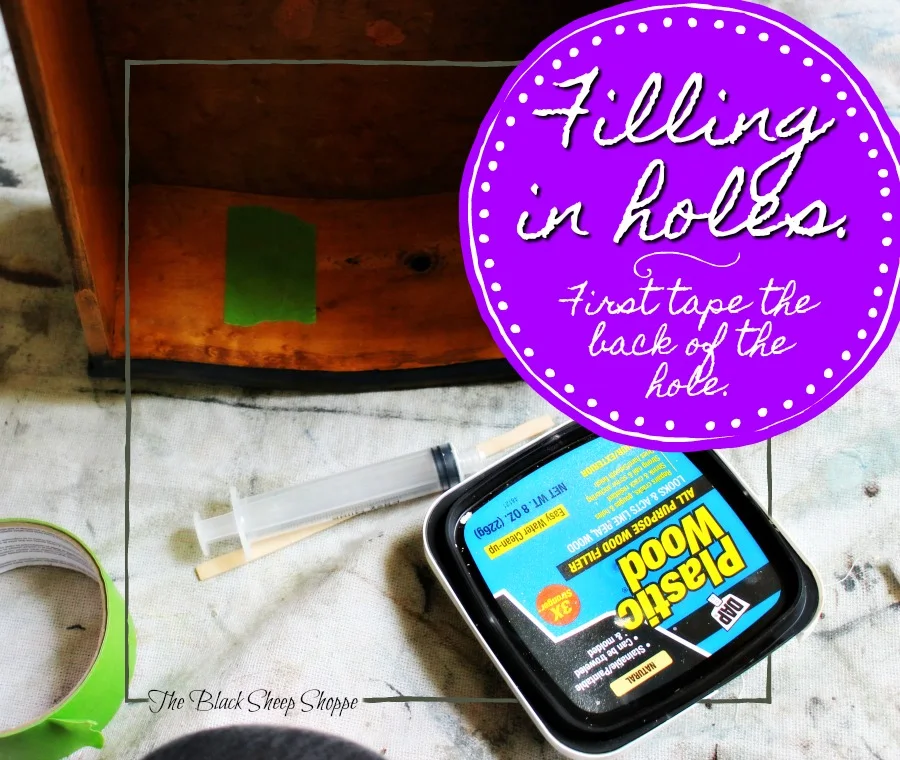
First place painter's tape on the back of the hole. This will prevent the wood filler from leaking out the back.
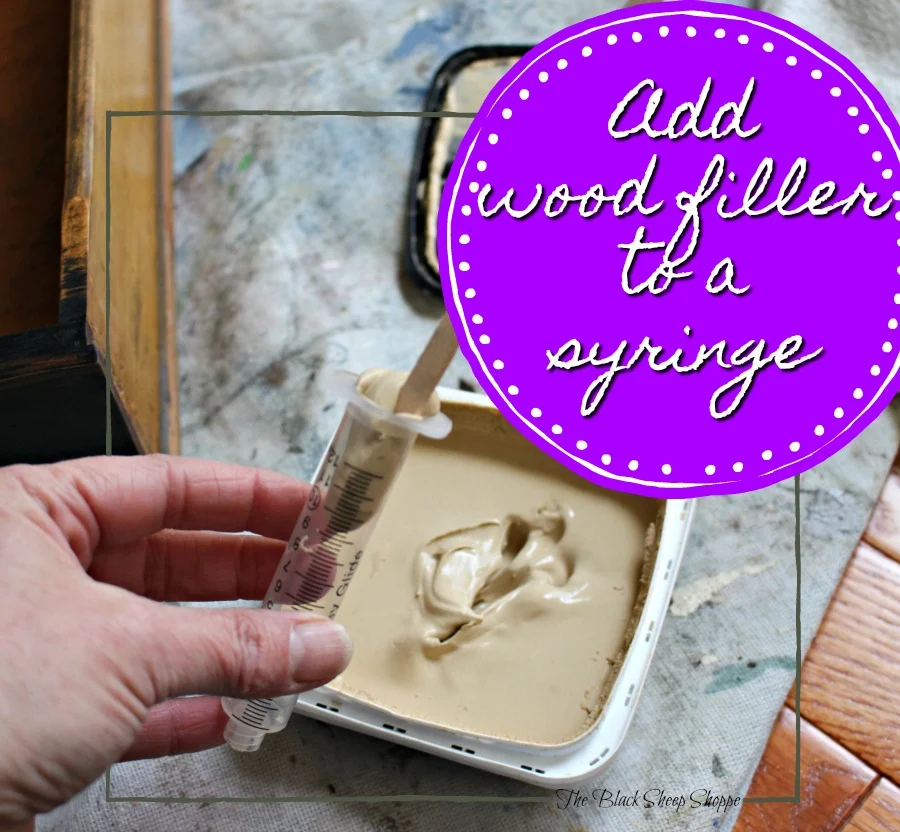
Next add a small amount of wood filler to a syringe. Using a syringe eliminates air bubbles which can cause the wood filler to crack after it dries. (I have a small supply of syringes that I ordered from Amazon and use them for various art projects including mixing small batches of custom paint colors.)
Place the syringe over the hole.
Then plunge the syringe and inject the wood filler into the holes.
As you inject the wood filler, you want to slightly overfill the hole and then use a putty knife to smooth out the excess.
Apply extra wood filler as needed to get good coverage and then let dry. Sand the surface smooth after it is completely dry. I used 220-grit sandpaper to smooth out the wood filler. Then I used a drill to add a new hole which I centered between the old holes.
Here is the desk with the new knob in place. Although the new knob is not original, it coordinates well with the original antique drawer pulls.
And the old holes aren't detectable. Like it never even happened . . .
Thanks for stopping by The Black Sheep Shoppe today!
SUPPLIES USED FOR THIS PROJECT:
- Painters tape
- Syringe
- Wood filler (Any brand will do, but I use the DAP brand of wood filler because I find the consistency smoother than other brands.)
- Craft stick for scooping the wood filler into the syringe
- Sand paper
- Putty knife
- (Not shown in photos, but I used a drill to create the new hole.)


Comments
Post a Comment
Select the NOTIFY ME box to receive a notification of a reply to your comment (yes, I do try to acknowledge all comments). There might be a publishing delay on older posts as they are moderated to reduce spam.