The Learning Chair
This chair has gone through many transformations (even before I bought it). I've used it to practice new techniques a few times over the years, but I was never happy with the final finish, so it just hung around in my storage closet.
I decided I would practice attaching a replacement seat cover with upholstery tacks before I use the same technique on a couple of other chairs that are in the project pipeline.
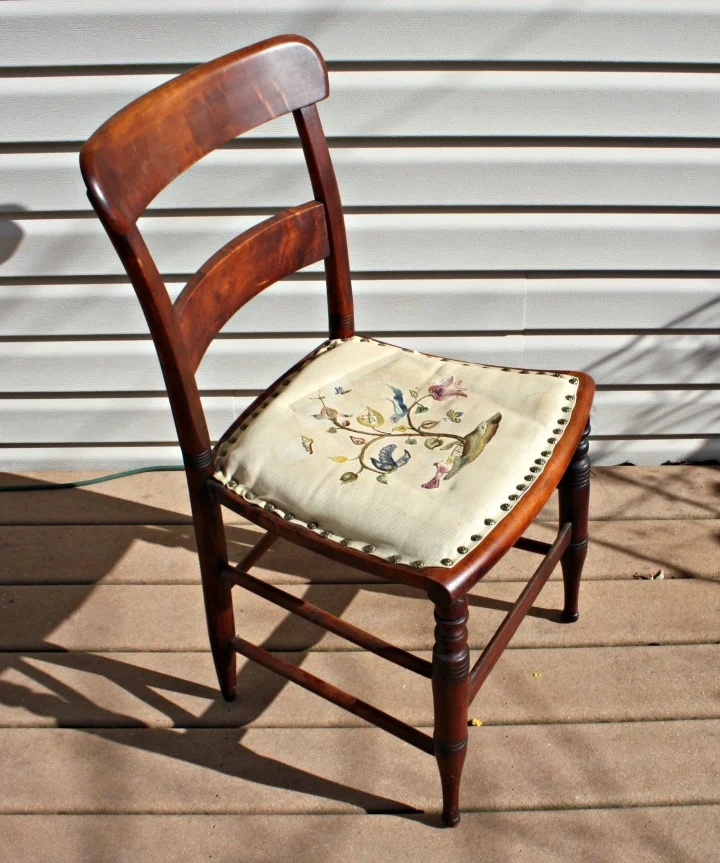
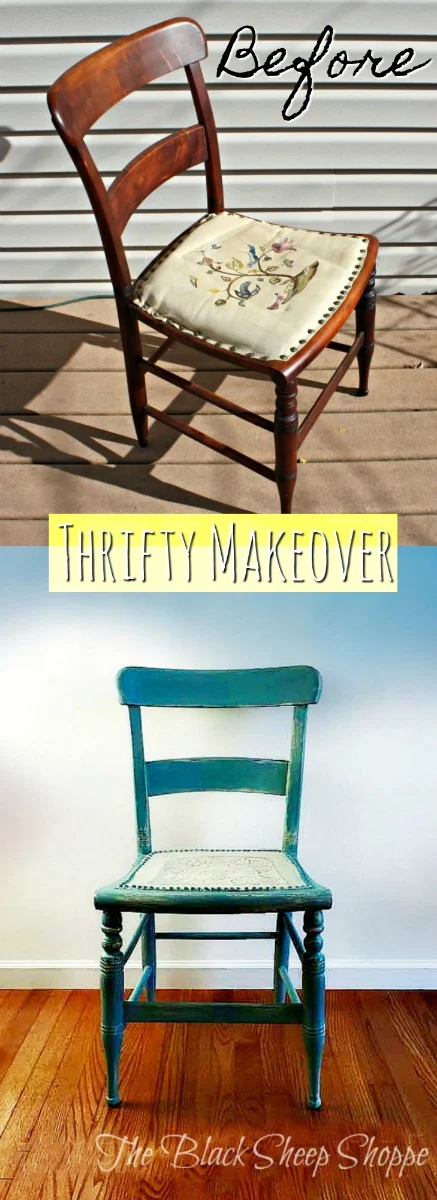
Here's what the chair looked like when I first bought it at auction.
My initial fix was to replace the roped twine seat as it was no longer safe to sit on. After that it went through a number of transformations, which I won't bore you with today.
For it's (hopefully) final transformation, I pulled it out of storage to use as a practice project for attaching a fiberboard seat cover with upholstery tacks. At first the project didn't go so well. I had a number of broken tacks (lots more than shown in the photo). The learning lesson at this stage is to follow the directions which stated to pre-drill the holes (I didn't).
I left the project in frustration and then returned to it a few days later with a renewed sense of energy. After a quick lesson from my husband about how to use a drill, I resumed the project with much more success.
Well it wasn't all smooth sailing . . . I did break a drill bit and had to go out for a replacement. And I broke so many upholstery tacks during my first attempt that I didn't have enough to complete the project, so I had to place an order more and wait a couple more days for delivery. But finally I was able to finish up attaching the seat. On my next attempt I will definitely pre-drill the holes and make sure the tacks are better aligned.
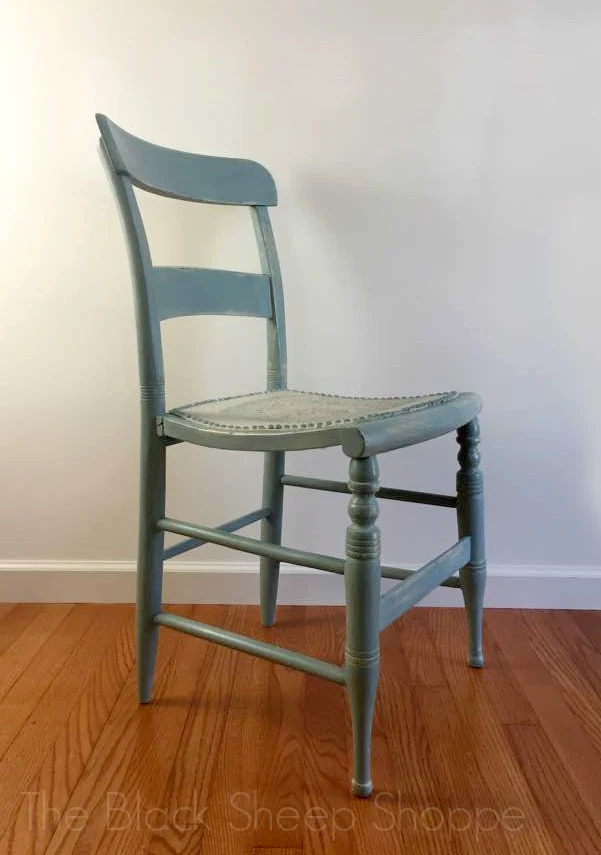
AFTER
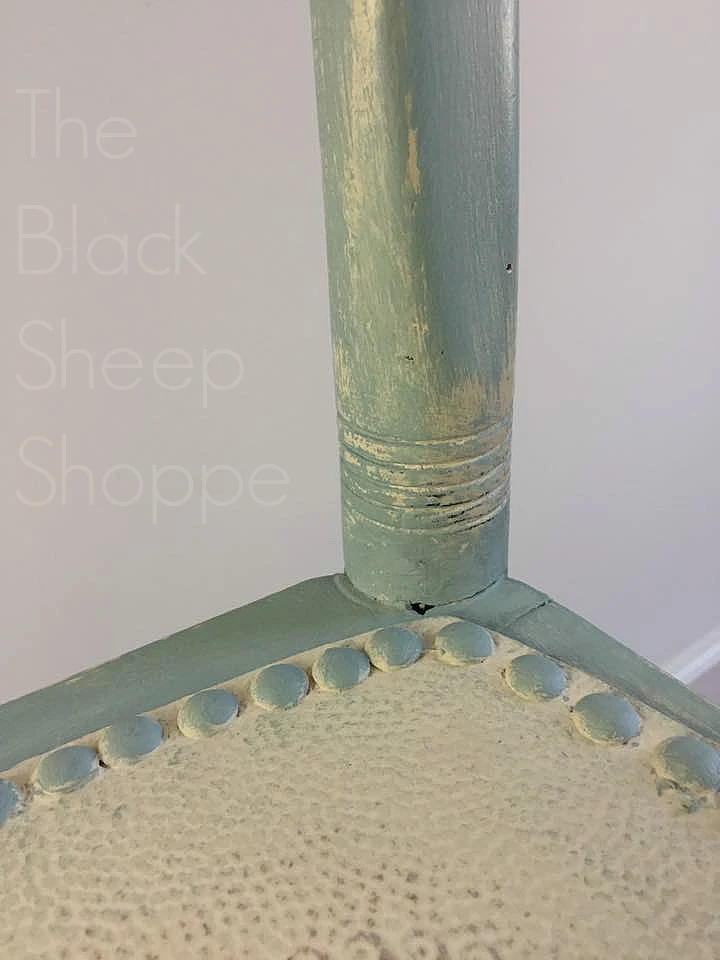
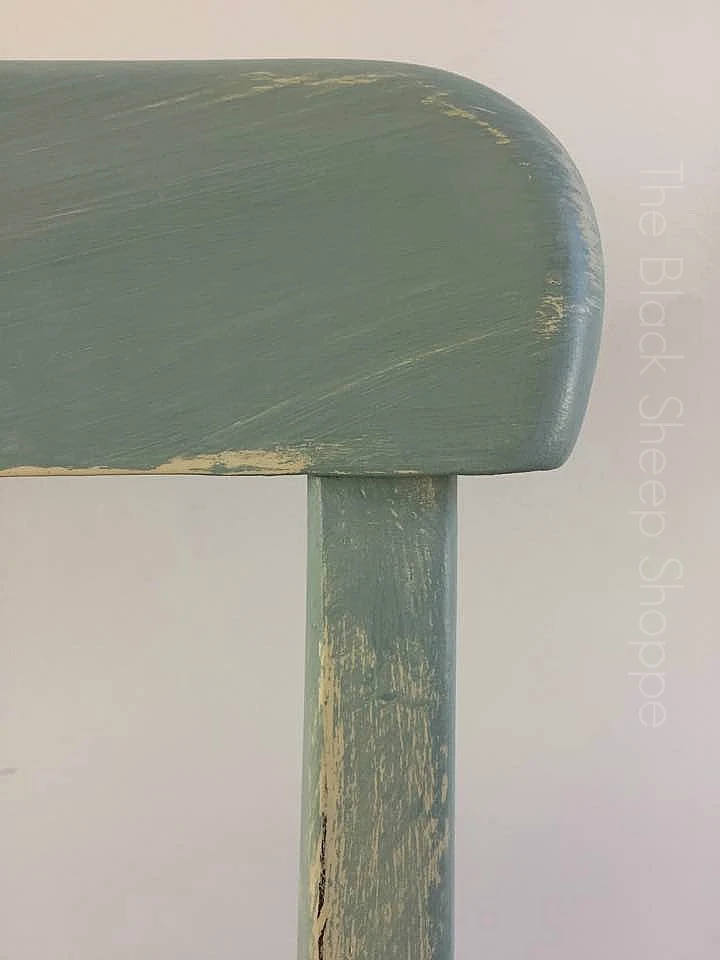
Since the seat isn't exactly perfect, I decided to give the painted finish a less-than-perfect vintage look, too, with bits of Old Ochre peeking through the Duck Egg Blue.
I painted the new seat cover in Old Ochre, lightly sanded it, and then dry brushed it with Duck Egg Blue.
I took all the photos with the camera on my phone. The color looks as if it changes when I take close up photos. But the close up photos are probably closer to the truer color.
I'll include more photos and a better tutorial about the fiberboard seat process in my next chair project. UPDATED: You can see the new tutorial HERE. In the meantime, I hope you enjoyed today's project and I very much appreciate you stopping by today! If you would like to receive notifications of future projects then enter your email address in the "subscribe" section at the top left margin of the screen. You are also welcome to follow me on Facebook.
ANOTHER UPDATE: I'm using this chair in my new office space. You can see that blog post here.
ANOTHER UPDATE: I'm using this chair in my new office space. You can see that blog post here.
Supply list:
- Upholstery hammer
- Upholstery nail spacer (optional but it made the job go faster)
- Drill
- Drill bit 1/16"
- Replacement seat cover from Kennedy Hardware (not a sponsor, but I buy many replacement parts from Kennedy.)
- Annie Sloan Chalk Paint products (Old Ochre, Duck Egg Blue, and soft clear wax)
- The links above are affiliate links.








Comments
Post a Comment
Select the NOTIFY ME box to receive a notification of a reply to your comment (yes, I do try to acknowledge all comments). There might be a publishing delay on older posts as they are moderated to reduce spam.