Shabby Chic Magazine Rack: Paying it Forward
A friend was kind enough to give me this magazine rack that she no longer needed. I decided to freshen it up and will pay it forward and plan to donate the proceeds after it sells to our local food pantry.
It looked like the original finish was an oak or walnut finish. It was spray painted pink at some point. I cleaned it up, and other than some chipping paint here and there it was in good condition.
I sanded the chipping paint, and then I painted it in Linen White. Next I distressed the paint to reveal some of the previous pink finish. However, It was missing four of the furniture plugs that hide the screws. I looked for some replacements at the hardware store, but couldn't find an exact fit. So I decided to improvise. First I filled in the holes with wood filler.
 |
| Wood filler used to plug holes. |
 |
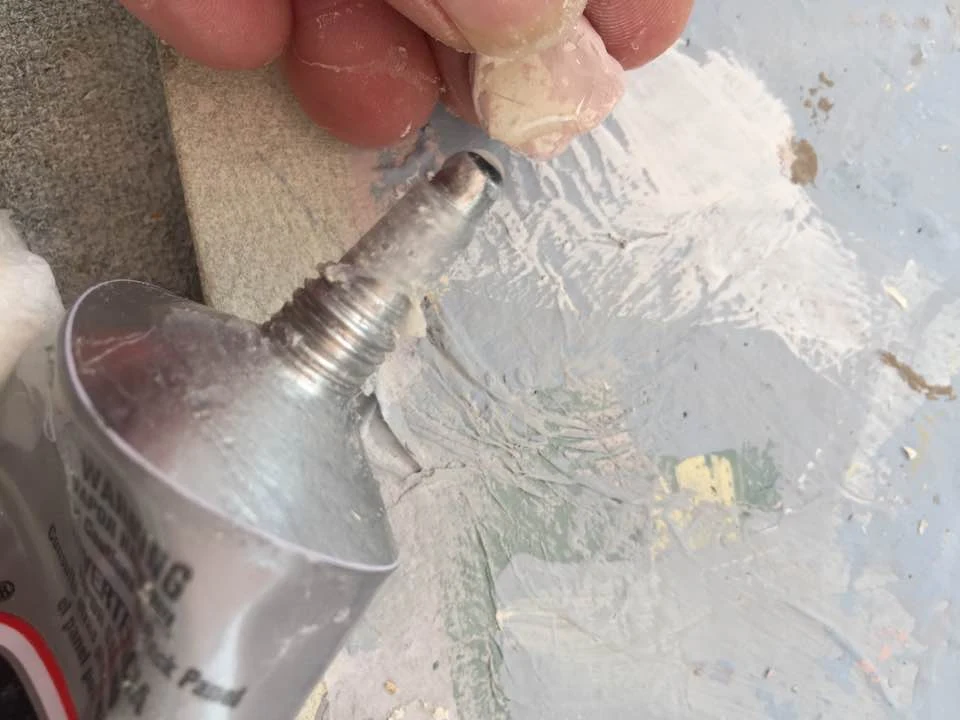
| Applying E6000 glue to rosettes. |
I used E6000 glue to attach the rosettes. The glue doesn't dry as quickly as hot glue, but I think it gives a stronger bond.
 |
| E6000 is my preferred glue for attaching embellishments. |
On the plus side, since the glue doesn't dry instantly there is time to make adjustments to the placement. The downside is that if the project isn't laying flat then gravity can cause the embellishments to slip downward. I used some painter's tape to hold the rosettes in place until the glue dried.
 |
| Painters tape used to keep rosettes in place while the glue dried. |
After:
And here she is all ready for a new home! Magazine racks make excellent storage, of course for magazines, but also for books, file folders, or to organize toiletries. |
| Magazine rack with new finish in Linen White. |
I love how the previous pink paint shows through where I distressed the white paint. The inside of the magazine rack had some tight spaces making it difficult to paint the spindles. I used my Wooster paint brush to make the job easier (it has a short handle with longer bristles).
 |
| The original pink shows through the distressed paint. |
I added a stencil in Antoinette Pink to each of the sides to add a little more interest.
 |
| Stencil added to each side for visual interest. |
Here's a closer look at the new "furniture plugs" aka rosettes.

I hope you enjoyed today's project!
Supply List:
Below are the supplies I used for this project. Some links are affiliates.- Linen White Chalked paint by Rustoleum
- Wooster Vintage Effects paintbrush
- Antoinette Chalk Paint
- Stencil (The French Inn)
- Paperclay
- Silicone rose molds
- E6000 glue
- Flexible sanding pad
- Painter's tape


Great Job! I see these all the time so now i am going to get one and and paint.
ReplyDeleteThank you! They are really handy for storing items. Good luck with your project.
Delete