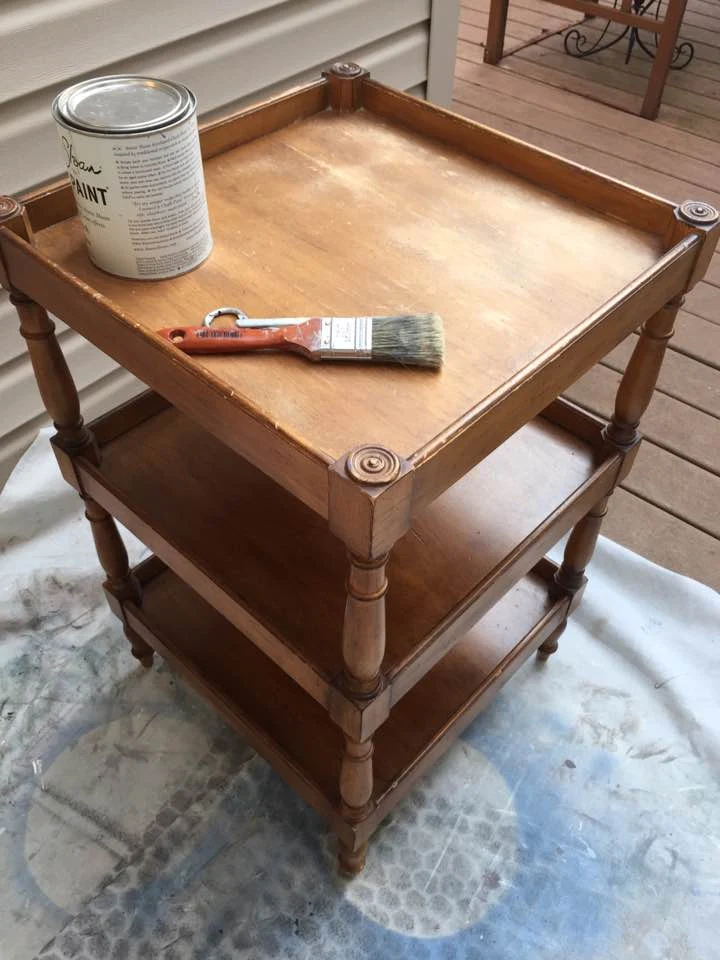
I found this three-tiered side table at a thrift store and thought it would be perfect for an office to hold a printer and supplies.
 |
| Before |
The finish is very smooth. It was slightly worn on the top. I was hoping to go with a natural wood finish on this piece. I tried sanding the finish with no luck. I tested a spot with paint stripper and that didn't work either. So I decided to jump in and paint it with a stippled paint effect.
 |
| Smooth modern finish. |
Pounced Paint Technique
Pouncing (also referred to as stippling) paint is an easy way to create texture and dimension and works well on modern furniture to give it a vintage look.
My plan was to paint the table black, but I was very low on paint and wasn't sure I had enough to complete the project, so I used a variety of colors underneath my final paint finish. It can also be done with just one color. But if you use different colors, just be aware that the initial colors might peek through if you sand the final finish.
 |
| Preparing to pounce the paint |
I used an old paint brush and dipped the tips into the paint. Instead of brushing the paint on in strokes, I applied the tips of the brush straight down onto the surface and then pulled it back up. I continued the process quickly and reloaded with paint as needed.
 |
| Pouncing the first coat of paint |
After the first application dried, I applied a second pounced coat. The photo shows the beginnings of the texture being created.
 |
| Pouncing the second coat of paint |
I only pounced the paint on the outer edges as I wanted some areas to be smooth.
 |
| Pounce the paint where texture and dimension is desired. |
I continued with a third application but this time in blue.
 |
| Third layer of pounced paint. |
Next I applied a fourth and final application in yellow. It looks a bit of a hot mess at this point. But I was seriously using up my leftover paint from the bottoms of the cans!
 |
| Continue pouncing paint until you have the amount of texture desired. |
For the final coat I applied Graphite using an angled brush (which makes it so much faster to quickly paint all the corners and angles). I brushed the paint on in a regular fashion over the stippled layers.
 |
| Brush the final coat of paint over the stippled/pounced paint. |
The colors underneath did peek through a bit during the sanding process which adds a bit of visual interest. However, it will be less noticeable after I apply dark wax.
 |
| Contrasting colors will peek through during sanding. |
After
The final finish is Graphite with French Linen on the shelves.
 |
| Graphite and French Linen |
Here's a closer view of the texture created by using the pounced paint technique.
 |
| Texture created by pouncing paint. |
It is subtle, but if you look closely you might see some of the yellow and blue peeking through.
 |
| Base colors underneath the final coat of paint are subtle. |
 |
| Close up of texture. Grey, blue, and yellow base colors beneath the graphite finish. |
 |
| Close up of corner on top shelf. |
Here's a side view of the finished project. The rocking chair in the background is one of my upcoming projects which I am excited to get started on. But I need to order some supplies for repairs.
 |
| The rocking chair in the background will be worked on soon. |
I hope today's post was informative and gives you an idea of how to create a vintage look with modern furniture (supply list below).
Supply List
Below are the supplies I used for this project. Some links are affiliate links.


Very inspiring. We are building a new house. I have some great sturdy wood pieces that need new life for the new place. Thank you for sharing this.
ReplyDeleteThanks so much Dee! I am glad you enjoyed this project.
DeleteThis is very interesting. One question though from what I can tell you used the pouncing technique 3 times on this project - is pouncing that many times always necessary? Thanks.
ReplyDeleteThe amount and number of times really depends on how much texture you want to create. It is very freestyle.
Delete