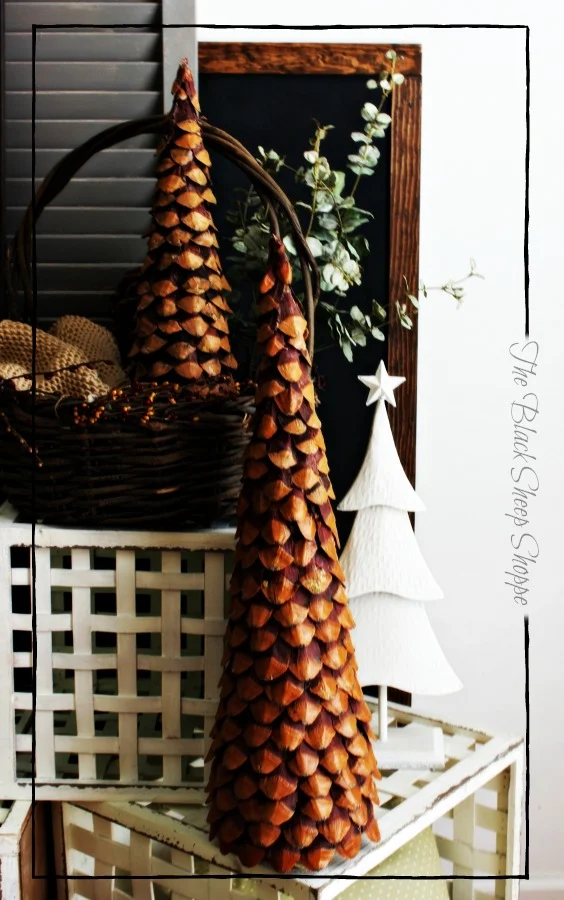
DIY Pinecone Christmas Trees
I make a few of these pine cone Christmas trees each year to sell and also to use as holiday decor in my own home. I love the simple rustic style. My project was inspired by another project that I found on Hometalk. Be sure to check out the original project because she created a beautiful variety of trees that are sure to inspire you!
Supply list:
Most of the items you can find at your local craft store, but I'll include links to online resources (affiliate links) for your convenience.- Tree form I like to use a variety of sizes. I also found a wavy tiered tree form which I will try this year. I think it will be lovely to have the extra dimension. You could also use poster board or cardboard to make your own form.
- Large pincecones
- Pliers (use a basic set of needle-nose pliers)
- Work gloves (optional)
- Hot glue gun and glue sticks
Directions:
Remove the pine cone scales using a pair of pliers. Some parts of the pine cone are a little bit sharp, so I find it's easiest to wear a pair of gloves during this stage.Gather the scales within easy reach of your hot glue gun.
Affix the pine cone scales with the hot glue around the base of the tree form.
Continue attaching the scales in rows.
Overlap the pine cones to cover bare spots from the previous row.
I like to keep my trees rustic, but a little bling never hurts either. So feel free to be creative and use embellishments such as fake snow, glitter, beads, etc. to decorate your trees.

The trees look great either on their own or as part of a holiday vignette.


I will be going out tomorrow to buy the supplies to make this fabulous pine cone tree. You nailed this!
ReplyDeleteThanks so much Ivory Jean! Let me know how your tree turns out.
DeleteI have piles of pine cones in my back yard and after seeing this, the squirrels are just going to have to share. My Christmas mantel needs some of these this year!
ReplyDeleteYou're lucky if you have lots of pine cones available for free! Enjoy being crafty!
DeleteI think that is a beautiful Christmas tree/craft! I would love to do with my Ladies Group… can you tell me what kind of pinecones you used?
ReplyDeleteThank you, Lori
I used large pinecones from Hobby Lobby. I hope you enjoy the craft with the Ladies Group!
Delete