Low Budget: Furniture Upgrade with Paint
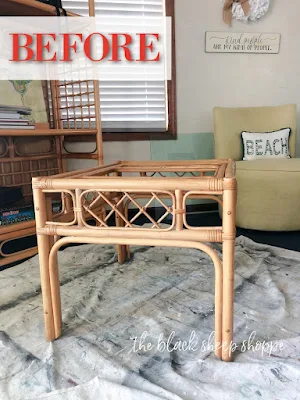
The darn budget foiled my plan to replace the rattan furniture at my condo this year, so instead I (reluctantly) decided to freshen up the end tables with paint.
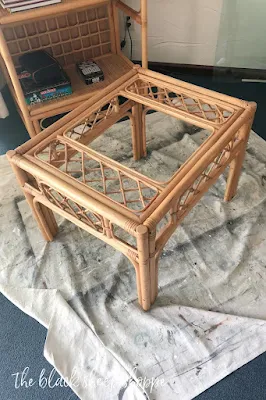 |
| Rattan end table on painter's drop cloth with glass top removed. |
The furniture is about 30 years and it's in OK shape for the age, but it's just not my style. I thought we would be replacing it this year, but we're having a new hot water heater installed instead. So although I swore I wouldn't paint any more rattan, I think paint will once again be a good temporary fix to brighten up the space.
SUPPLIES USED:
(Honestly, spray paint would probably work best, but I don't have a space to spray, so I hand painted instead.)
Deglosser/degreaser and scrubby sponge,
Paint (color is Bone),
Stir stick,
Paint can opener,
Foam brush,
Drop cloth,
Small roller & tray.
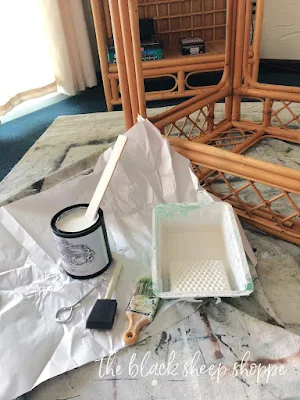 |
| Paint supplies set out for painting rattan end table. |
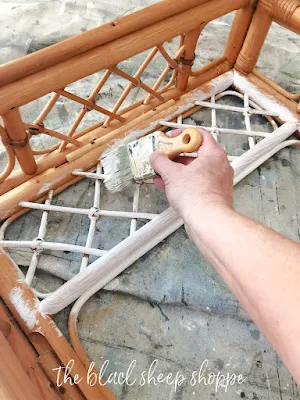 |
| Using a sash brush to paint the underside of a rattan table. |
The first coat does not provide full coverage. I let it dry while I walked on the beach and then applied a second coat.
 |
| Underside of rattan end table. |
Here's a closer look at the first coat.
.jpg) |
| First coat of white paint drying on rattan table. |
Once the paint was dry, I flipped the table right side up and repeated the process. The photo below shows the first coat. Two coats gave me fairly good coverage, but I ended up applying a third coat with a small roller to give it even better coverage on the larger surface areas. I didn't bother with a third coat on the underside.
 |
| First coat of paint on top of rattan table. |
I started painting the table in the morning, and finished up before sunset. Easy-peasy, right? Wrong!
The only thing worse than painting a rattan end table is painting TWO! Oh well, it's time to get busy on the second end table.
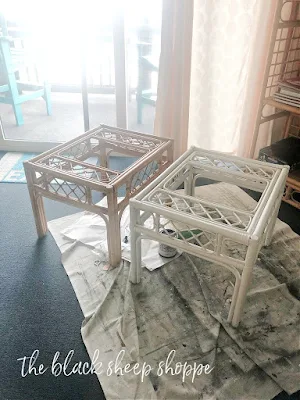 |
| One end table finished. One more to go. |
I would much prefer new end tables, but since that isn't an option at this time, I think the paint is a good temporary alternative. So I repeated the process and got the set painted.
 |
| Use paint to update old furniture. |
I don't think anyone will walk in and say, "WOW great painted end tables!" But it does look neat and clean, plus it brightens up the space, so I'm happy with the end results.
 |
| Painted furniture can brighten the room. |
The other white end table sits between the sofa and the rattan chair that I painted on my previous trip. Yes, more rattan! You can see the rattan chair project HERE. And the rattan TV console HERE.
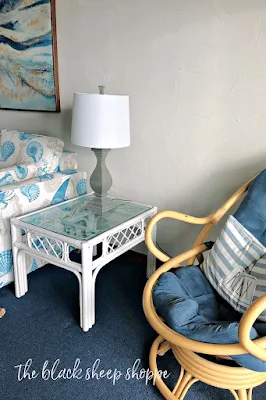 |
| Use paint to make the best of the furniture you have. |
I took a few more close up photos to capture the final results for you to see. You will notice that it's not 100% coverage especially where the smaller pieces intersect. I am not worried about that. But it would be easy enought to dab some paint with a small brush for touch ups.
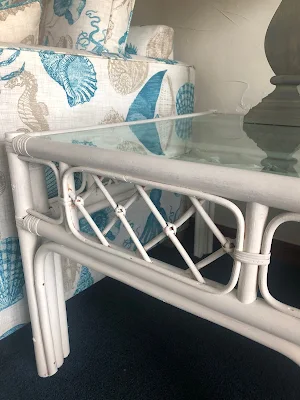 |
| Painted white side table. |
 |
| Painted white side table next to yellow chair. |
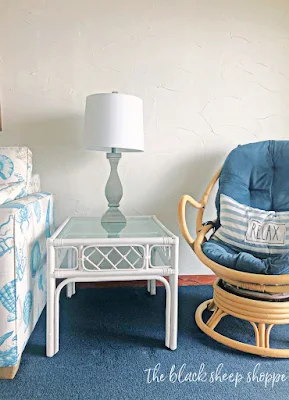 |
| Painted rattan furniture for casual beach vibe on a budget. |
 |
| Painted white rattan side table. |







That is the worst to have to paint. You did a good job.
ReplyDeleteThanks Pam!
DeletePut a link in your condo redo vids- I'm in NC and love Topsail Beach. Might be interested in renting it, but couldn't find a link.
ReplyDelete