I stenciled the concrete floor in my basement bathroom about two years ago. It's held up well, but it was always meant to be a temporary fix. The plan was to install a plank floor along with a new toilet and vanity.
We're not ready to install a new floor just yet, but as luck would have it we were gifted a new toilet from a family member. So while the new toilet was being installed, I decided to paint a new stencil design on the floor to coordinate with the stenciled floor in the adjacent kitchenette.
But first let me back up and show you the original photos of the bathroom:
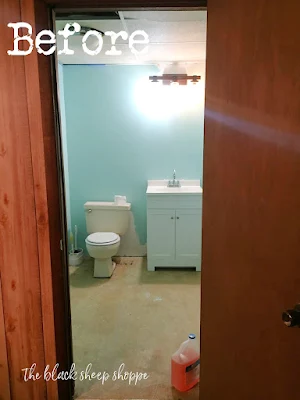 |
| Before basement bathroom. |
The concrete floor is very rough with ridges, pits and dips throughout. It's not ideal, but painting the floor was a huge improvement.
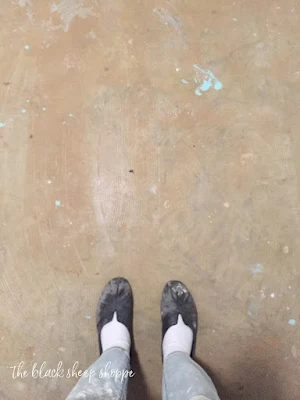 |
| Concrete before painting. |
That was before, so fast forward to today: My husband removed the vanity and then the old toilet. The first time I painted the floor I worked around the old toilet. But I knew it would be easier to stencil without the toilet in the room, so I definitely wanted to get this project done while I had the chance.
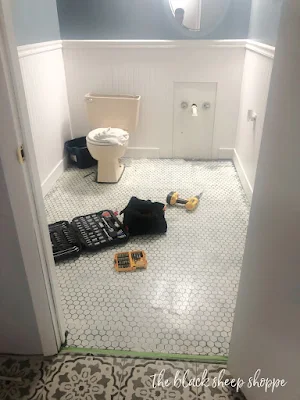 |
| Preparing to paint bathroom floor. |
The stenciled floor in the adjacent kitchenette turned out very well (
you can read a full tutorial HERE). My plan is to create a better flow between the two rooms using the same stencil pattern and color scheme. The transition between the two rooms is unsightly now, but I think you'll see that painting will make a big difference.
 |
| Preparing to paint the floor. |
I started by rolling a
basecoat over the entire floor. I was a little sad to say goodbye to my stenciled hexagons! It was my first ever stenciled floor project, and I was proud of it even though it wasn't perfect. But I've got more experience now and knew I could do better.
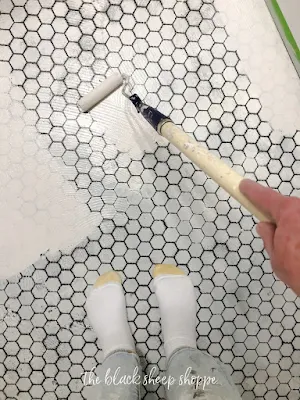 |
| Roll the base coat. |
Once I had two coats of the
base color applied I began to roll out the stencil color. I used two colors in the kitchenette, but since the bathroom is smaller I only used one color so as not to overwhelm the space.
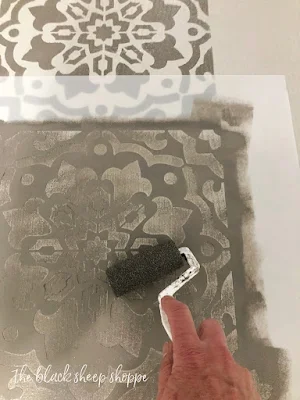 |
| The roller is the secret to a perfect stencil. |
Before lifting the
stencil I did a few quick touch ups with a small stencil brush over the pitted areas of the concrete. It probably wasn't necessary, but I think it gives it a cleaner look overall.
 |
| Minor touch ups over very rough concrete. |
Normally I would start at the back of the room and paint my way forward. But I wanted to line up the tiles with the tiles in the adjoining room. I used painters tape to keep my first row straight. Afterwards I used the overlap design marks to align the next row.
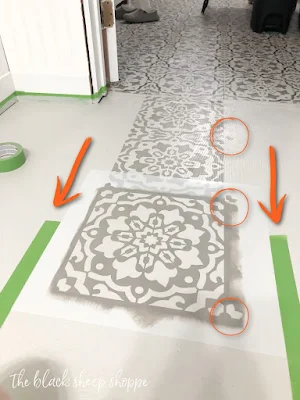 |
| Aligning the stenciled tiles. |
I completed two rows and then let the paint dry for an hour before working on the other half of the room. I saved the perimeter and corners for last (
see my previous tutorial). I kept the toilet hole covered throughout the project, but it still smelled, so I worked very quickly in that area!
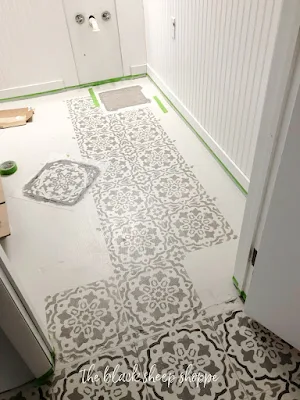 |
| Stenciling in progress. |
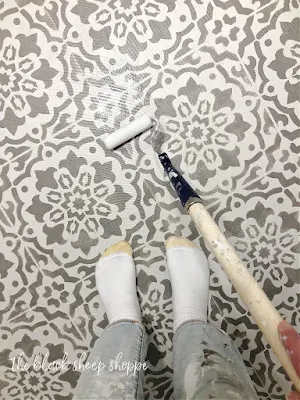 |
| Sealing painted concrete floor. |
At first glance it looks like real tiles!
 |
| The stencil looks like real tiles! |
We will eventually add a transition strip to the floor in the doorway, so the color difference won't be as noticeable.
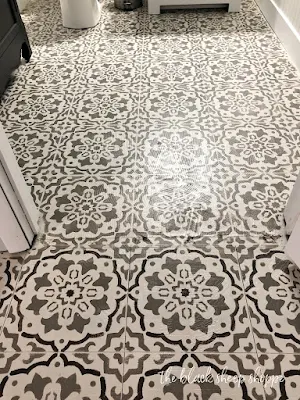 |
| Coordinating between rooms. |
As we take a closer look you can still see the texture and imperfections from the concrete, but I think the stencil pattern covers it nicely.
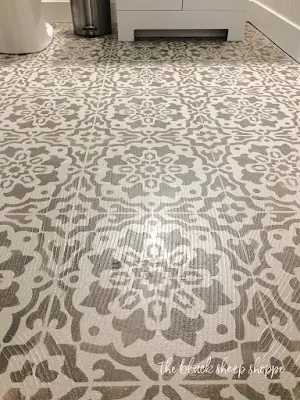 |
| The paint camoflauges the imperfections. |
The concrete around the toilet was especially rough. So I'll share some close up photos to give you a better idea of the painted finish.
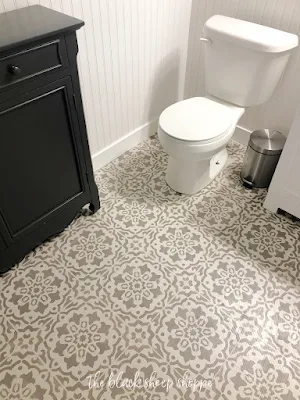 |
| Stenciled floor in basement bathroom. |
 |
| Stenciled floor around toilet. |
I didn't take into account that the base of the new toilet is different from the old toilet. It's not too noticeable since it is towards the back wall. I could easily touch it up, but I don't think I will.
 |
| Slight imperfections. |
This section of the concrete floor in front of the toilet was especially rough. It's still rough of course, but I am pleased with how the paint visually evens out the floor.
 |
| Close up of painted rough concrete. |
I'll give you a tour of the remaining corners and the perimeter so you'll have a better idea of what results you can achieve with a stencil. Moving over towards the vanity . . .
 |
| Basement bathroom. |
The corner behind the vanity is good. Not the best, but pretty good.
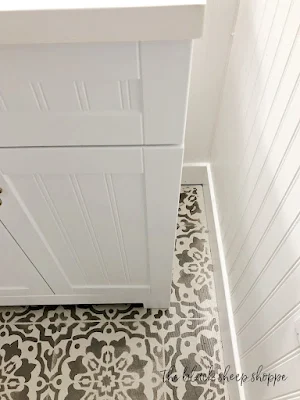 |
| The corner behind the vanity. |
I rolled the stencil as far as it would go along the perimeter up against the baseboards.
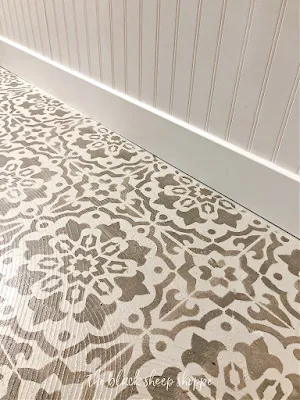 |
| The perimeter of the stenciled floor. |
This is the only corner that isn't covered by furniture (is a toilet considered furniture?). I think I did a smashing job!
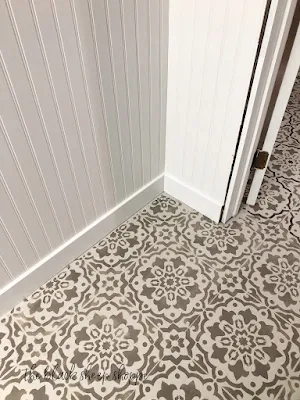 |
| I am happy with this corner. |
Here's a look at the perimeter on the other side of the room.
 |
| Perimeter of stenciled floor in bathroom. |
 |
| Close up of perimeter. |
This was the worst of my corners. The wall isn't 90 degrees and I struggled here. If I was a perfectionist then I would cut my stencil to fit and finish off the corner, but the cabinet mostly hides it, so I'm not mad about it.
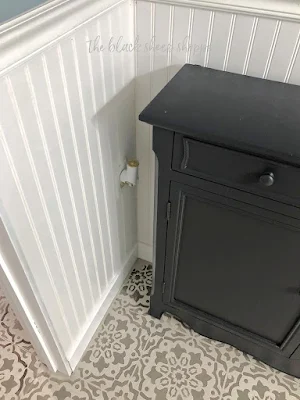 |
| Perfectly imperfect. |


Comments
Post a Comment
Select the NOTIFY ME box to receive a notification of a reply to your comment (yes, I do try to acknowledge all comments). There might be a publishing delay on older posts as they are moderated to reduce spam.