Dry Sink: Graphite and Country Grey
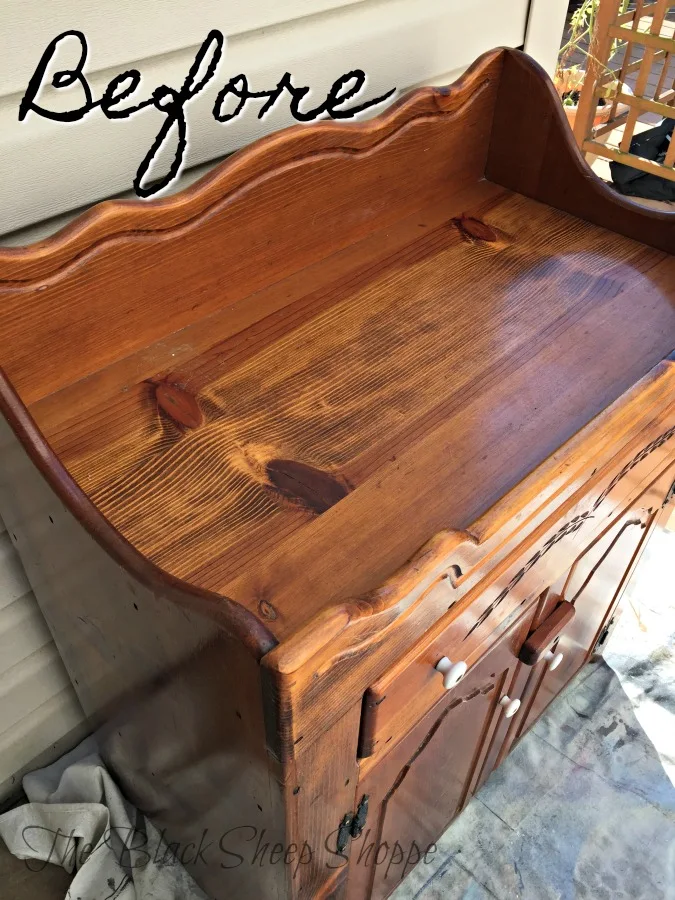
Many times this style of furniture is passed over by the modern shopper. But it's a solid piece and the opportunities for a makeover are endless. Prior to painting, the routed wheat design on the drawer front could be filled in with wood filler and the knobs and hardware could easily be changed as well. I elected not to make those changes since I needed to get this project finished quickly. Nevertheless, I think today's project is a good example that even a simple change of new paint colors can result in a dramatic change.
A bright bold color scheme such as Greek Blue with Pure White or Cream would look fantastic. Or choosing a softer color scheme would work well as a diaper station in a nursery. I debated with myself over the color scheme and ultimately chose Graphite and Country Grey (link to actual paint product I used. I may earn a small commission, but it won't cost you extra) because I had those colors on hand. But Primer Red or Arles would also work beautifully with a dark wax or glaze for a primitive farmhouse finish.
The front of the cabinet has square nails. This can sometimes be the sign of an antique piece of furniture, but in this case it is a decorative detail and not an antique.
I don't typically paint the bottom of furniture, but the bottom of this style of furniture peeks through a bit depending on the angle.
So I tipped the cabinet onto its back to give it a quick easy coat of paint. (The cabinet was light enough for me to move it by myself. For heavier pieces I recommend having a helper.) Then I righted it back on its legs to get started painting the main body.
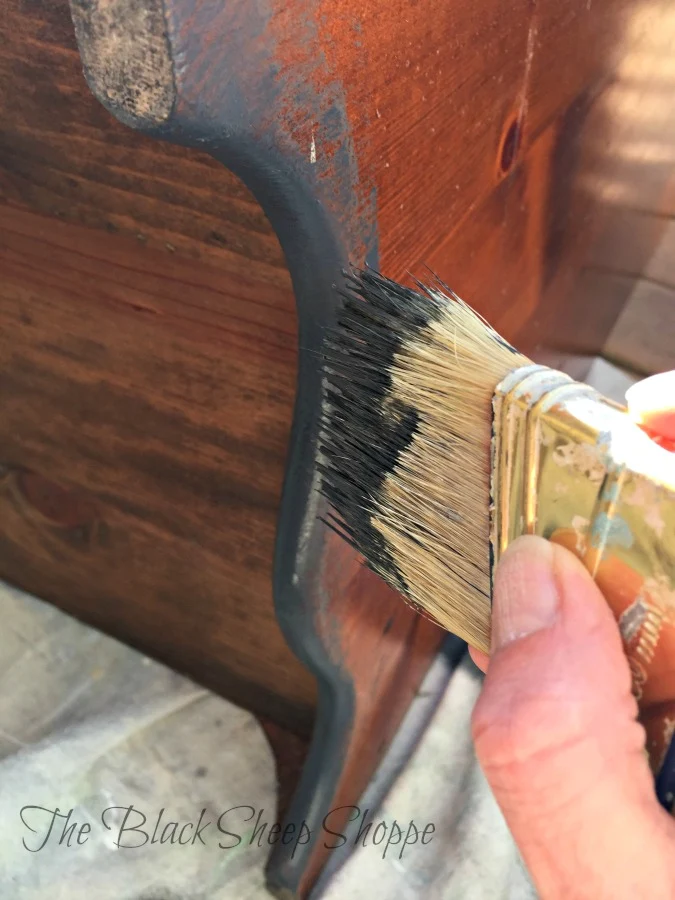
I started with two light coats of Graphite and applied the paint in a random pattern to build a little texture. Using light coats will build a subtle texture rather than a globby mess.
For any beginners using chalk paint, the first coat of Graphite looked pretty good as I applied it, but as it dried it looked translucent. Some colors do this and most will require at least two coats. Don't be discouraged though, because the second coat will give good coverage.
Here's a closer look of the first and second coats. It looks a little splotchy because the paint is still drying, but it will even out after it dries. I finished by sealing the paint with clear wax, but dark or black wax would also work quite well.
AFTER:
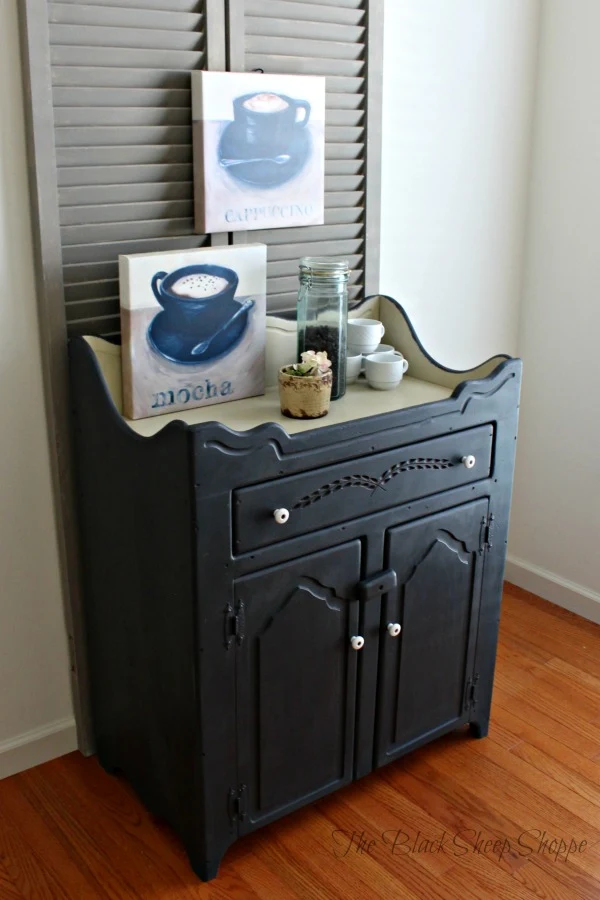
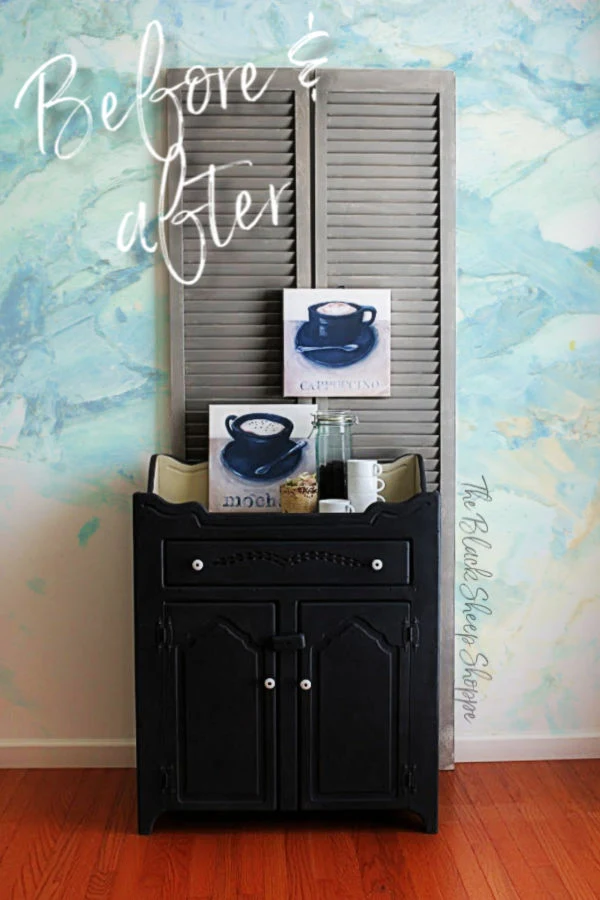
I staged the finished dry sink a couple of different ways. The first staging is for a coffee station. The candle is buttercream vanilla and smelled delicious with the coffee beans!The Graphite base and Country Grey top not only give this piece a classic finish, but the colors are neutral and will work well with many other colors.
The interior wood is in great shape, so I decided not to paint it.
SECOND STAGING:
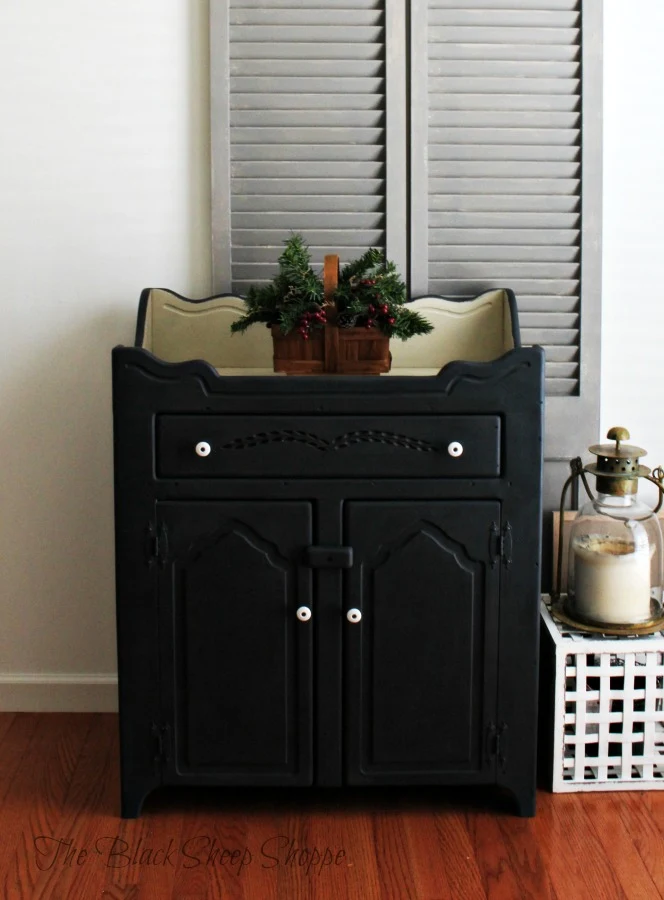
I wanted a second set of staging photos to use for advertising. For this set of photos I chose a simple basket of winter greenery. It's difficult to re-stage and photograph once I take it to the booth, so having a second set on hand in the event it doesn't sell quickly will be useful.The staging is simple and lets the cabinet be the star of the show.
Using a prop also helps a potential customer visually grasp the scale of the furniture.
For the final photo I added a barn wood sign and think I will stage it this way in the booth.
Thank you so much for stopping by The Black Sheep Shoppe today!
Supply List (affiliate links):
- Chalk Paint by Annie Sloan Graphite and Country Grey
- Clear wax
- Vintage Effects paint brush
- Shop towels for removing excess wax












Very nice and I like the idea of a coffee station
ReplyDeleteThank you!
DeleteSomething that is this valuable and in very good shape, in my opinion should be restored. I think the color takes away from its authenticity totally. If you would have made it a lighter shaded wood stain (or a light paint wash- green tones remove orange tinted wood after stripping). would have been breathless. This was a timeless beautiful vintage piece of history. Now it’s a painted infant changing table.
ReplyDelete