Honey, This is So Cute! Tutorial for Stenciling a Sign
Here's another fun and easy project using leftover scrap wood. This piece was a remnant from a dresser drawer bottom. The best thing about this project is that anyone can do it! No art skills required, just a few supplies are all you need. I've included a supply list for your convenience at the end of this post. And if you mess up? Just paint over it and start again.
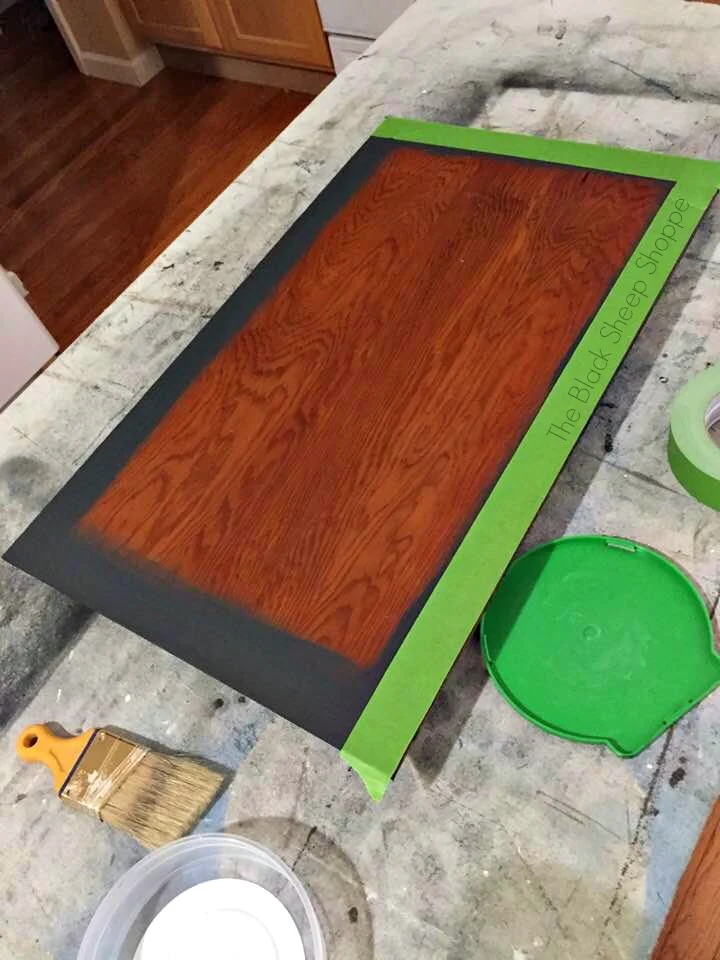
The sign won't be framed, so I decided to give it a border. First I roughly painted a border in black.
After it was dry I taped it off with painters tape.
Then I filled in the center area with my base color in white.
My sign will have a "honey" theme (hence the title of this post), so to add a little dimension with a honeycomb effect, I brushed some paint on a piece of bubble wrap.
Then I pressed the bubble wrapped onto the board.
Next I pounced black paint over a beehive stencil to create a shadow effect.
Here's how it looks after the black was applied:
Then I slightly shifted my stencil up and over.
I used yellow and brown to begin building my color for the beehive.
I pounced the paint on randomly.
You can see here how it is starting to take shape.
I mixed in some white to create my final layer of color:
Ta-da the beehive portion of the sign is finished!
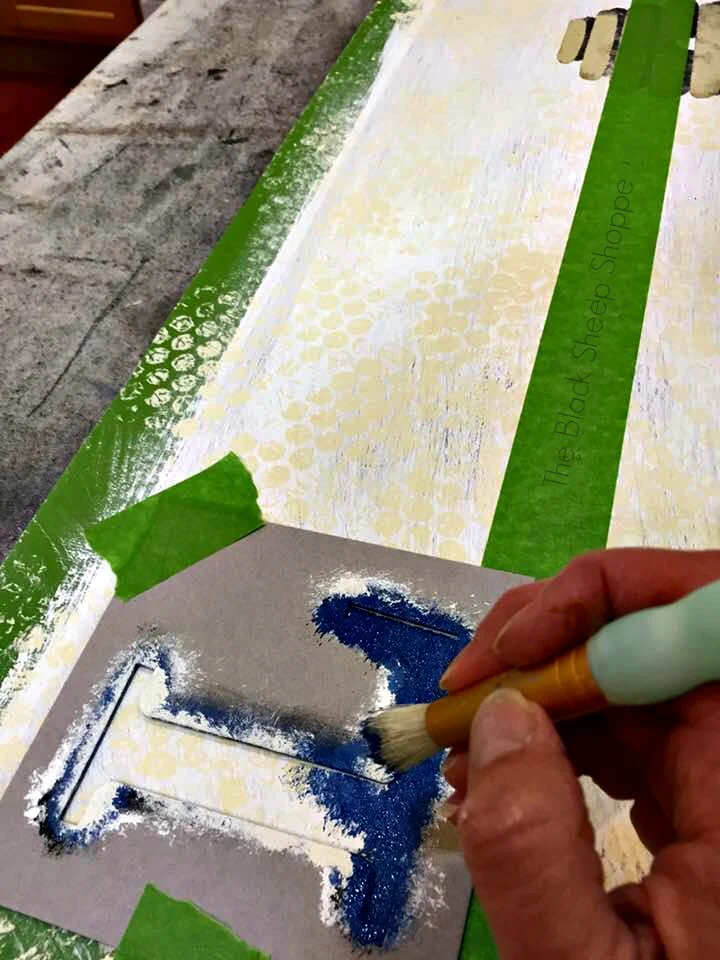
Next I moved on to adding my letters "Local Honey". I used a piece of painters tape as a guide for the bottom of the letters.
To speed things up I used my hairdryer to quickly dry the paint before moving on to the next letter. I also stenciled in a few bees which you will see in the "after" photos. I did a light sanding with 220-grit sandpaper to roughen up the sign before I applied a sealant to the paint.
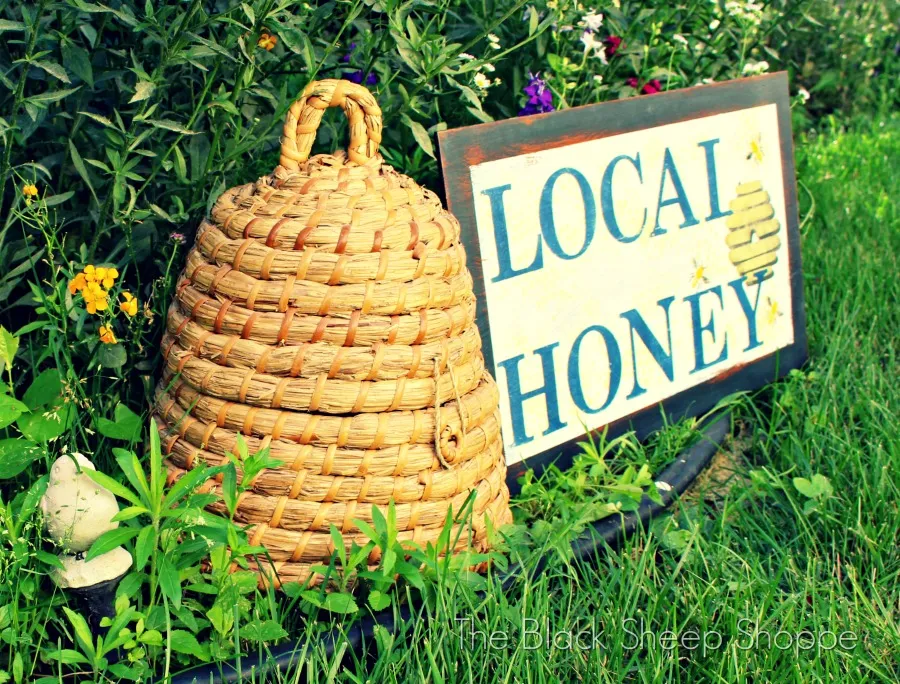
After:
It was such a beautiful morning that I decided to stage my sign outside in my wildflower garden. I still need to attach hangers to the sign, so for now I just propped it up. I think I will drill a couple of holes and run a wire hanger through it.Here are the little bees that I stenciled buzzing around the beehive. I was hoping to capture a live bee buzzing around in the photo, but no such luck.
I stenciled the center of the bees in yellow. For the wings I used a light touch of black.
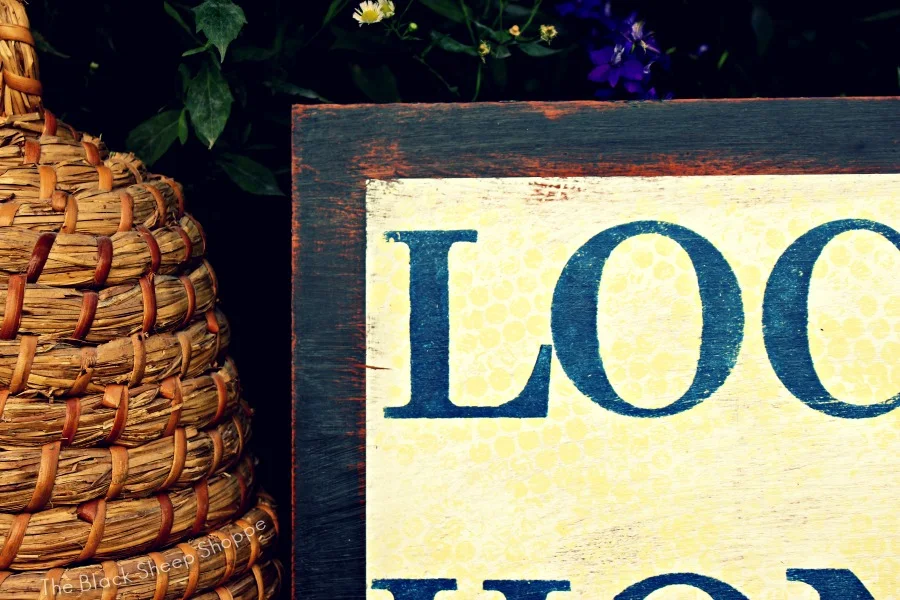
I think this photo might be the best one that shows the honeycomb background.
I love the wildflower garden, but I'm never sure what is a flower and what is a weed, so I wait to make sure before I start weeding.
I hope you enjoyed today's tutorial on how to stencil a sign. It's fairly simple to do and is an economical way.
Supplies (Affiliate links included):
Scrap wood or buy a new piece large enough to fit your stencils.
Acrylic paints
- Letter Stencils (these are the stencils I used in this project)
Beehive stencil (this one is similar to mine)
220-grit sandpaper
Sealant
Frog tape


Patricia ,
ReplyDeleteI think your Honey sign just turned out so nice.
Very nice job ...Great creativity ! and your post was very well written for those who would like to give it a try.
Thanks for sharing your talent...
Thank you Greg. It was a fun and easy project to do.
DeleteI love the beehive . This looks great.
ReplyDeleteThanks so much Michele.
DeleteIt really came out nice Patricia. One suggestion, I would use a darker color for the honeycomb to make it show up better.
ReplyDeleteThank you Cheryl!
DeleteThanks so much gaylemae. I put one letter in front and the other behind to add a little dimension to the sign. I stenciled those areas carefully, but masking it with tape would be a great alternative.
ReplyDeleteGood job... keep it up!
ReplyDeleteThank you Emma!
Delete