Bakers Rack Painted in Coco
I picked up a few items from a recent buying trip. I purchased the bakers rack to use to display smaller items in my booth.
It doesn't look too bad from a distance. But it was filthy, so it was time to get started cleaning.
Seriously it was filthy! Cleaning is not my favorite part of the job, but it's probably one of the most important steps. I cleaned and wiped the bakers rack down about three times before it was ready for paint.
Otherwise it was in good shape except for a loosening of the veneer on the main shelf. I considered removing it entirely, but other than the loose section, it was adhered sturdily and I wasn't sure if I could get it off without making a bigger mess.
I used a toothpick to push wood glue into the loose section.
After wiping the excess glue off I clamped a wood block to the front to hold it flat. After the glue was dried I removed the clamp and got busy painting.
AFTER:
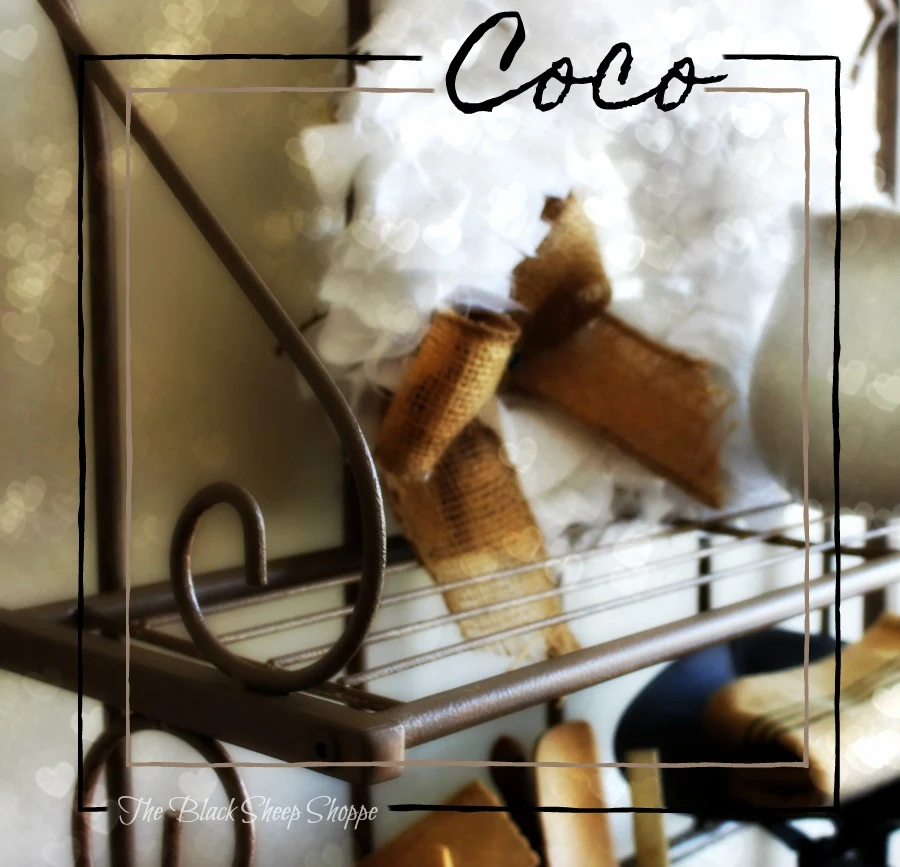
I didn't take any photos of the painting process, but I did use my vintage effects brush to paint this piece. It wasn't too difficult to paint, but it was time consuming and tedious to paint all the metal. In hindsight, I think it would be much easier to use a spray gun for this type of project.I chose Coco for a beautiful neutral finish. It took about two coats of paint and then I dry brushed a little Old White for some highlights.
Using a larger brush instead of a small brush to paint the metal made the job a bit easier. My brush has a short handle and that also helped get into the tighter spaces.
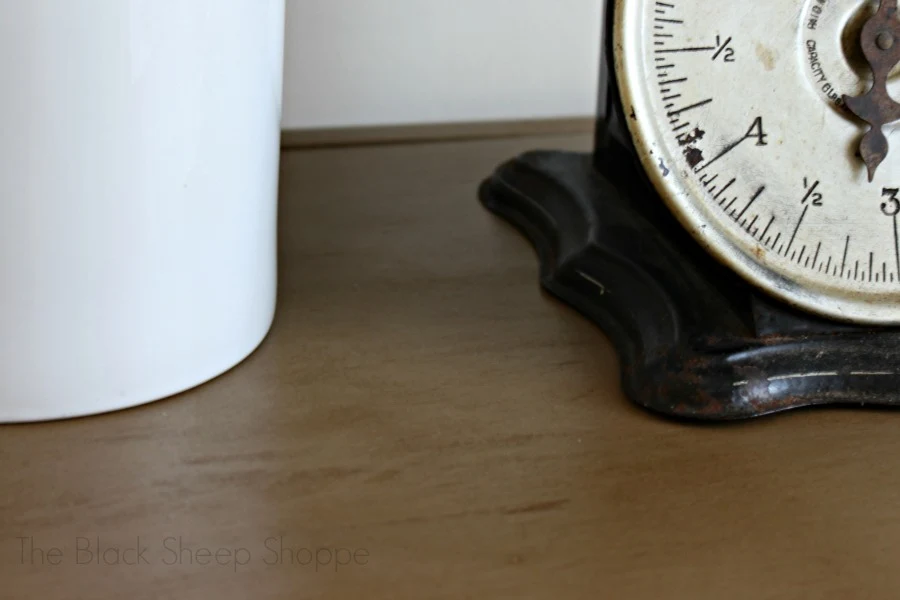
I applied a bit of dark wax to the main shelf to give it a more vintage look.
This photo shows some of the Old White highlights.

Supplies (affiliate links follow):
Chalk paint by Annie Sloan (Coco and Old White) a smaller can should be enough to finish a project like this. But I always buy the larger cans because I use it often.Clear Wax (to seal the paint)
Dark wax
Vintage Effects paint brush
* NOTE: I used a paint brush for this piece, but it was very time consuming. It would be much easier to use a paint sprayer. I don't own one at this time, but this sprayer is on my wish list. It's more towards the bottom of my list though because I prefer to use a brush.


Oh wow, I have the same baker's rack! I was going to get rid of it, but then saw some makeovers on Pinterest, which inspired me to paint it and use it on our patio to hold plates, cups, and beverages. I love the color you painted yours, but I painted mine white and yes, I sprayed it. Can't imagine painting all those curves and pieces with a brush - you're braver than I! I covered the main faux wood shelf (and drawer) with some beautiful rustic wood Contact paper - looks like real wood! I also made some shelf toppers using pieces of foam board covered with the same Contact paper so it looks like it has wood shelves and - bonus - things don't fall over now! Love your baker's rack makeover!
ReplyDeleteHi Debbie, Your project sounds amazing! The contact paper is a great idea, but I especially love your idea with the foam board to make shelves. If I get another baker's rack I might give that a try. And I will definitely spray the next one I think!
Delete