A Fresh Look for an Outdated TV Armoire
I finished painting my TV armoire, and it looks so much much better for just a little bit of money invested in paint. I know many people prefer to mount their TVs on a wall, but I prefer using the armoire so I can close the doors and hide the TV while it's not in use. This cabinet I am working on today was made in the 1990's and is constructed of pressboard with a faux wood finish.
BEFORE:
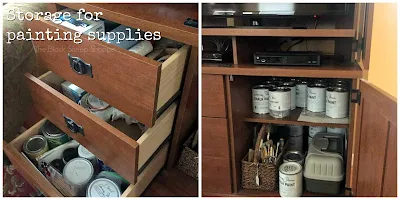
At one time we used it to store VHS tapes and later DVDs. Now I use it to store my paints and supplies.
PREP WORK:
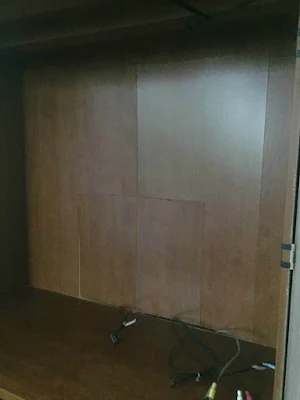
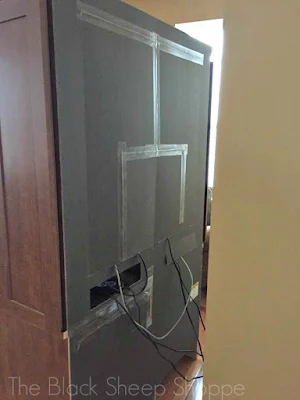
Of course the first step is to clean and wipe down the entire piece. I used a mild detergent and water. I considered replacing the cardboard back of the armoire, but decided to work with what I had instead.I used clear packing tape to add a little support to the back cut out areas. The extra support was necessary so I wouldn't punch through it while painting.
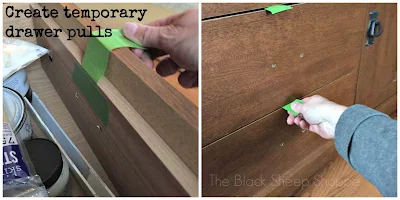
I wasn't planning to paint the hardware, so I removed all the pulls. Once the pulls were removed I would lose the ability to open the drawers, so I created temporary drawer pulls with painter's tape.
EXTERIOR - CREATING PAINT LAYERS:
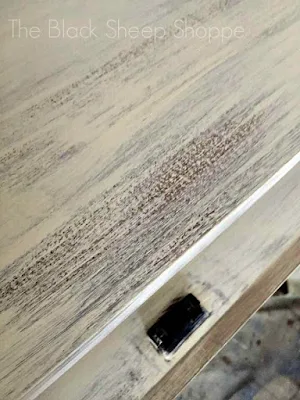
I chose a two toned neutral color scheme of Coco and Old Ochre. I layered the colors to add some visual dimension to the color. The faux wood finish was very smooth, so I applied a very thin base coat in Coco.Next I used random brush strokes to apply a coat of Old Ochre over the Coco.
I stepped back to look at it after applying the second coat. It looks blotchy while applying the layers, but after building multiple layers it will even out a bit. It's starting to take shape with the third layer of paint. I ended up with about 4 or 5 quick and light layers.
INTERIOR:
The next portion of the project was painting the interior. Once again I used a very thin base coat over the faux wood. I used my Vintage Effects paintbrush which works especially well when painting faux wood or laminate.The subtle brush strokes create a bit of texture which acts as a good base for my second coat of paint to adhere to.
AFTER:
And here's the finished armoire. There is still some color variation created by the layers of paint, but it's subtle without being too "flat". I sealed the paint with soft clear wax.The dark wax is mainly settled into the recessed areas.
Although my first coat on the interior was thin and a little rough, after applying the second coat it is smooth.
One of my favorite things about this style of armoire is the bat-wing doors. When they're open they fold back flush to the cabinet.
Supply list:
(Affiliate links)Chalk Paint - Coco and Old Ochre (you can save shipping costs by picking up from a local stockist).
Vintage Effects paint brush & large wax brush
Clear and dark wax
Lint free rags or blue shop towels (to wipe away excess wax; can also be used to apply wax instead of a brush)






The miracle of paint in revamping an appearance!!!
ReplyDeleteA hint for the interior of your T.V. space...Lowe’s carries a neutral textured
wallpaper that is paintable & I love it! My situation was similar to yours & I needed to cover up the interior of sloppy & drippy enamel painted beadboard inside of built in shelves (btw, not my paint job). I cut & glued the wallpaper to wrap around the interior back & sides of my shelves (not the top or bottom) & then painted & glazed the wallpaper. Camoflouged it completely & saved me hours of sanding & stripping stubborn enamel paint in tight spaces!!
Cindy Lou
Rockwall, TX
Thank you Cindy! I love your idea to use the paintable wallpaper. I will check it out at Lowe's and most likely use it on a future project. :-)
Delete