Tutorial: DIY Holiday Barn Wood Signs
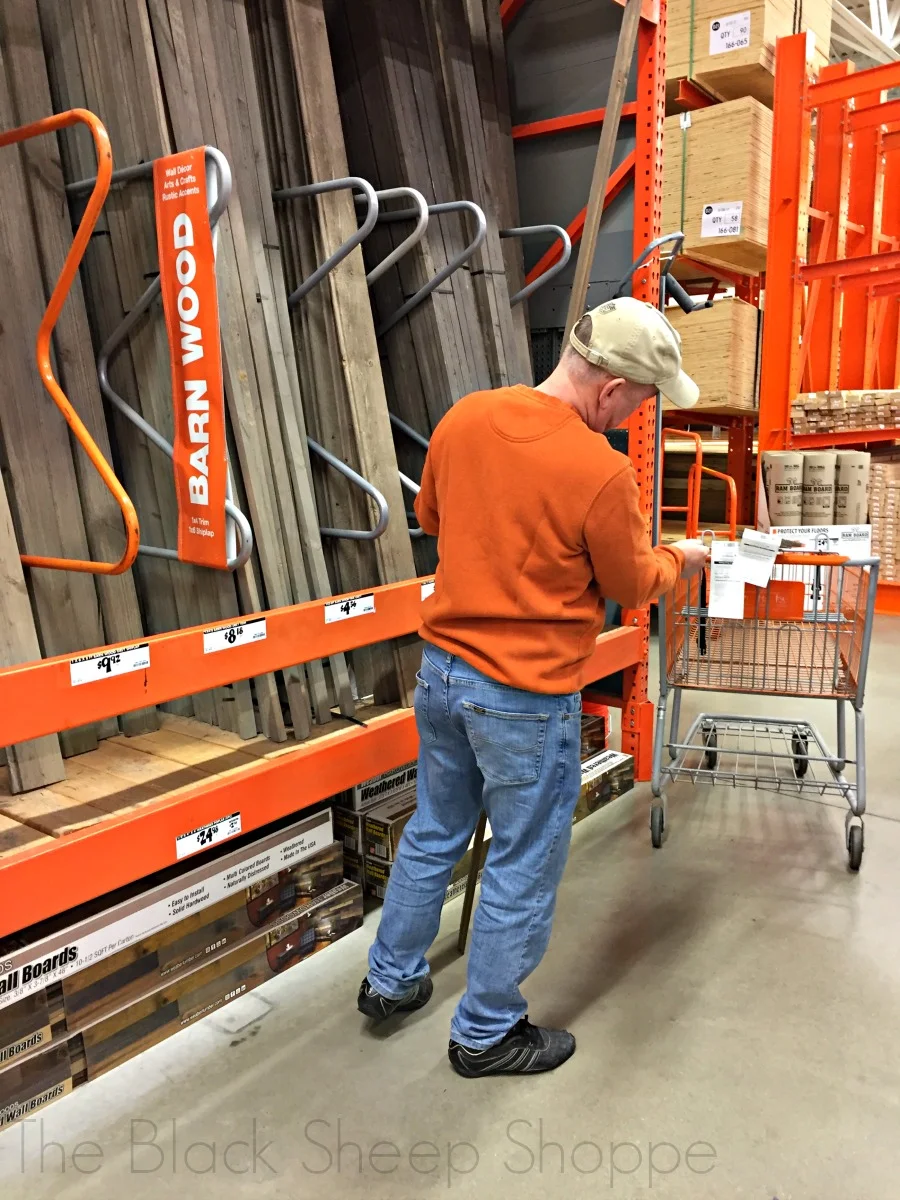
Next I selected a 1 x 2 piece of trim and cut it myself at the store. Well actually I had my husband cut it because I couldn't take a picture and saw the wood at the same time.
Assemble the Wood:
I hammered the nails through the front of the wood (it blends in later) into the trim piece on the back. I used a little wood glue to help secure the trim, too.Two pieces of trim, one at the top and the other at the bottom, secure the two pieces of barn wood together. The sign can be leaned up against a wall, but I also add a d-hook ring to the piece of trim for the option of hanging it.
Create a Background:
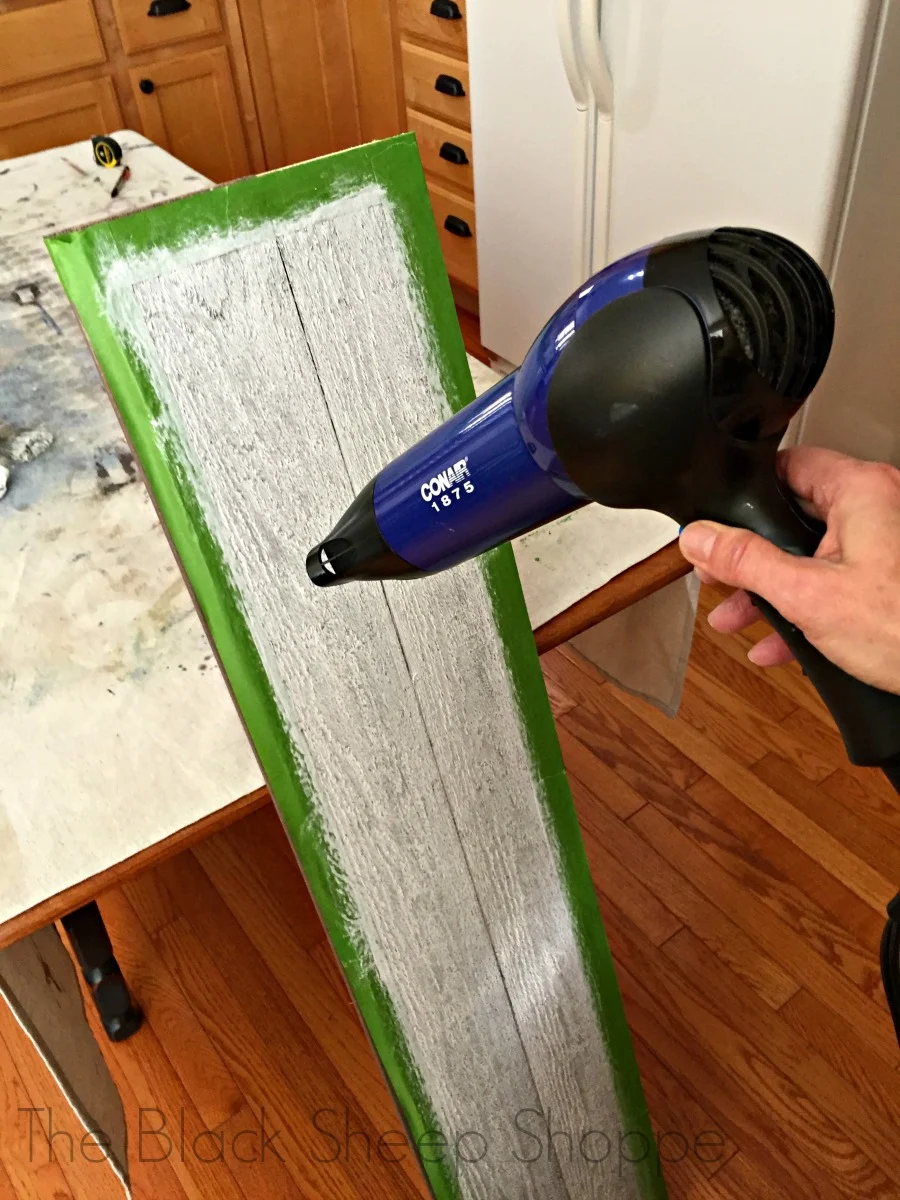
For this design I wanted a background color with a border. First I used painters tape to tape off a border area. To avoid paint bleeding underneath the rough texture of the wood, I applied a clear coat of gloss medium sealer before applying paint. Mod Podge would also work for this step. Either product will look milky when applied but will dry clear.Once the sealer was dry, I painted on my background color. I used an old paint brush for this step. An inexpensive chip brush would work just as well, too.
I used a hair dryer after each application of paint through out the project to speed up the drying time.
Once the background paint was dry, I removed the painters tape and trimmed it to fit the background area in order to paint the border. You could use fresh tape, but I like to re-use the tape whenever possible.
Once again I used a sealant to seal the tape to prevent bleed through. Then I painted a red border.
After the paint was dry I removed the tape. I love the crisp transition between the colors.
Stencils:
Hold the stencil flat with one hand.
Then pounce the paint up and down with a stencil brush. I used Chalk Paint for the letters, but acrylic paint will work, too. Use a small amount of paint and add more as needed, but be careful not to overload your brush or it might seep under the stencil.
I applied a final coat of sealant after all the letters were applied and dry.
To give the sign a little more rustic flair, I applied a dark glaze with a foam brush over the entire sign.
After:
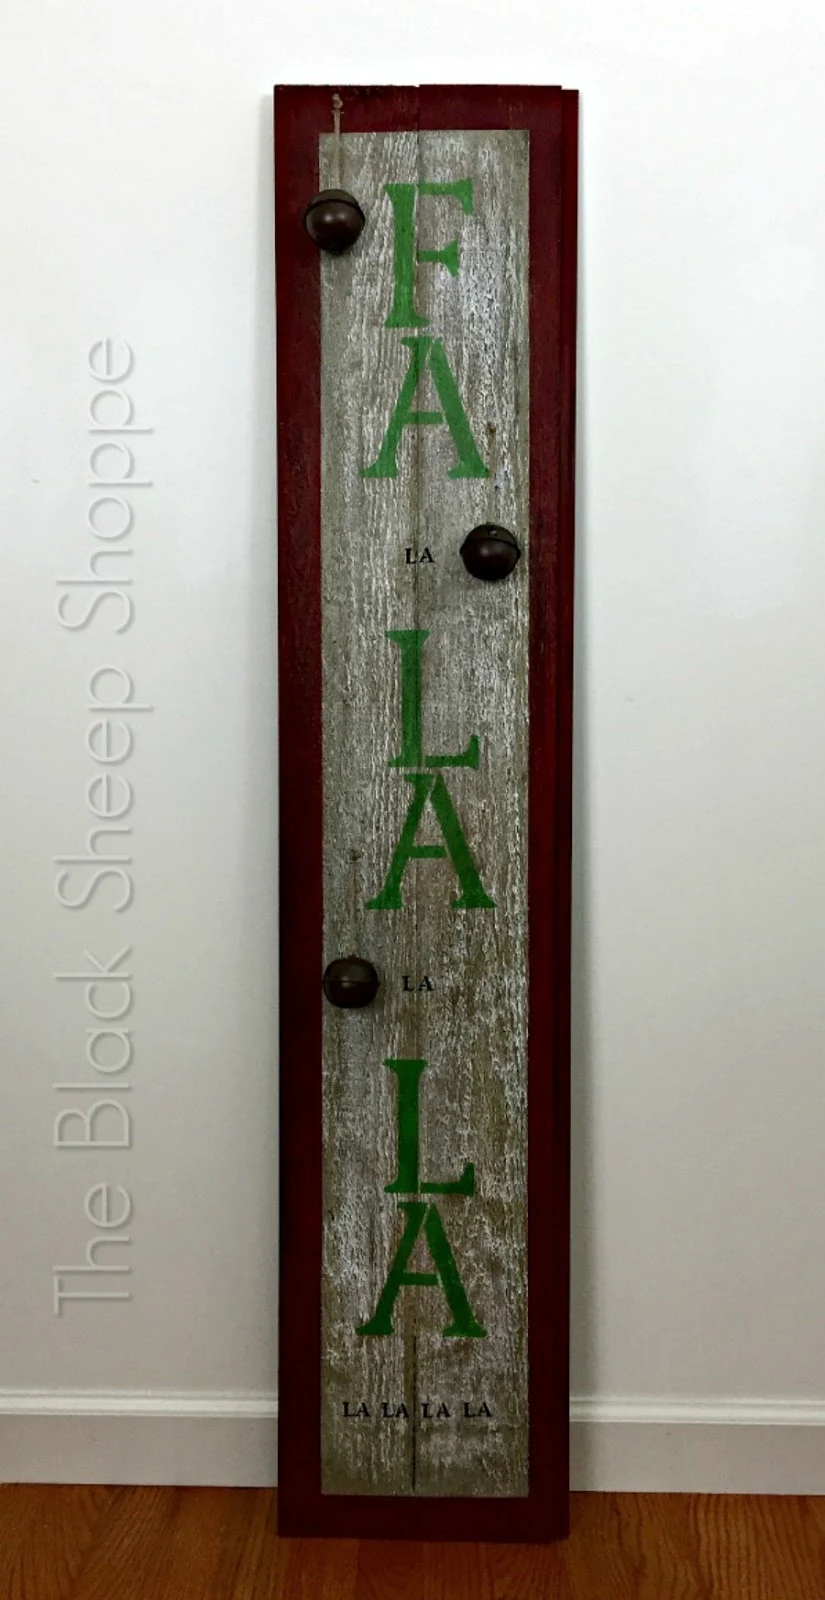
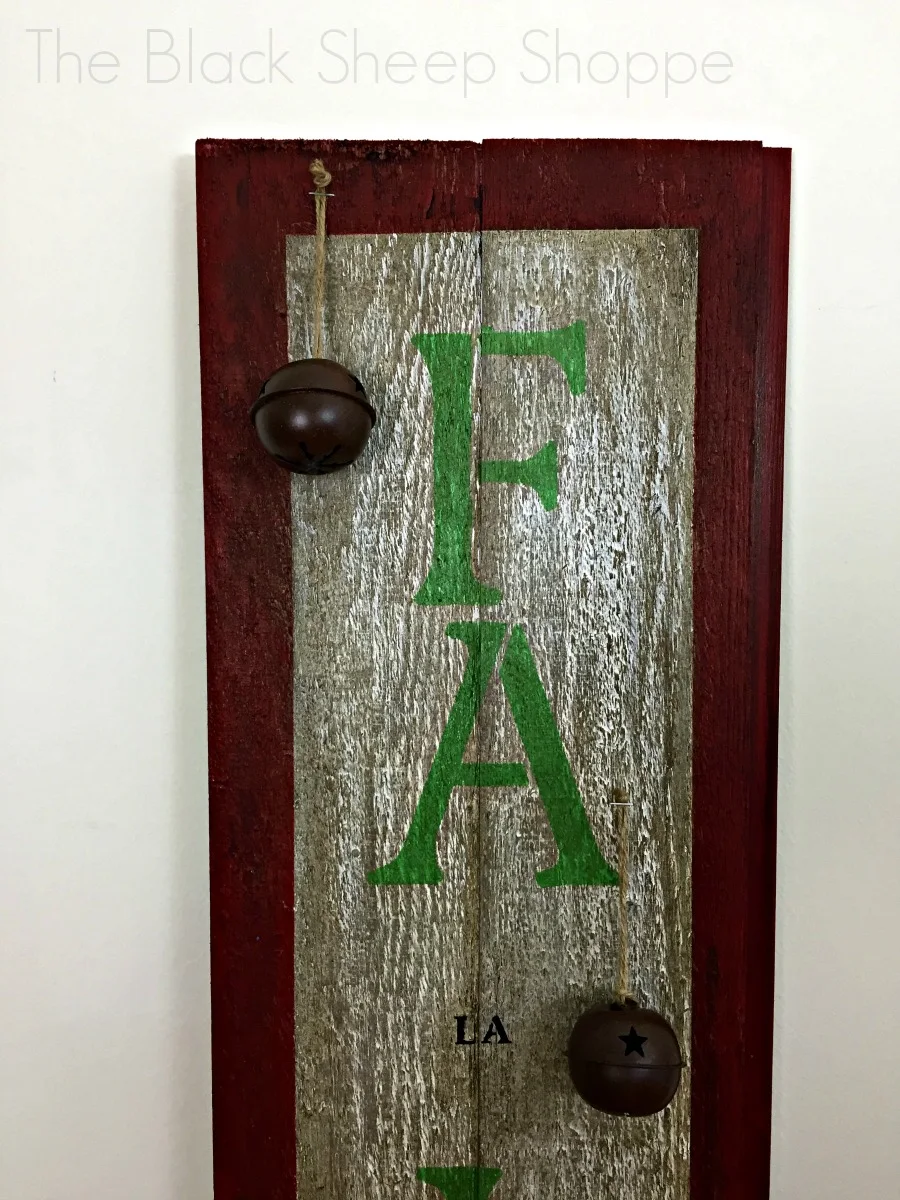
And here's my finished "Fa-la-la" holiday barn wood sign!I wanted a little more dimension to the sign, so I attached some sleigh bells using jute twine and a staple gun.
I hope today's project inspires you to be creative and make your own DIY holiday decorations.
Supply List:
Here's the supply list for what I used on this project. But you can be creative and use whatever colors or design you choose. (Some affiliate links included.)- Barn wood and trim (Home Depot). To keep costs down be sure to check the scrap wood section, too.
- Hammer, nails & wood glue
- Hair dryer (optional)
- Painter's Tape
- Gloss medium (or Mod Podge)
- Old paint brush or chip brush
- Stencils
- Stencil brush
- Paint: White, Red, Green, Black (Acrylic paints also work well.)
- Glaze
- Sleigh bells
- Jute twine
- Staple gun





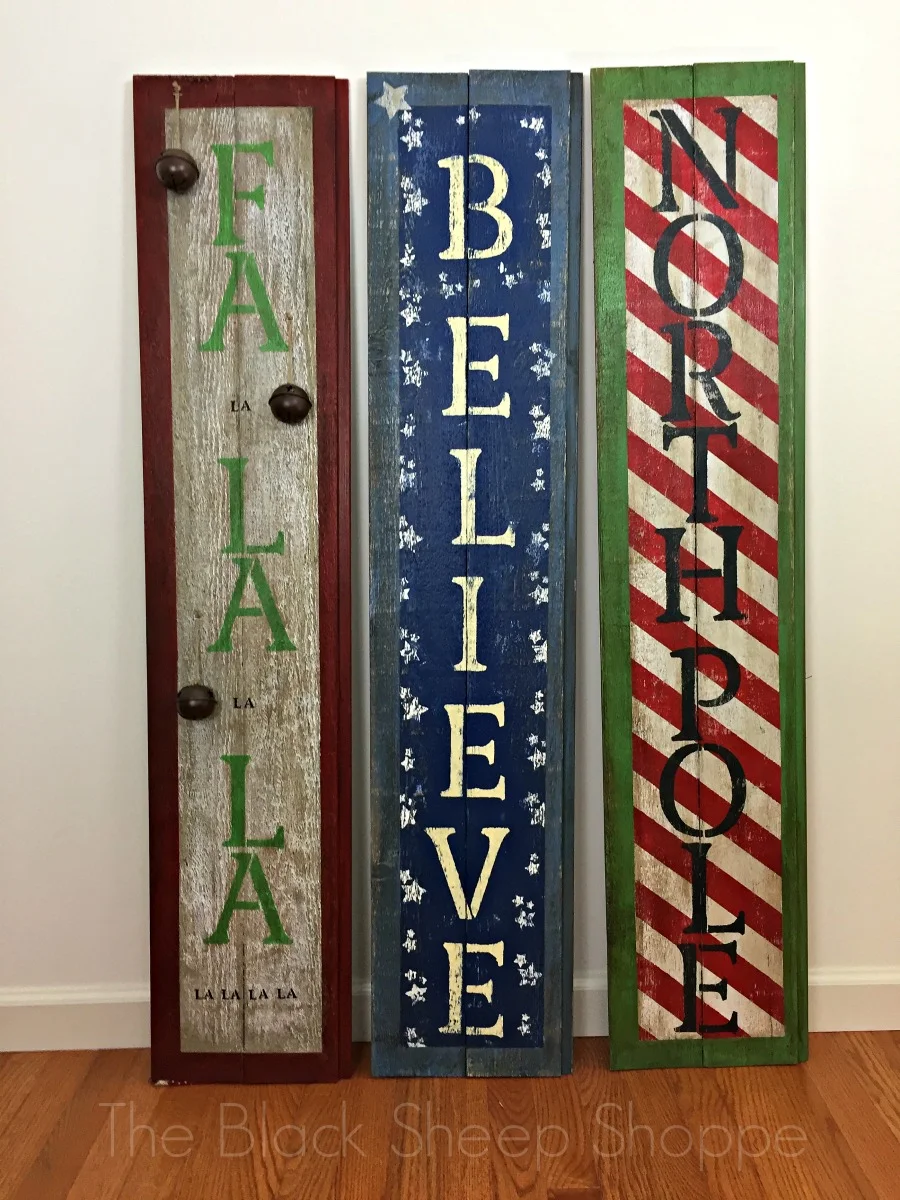

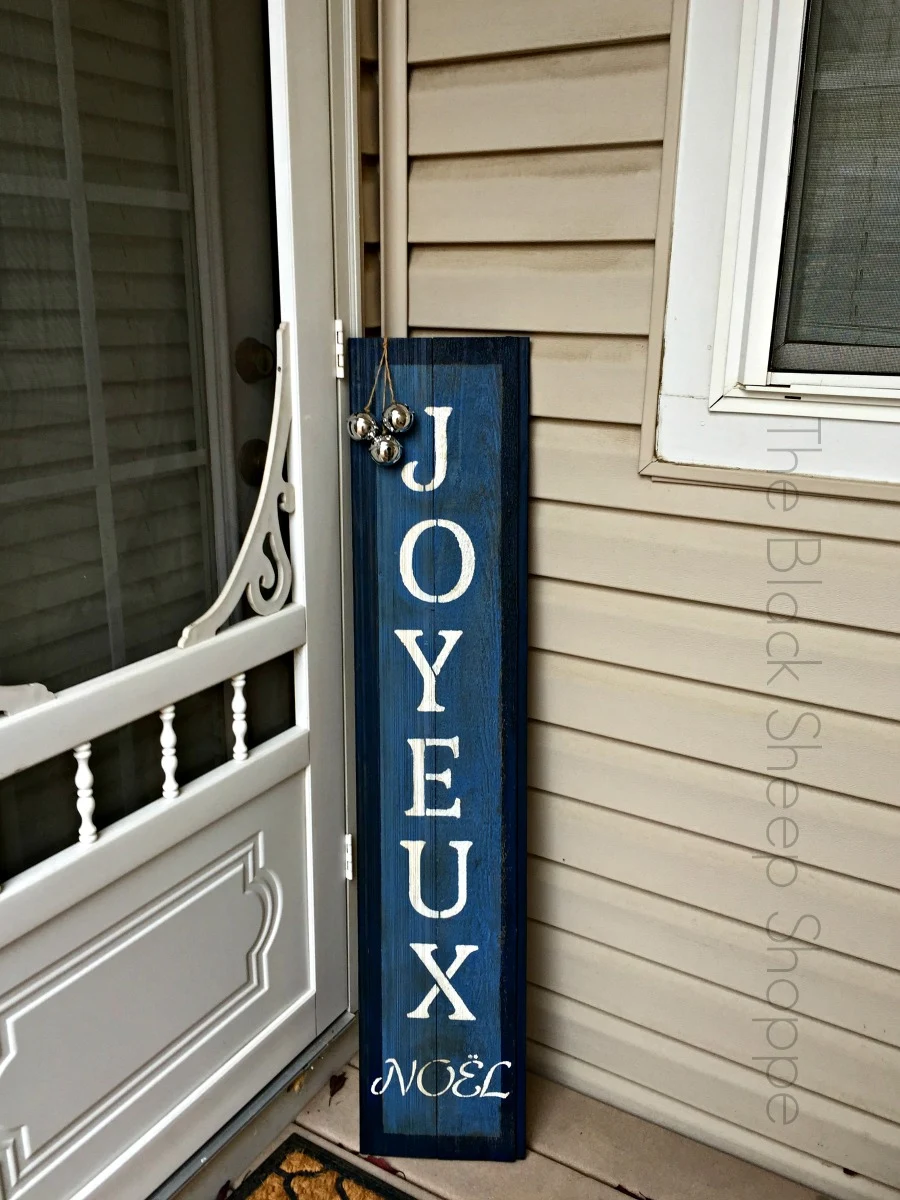


These are really cute Patricia and I love how the dark glaze gives them a vintage vibe.
ReplyDeleteThank you Marie. The signs were fun to make.
DeleteOh I love them. I'm planning to make some signs with my 14 year old grandson today. But Ireland being Ireland, it's wet miserable and cold. So we will put our sign painting on hold for now. But thank you for the great tutorial. 👏👏👏👍👍🎄🎄
ReplyDeleteThank you so much Sandra! I hope you get a change in the weather soon and enjoy the project with your grandson.
Delete