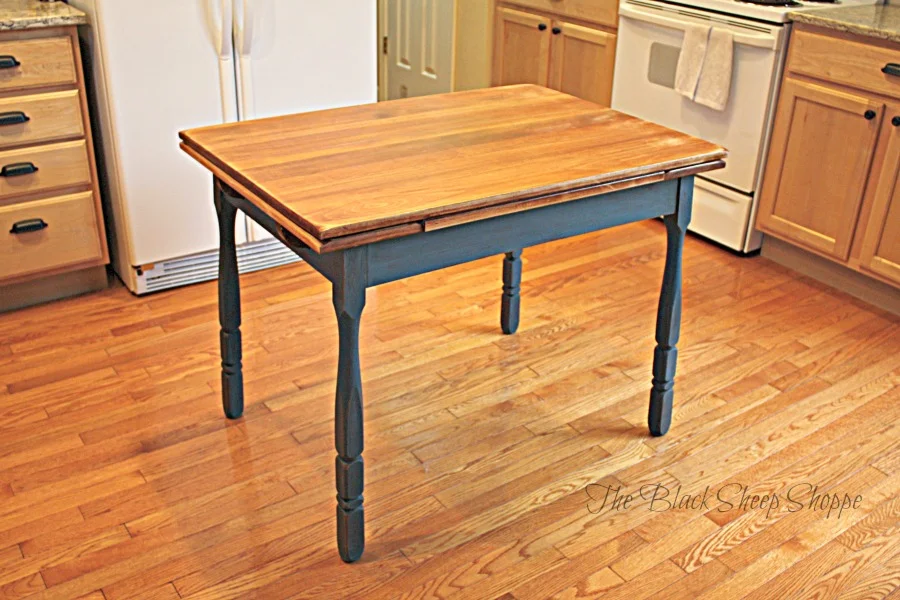
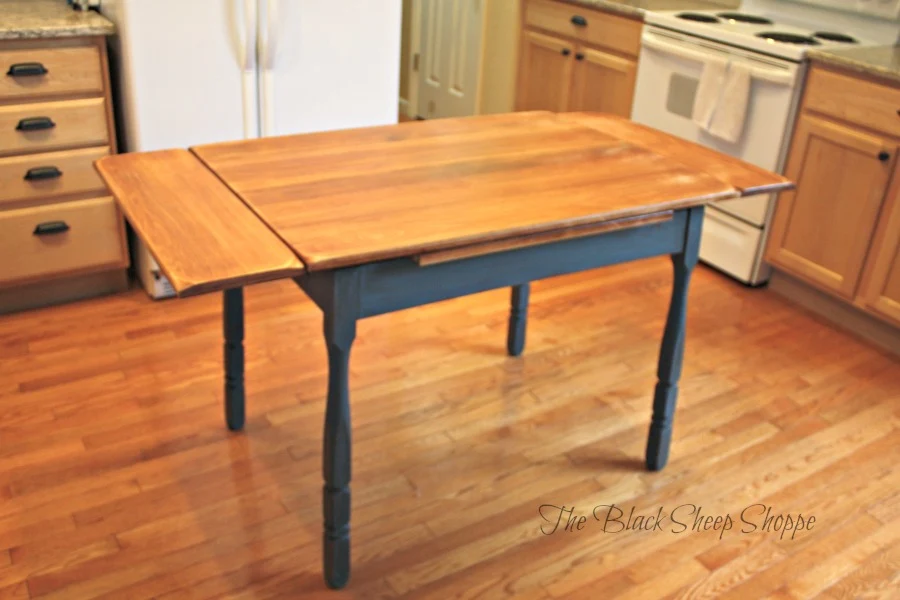
I brought this vintage kitchen table back from a recent trip to northern Ohio. I believe it is circa 1930's. The ends of the table slide out to extend the length of the top.

I sanded the top with my orbital sander, first with 60-grit, and then worked up to a 220-grit sanding disc for a smooth finish. I decided against staining the top and instead just applied a clear top coat.
 |
| An orbital sander quickly removes the finish. |
Next I applied two coats of Aubusson blue Chalk Paint to the base.
 |
| Applying Chalk Paint to the table base. |
I took a few quick photos before I took the table to my booth:
Supply List
The following is a list of supplies I used on this project (affiliate links).
- Chalk Paint by Annie Sloan (Aubusson blue) and clear wax. Click on the link to find where you can by her products from local stockists. Some stockists also ship via online orders! If you live near a stockist I encourage you to visit in-person to get advice and inspiration. If you prefer to order online I have used and recommend either Fleurish Home or The Purple Painted Lady.
- General Finishes Gel Top Coat Urethane Satin Finish
- Orbital sander and variety pack of sand paper (60, 80, 100, 150, 200-grit). The sander is an investment, but it makes quick work of the job and many times eliminates the need for messy chemical strippers. You can find it for $50 or less and if you work on a lot of projects it's worth it. Alternatively you could sand by hand or use CitriStrip to remove the finish.
- Paint brush and sanding pads.


Comments
Post a Comment
Select the NOTIFY ME box to receive a notification of a reply to your comment (yes, I do try to acknowledge all comments). There might be a publishing delay on older posts as they are moderated to reduce spam.