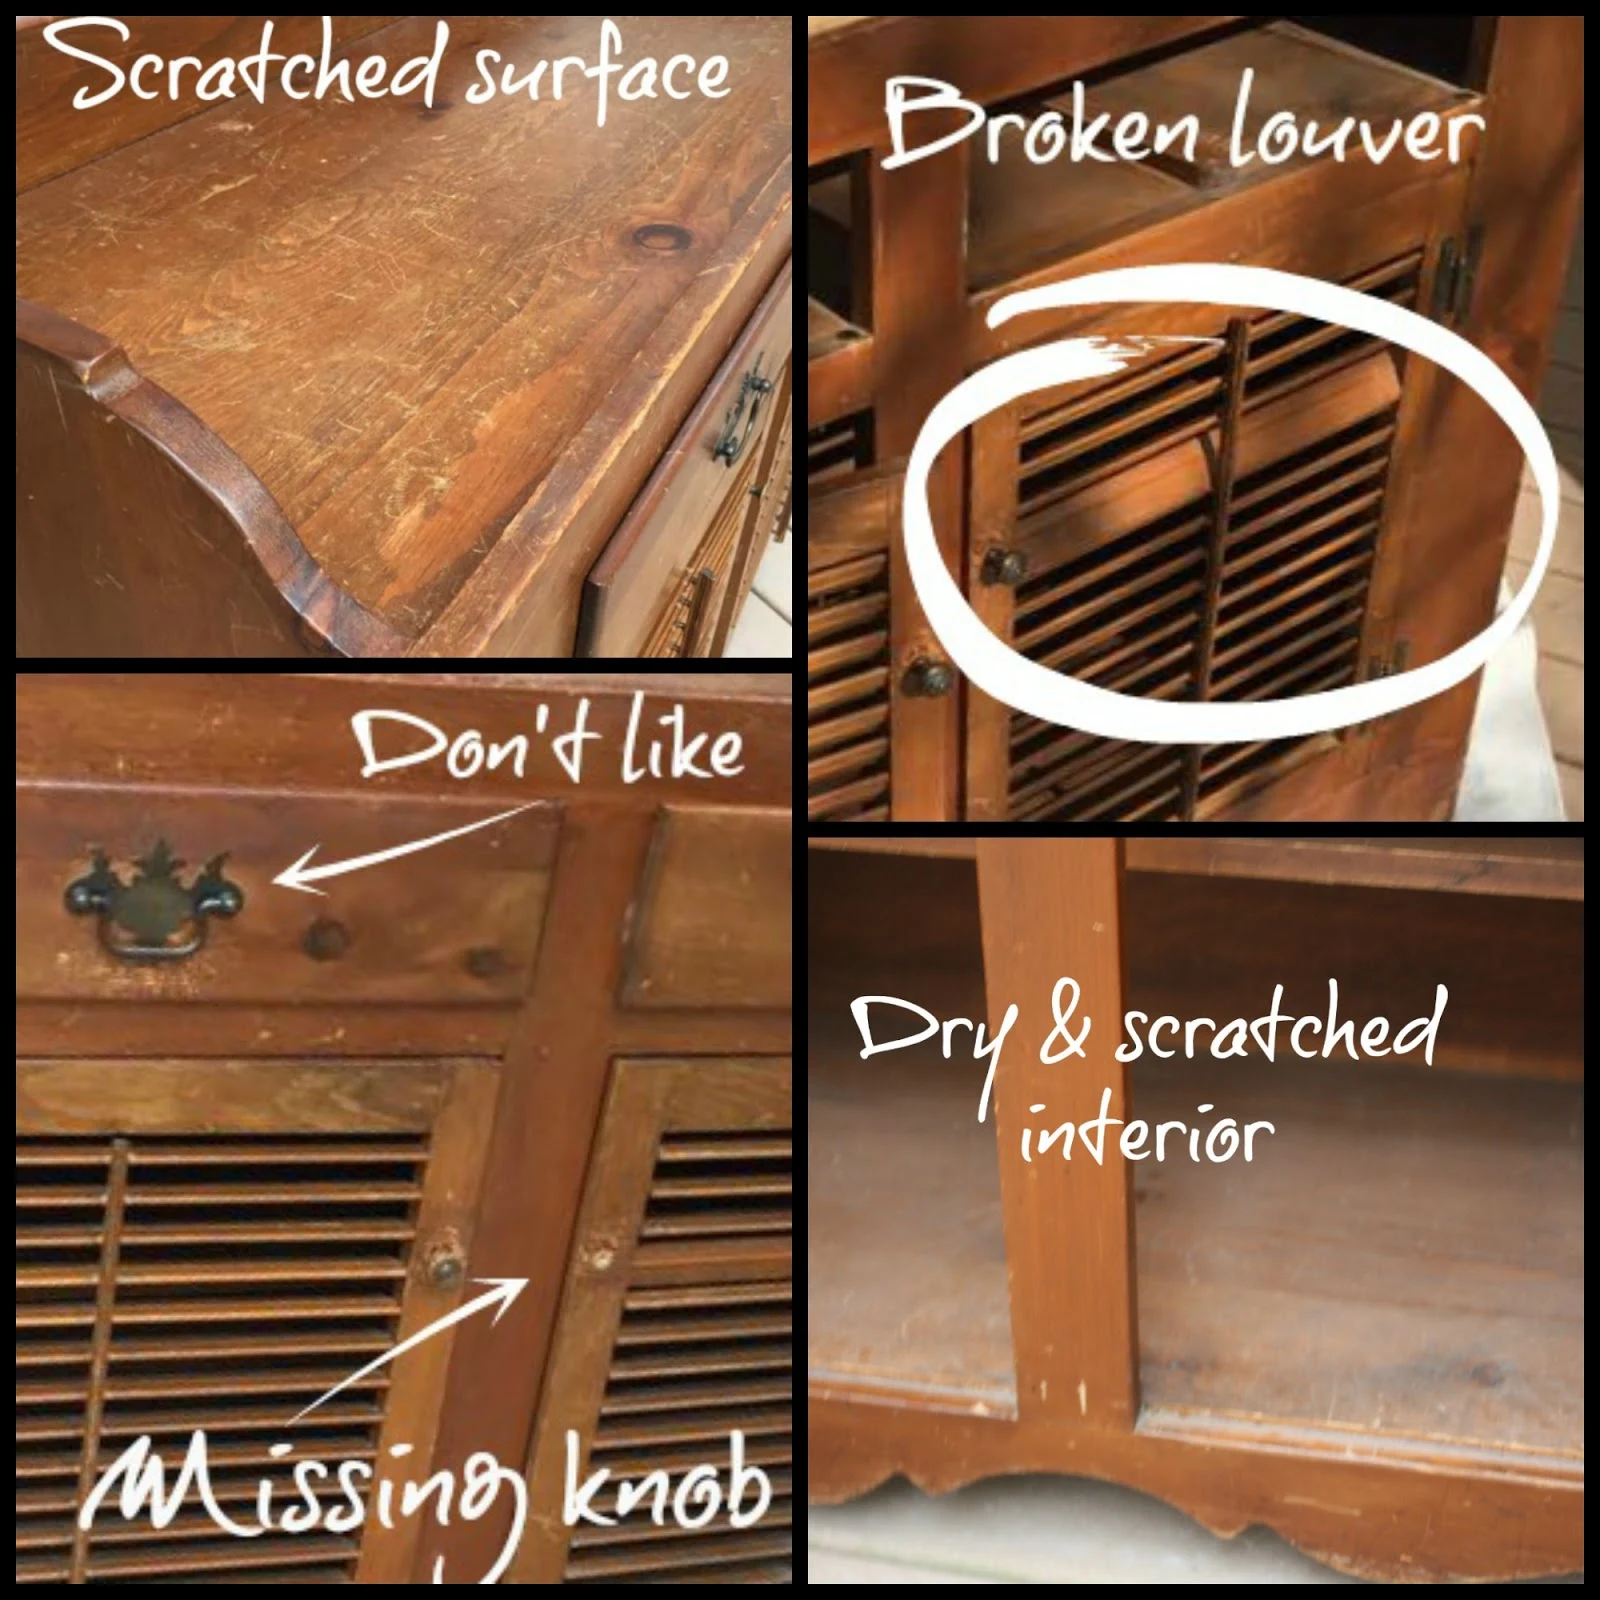
This dry sink was dated and needed a few repairs before painting.
The dry sink was in mostly good condition. The problem areas were:
- Surface scratches and a few gouges
- One of the louver slats on the door was detached from the pull
- One missing door knob
- Scratched & dry wood on interior
 |
| Evaluate damage of thrift store furniture |
I sanded the scratches from the top of the cabinet.
 |
| An orbital sander will quickly remove the damaged finish |
I bought replacement knobs and pulls from Hobby Lobby.
 |
| Replacement door knobs from Hobby Lobby |
The original hinges didn't match the new knobs, so I painted them to coordinate better.
 |
| Hinges painted in Graphite with gold Rub-n-Buff |
I did not repair the broken louvre. They are decorative rather than functional, so I think with paint they will work just fine.
 |
| Paint large areas with a 2-inch brush and tight spaces with a small brush |
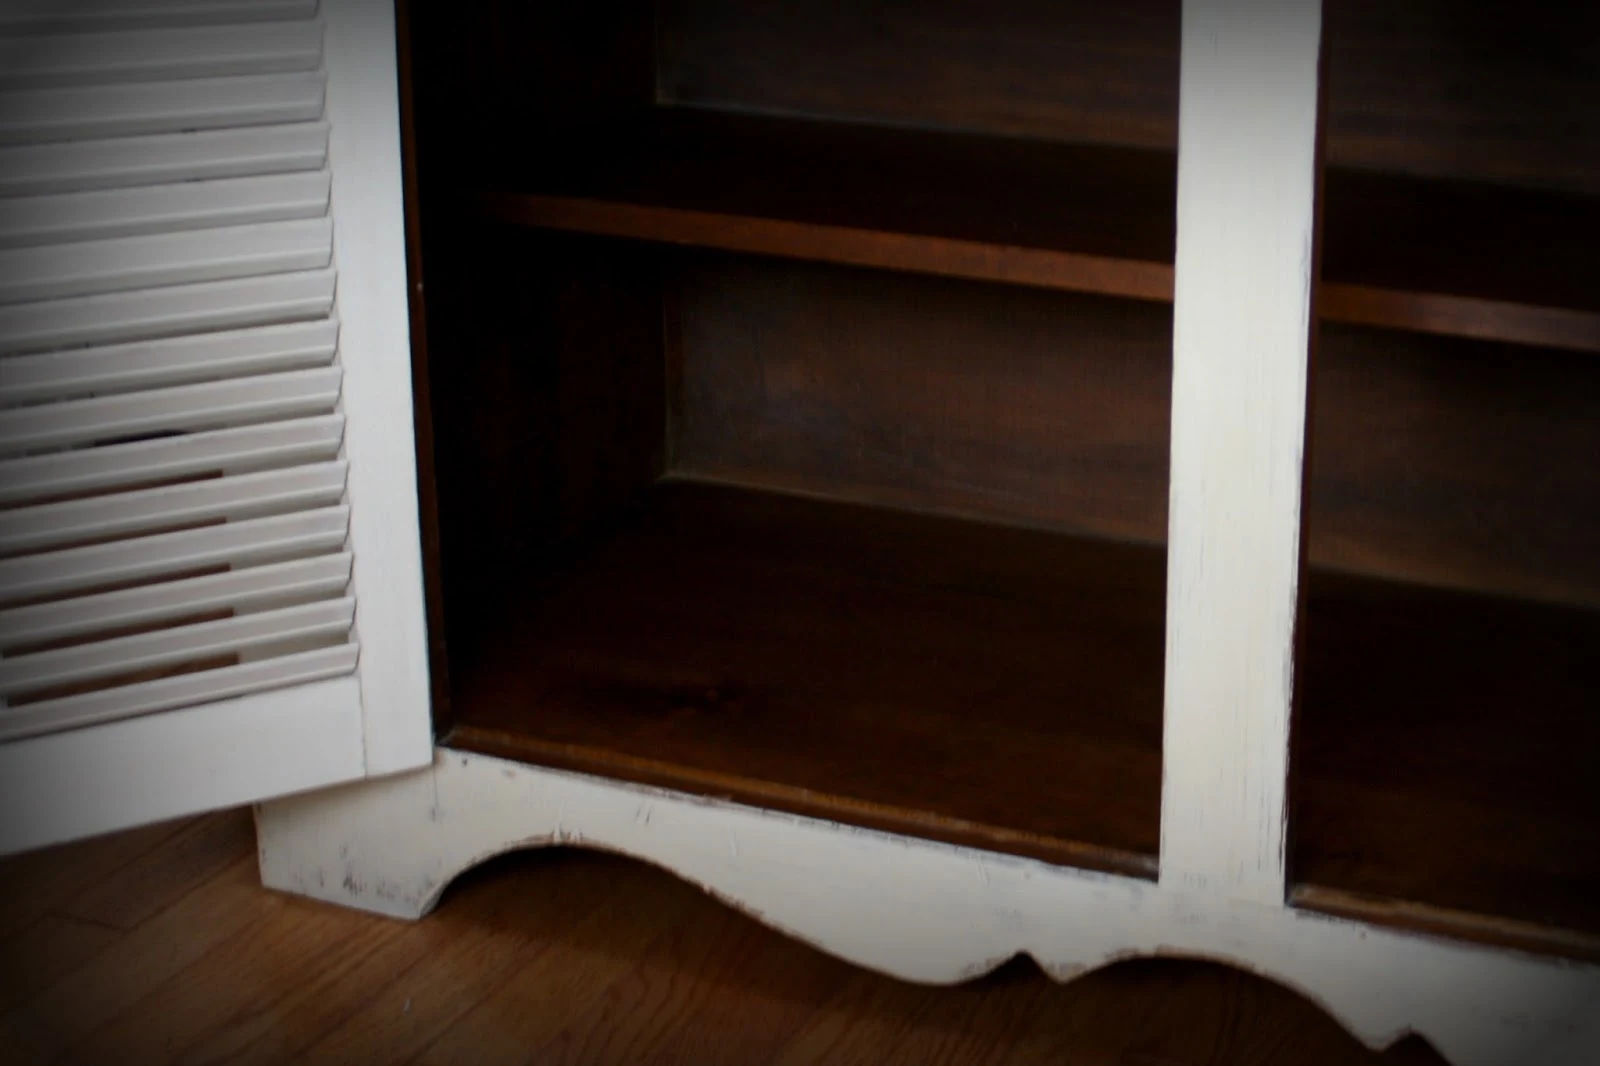
The final step was to re-condition the interior of the cabinet. I used Restore-A-Finish which helps condition the dry wood and minimizes the scratches. The photo shows the results after one application. I added a second application (just wipe it on with a shop towel) and then finished it with Feed-n-Wax (beeswax & orange oil conditioner).
 |
| Reconditioning the wood |
After
I painted the cabinet with two coats of Old Ochre. I sealed the paint with soft clear wax.
 |
| After: Painted in Old Ochre |
 |
| Stained wood top |
 |
| Three hardware styles coordinated together |
 |
| Louvered door |
The interior wood shelves are now conditioned and look gorgeous.
 |
| Reconditioned wood interior |
I reconditioned the interior drawers, too.
 |
| Dry sink with 2 drawers |
I distressed the paint with sandpaper to play up its vintage character.
 |
| Distressing paint plays up the vintage character |
Thanks so much for stopping by the blog today!
Supply List (affiliate links):
- Chalk Paint by Annie Sloan (Old Ochre on the base and Graphite on the hinges) and wax (clear and dark). Click on the link to find where you can by her products from local stockists. Some stockists also ship via online orders! If you live near a stockist I encourage you to visit in-person to get advice and inspiration. If you prefer to order online I have used and recommend either Fleurish Home or The Purple Painted Lady.
- Orbital sander and variety pack of sand paper (60, 80, 100, 150, 200-grit). The sander is an investment, but it makes quick work of the job and many times eliminates the need for messy chemical strippers. You can find it for $50 or less and if you work on a lot of projects it's worth it. An alternative is to try to save the finish with Restore-A-Finish or remove it with CitriStrip.
- General Finishes Gel Stains Prairie Wheat and Antique Walnut
- Rub-n-Buff I purchased a sample set a couple of years ago and use it frequently on my projects. The tubes are also sold individually.
- Restore-A-Finish (I use this frequently and it saves many vintage pieces! However, I find it doesn't work on lacquered type finishes).
- Feed & Wax (for drawer interiors)
- Flexible sanding pad These come in a box of 20, but I cut them in half so I get 40! One box will last for a very long time as they are re-usable. The pads also come in a superfine finish for even smoother results. If you don't work on a lot of projects, then just use plain old sandpaper. I prefer the 3-M brand.
- 220-grit sand paper for heavier distressing.
- Tack cloths for quick removal of sanding dust!
- Lint free shop rags (for removing excess wax). These can also be used to buff the wax. Or use old t-shirts.
- Various brushes: 2-inch, small flat brush & large wax brush.


Comments
Post a Comment
Select the NOTIFY ME box to receive a notification of a reply to your comment (yes, I do try to acknowledge all comments). There might be a publishing delay on older posts as they are moderated to reduce spam.