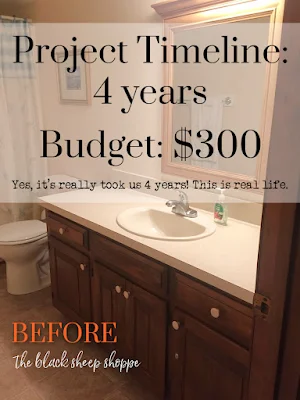
This project could easily be done in about a week. But it took us 4 years! We are only at the condo for limited visits each year, so sometimes it can be a long process. We continue to work at updating our vacation rental as time and money permits.
Who doesn't love those amazing makeovers that are done in a weekend? But this is real life. So if you have limited budget and/or time, I hope this project inspires you to hang in there.
(Note: If you're in a hurry you can double click any of the pictures to open up a gallery view to quickly scroll through all the photos.)BEFORE:
The bathroom has the original vanity from the 1980s. It's a double vanity with a single sink.
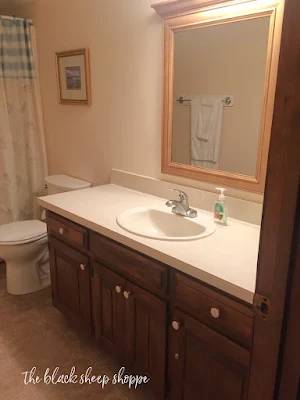 |
| Before: Original 1980s master bathroom. |
Everything in the bathroom is in overall good condition, but it is a bit tired and worn.
 |
| Tired and worn bathroom. |
The mirror is newer than the vanity, but it doesn't match or coordinate with it.
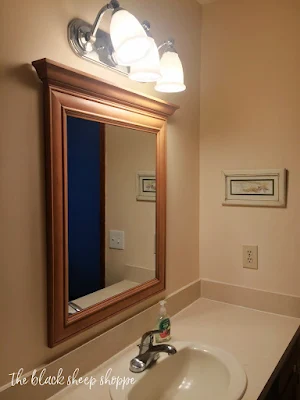 |
| Mis-matched vanity mirror. |
PHASE 1: PAINT THE VANITY
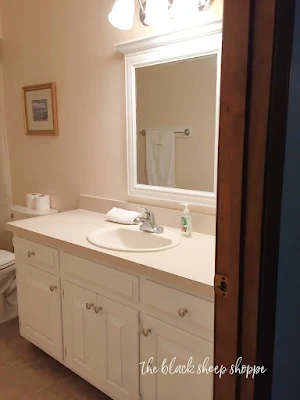 |
| Painted bathroom vanity. |
It immediately brightened up the space. But the walls are a light peach color so everything basically blends together.
 |
| The white vanity brightened the space. |
I changed the cabinet hinges, knobs, and drawer liner. The total cost so far is about $50.
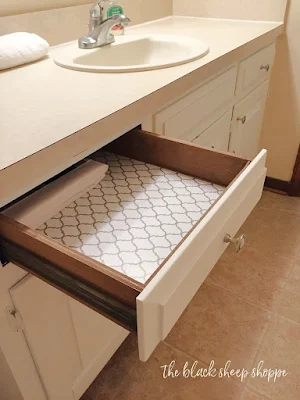 |
| New knobs, hinges, and drawer liner. |
PHASE 2: PAINT THE WALLS
Two years later I painted the walls (Sherwin Williams Tidewater). It added a nice contrast against the white vanity.
 |
| Walls painted SW Tidewater. |
I also painted the trim and molding a bright white. (We plan to paint and/or replace all the trim throughout the condo, but that's for another day.)
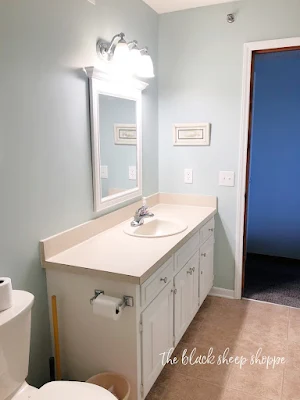 |
| Blue walls and white vanity. |
There was a black towel rack on the wall opposite the vanity which I painted white as well.
 |
| Towel rack painted white. |
I need to update all the art in the bathroom, but until such time I went ahead and painted all the frames white (you can see the original gold frame in the background in the first "before" photo). The total spent during Phase 2 was about $75 on paint and supplies.
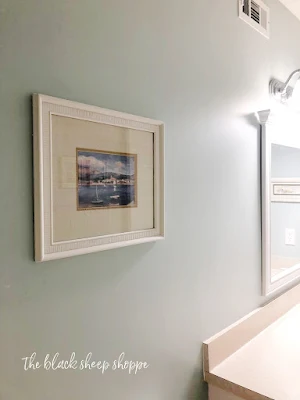 |
| Painted white picture frame. |
PHASE 3: NEW PLANK FLOORING
Now we're at the current timeframe and it's finally time to update the floor.
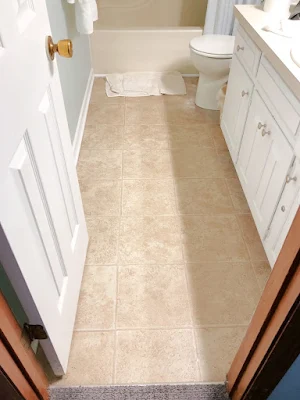 |
| 1980s vinyl bathroom floor. |
It's a vintage 1980s vinyl floor. Overall it's not in bad shape, but it's starting to come loose around the bathtub. We started the project by removing the shoe molding.
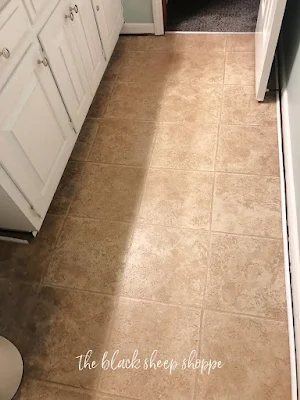 |
| Removing the shoe molding. |
Here you can see the new vinyl planks prior to installation.
 |
| New plank flooring prior to installation. |
My husband worked fairly quickly getting the planks installed. But I was able to sneak in and get a quick photo to show the contrast between the old and new floor.
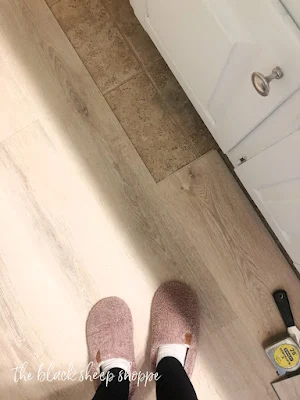 |
| New plank floor installed over old floor. |
Progress continues and now it's time to lay the floor in the toilet area.
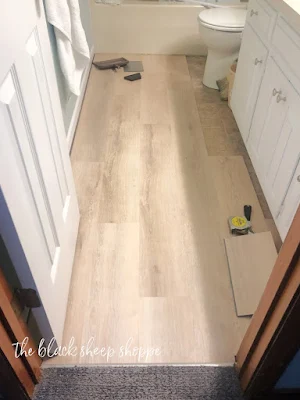 |
| Making progress! |
The bathroom isn't exactly tiny, but it's a tight fit to get two people in there to work on the floor. So I stayed out of the way and let my husband do the work. (I mainly stayed in the livingroom and worked on a crocheting a baby blanket for a new family member!)
 |
| Toilet removed for new floor install. |
It took most of a full day to install the new floor. But it really looks wonderful. Better in person I think than what my photos show. The new floor was about $150 (purchased at Lowe's). We brought a table saw with us in anticipation of cutting the planks to fit, but this particular floor only needed a utility knife and a straight edge to make the cuts.
The guest bathroom also received a new floor! You can see that project HERE.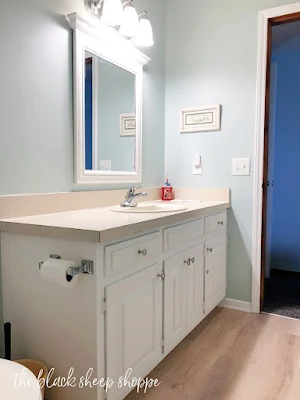 |
| New plank floor installed in bathroom. |
I also added a new shower curtain for $20.
 |
| New shower curtain. |
One of my favorite upgrades which doesn't show in any of the photos is a
new shower head (link to the product I purchased). I didn't take photos of the old one, but it was very basic. I think it was original 1980s and honestly it was looking nasty. Let me tell you this new one is amazing! Best $10 I ever spent. I loved it so much I bought another one for my shower at home!
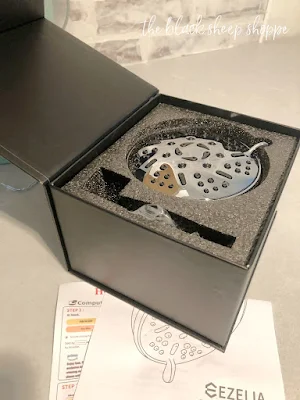 |
| Unboxing the new showerhead! |
The
showerhead has 9 settings and it seems to give a little extra water pressure. Some of the settings are a bit intense for me, but with 9 settings there is something for everyone. I like the rain shower setting the best. I hope our guests enjoy it!
 |
| Amazing inexpensive showerhead installed! |
PHASE 4 (to be determined!):
I think the next phase will be to add a shelf above the toilet and update the artwork in the room. Later I would like to add something to the walls, such as shiplap or board and batten. Maybe new lights, faucets, and a countertop? But for now here's a photo of the before and after.
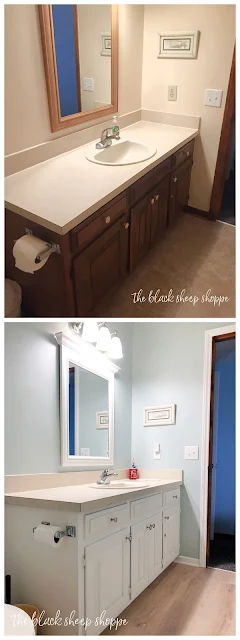 |
| Before and After Bathroom Refresh. |
MONEY SPENT (SO FAR):
$ 50 (phase 1: paint for vanity and new hardware)
$ 75 (phase 2: wall and trim paint + supplies)
$180 (phase 3: plank floor, shower curtain, showerhead)
$305 (total so far)
(Costs are approximate and were rounded either up or down to simplify. Your cost may differ depending on what supplies and tools you already have on hand.)




Your talents, and Jeff's, never cease to amaze me!!!!!!!
ReplyDeleteThanks Mom! :-)
Delete