Learn how to make the best of a small galley kitchen on a relatively tiny budget.
BUDGET
Gutting the kitchen, changing the floor plan and replacing everything would cost between $20k and $30k (or more). We only planned $3k to $5k for cosmetic updates in the kitchen (new countertop and floor plus appliances) when we purchased the house. Now in my world that's still a LOT of money, however, it was factored into the purchase price of the home.
THE PROBLEMS
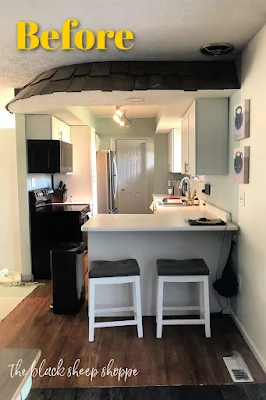
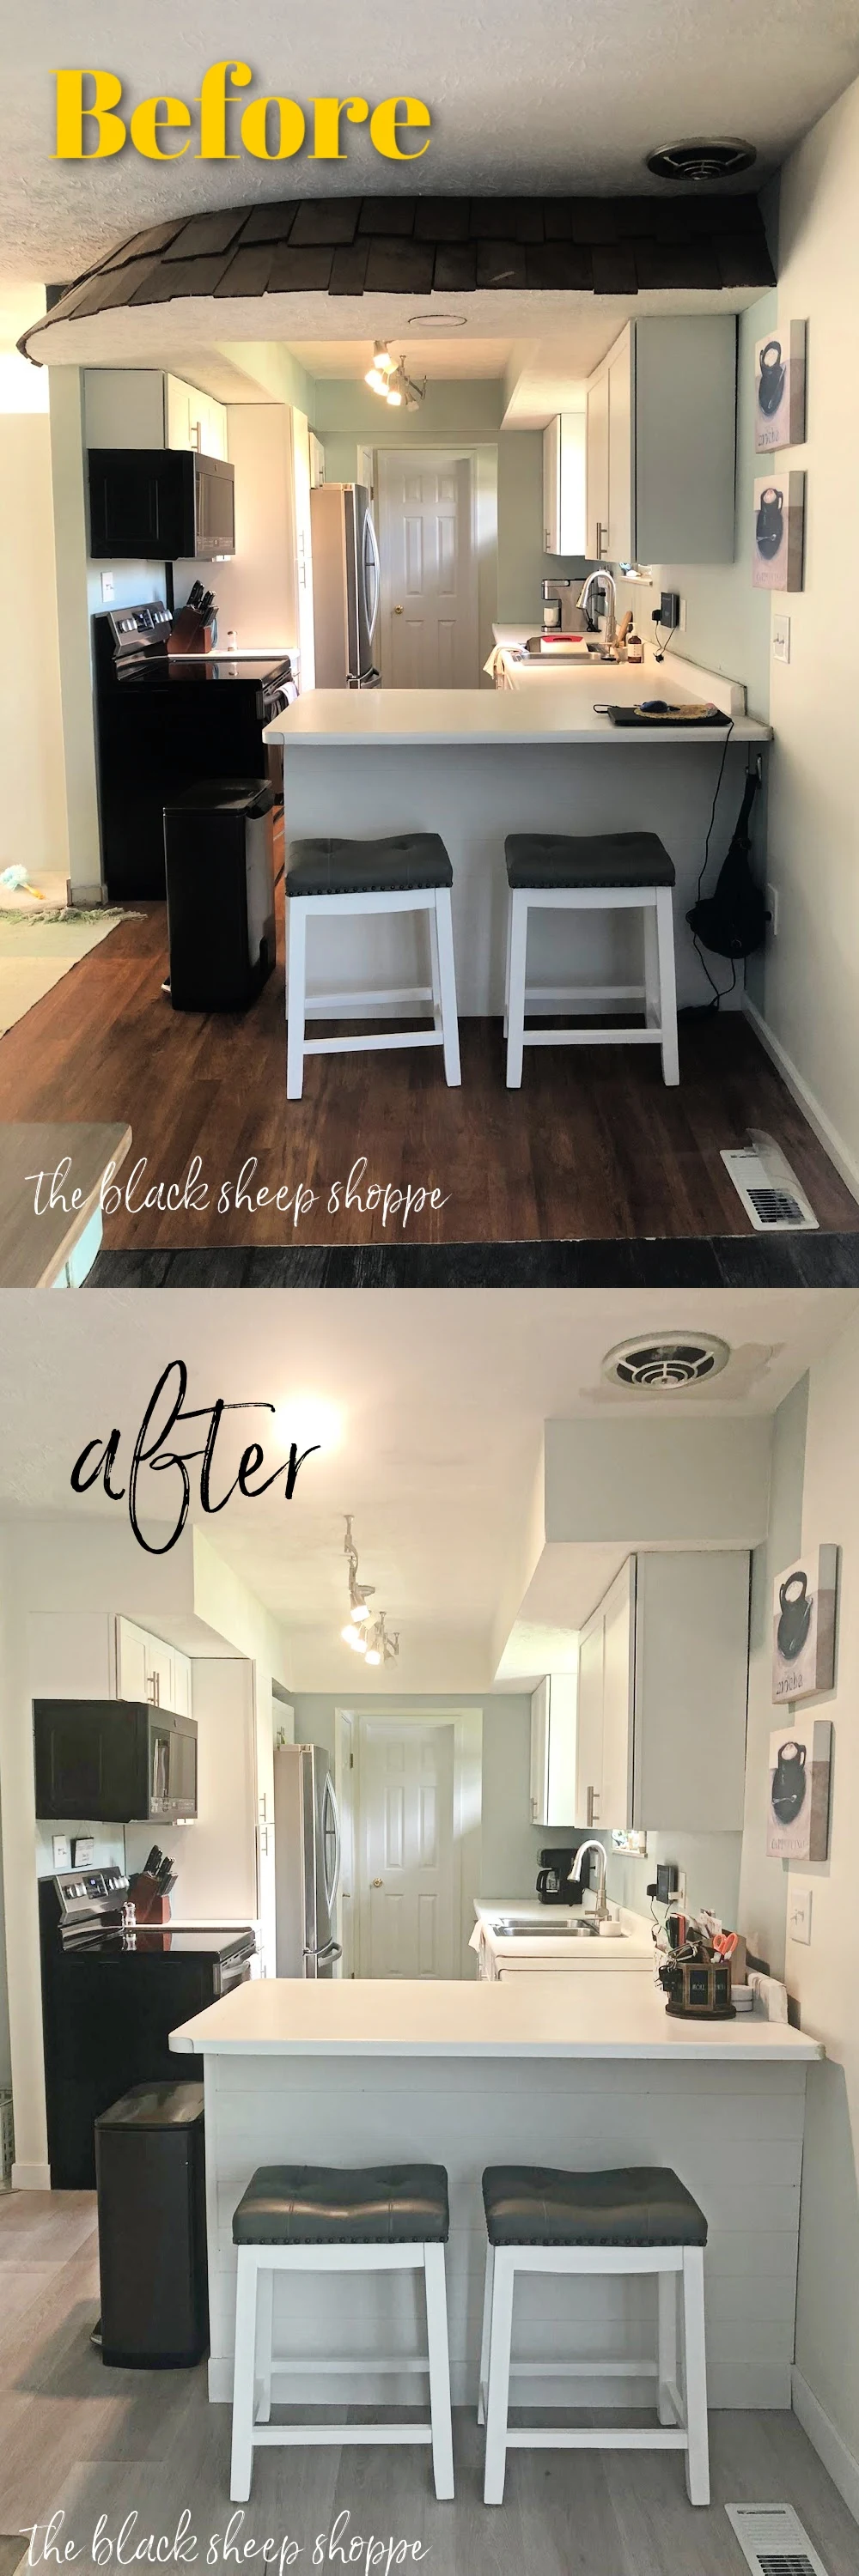
1. Every kitchen renovation has it's own challenges and my kitchen is no exception. We downsized to this fixer-upper house in 2020 and knew it would require some work in the kitchen. Fortunately the cabinets are newer. Unfortunately, the shingled soffit is an eyesore.
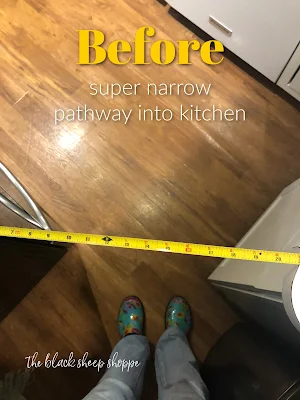
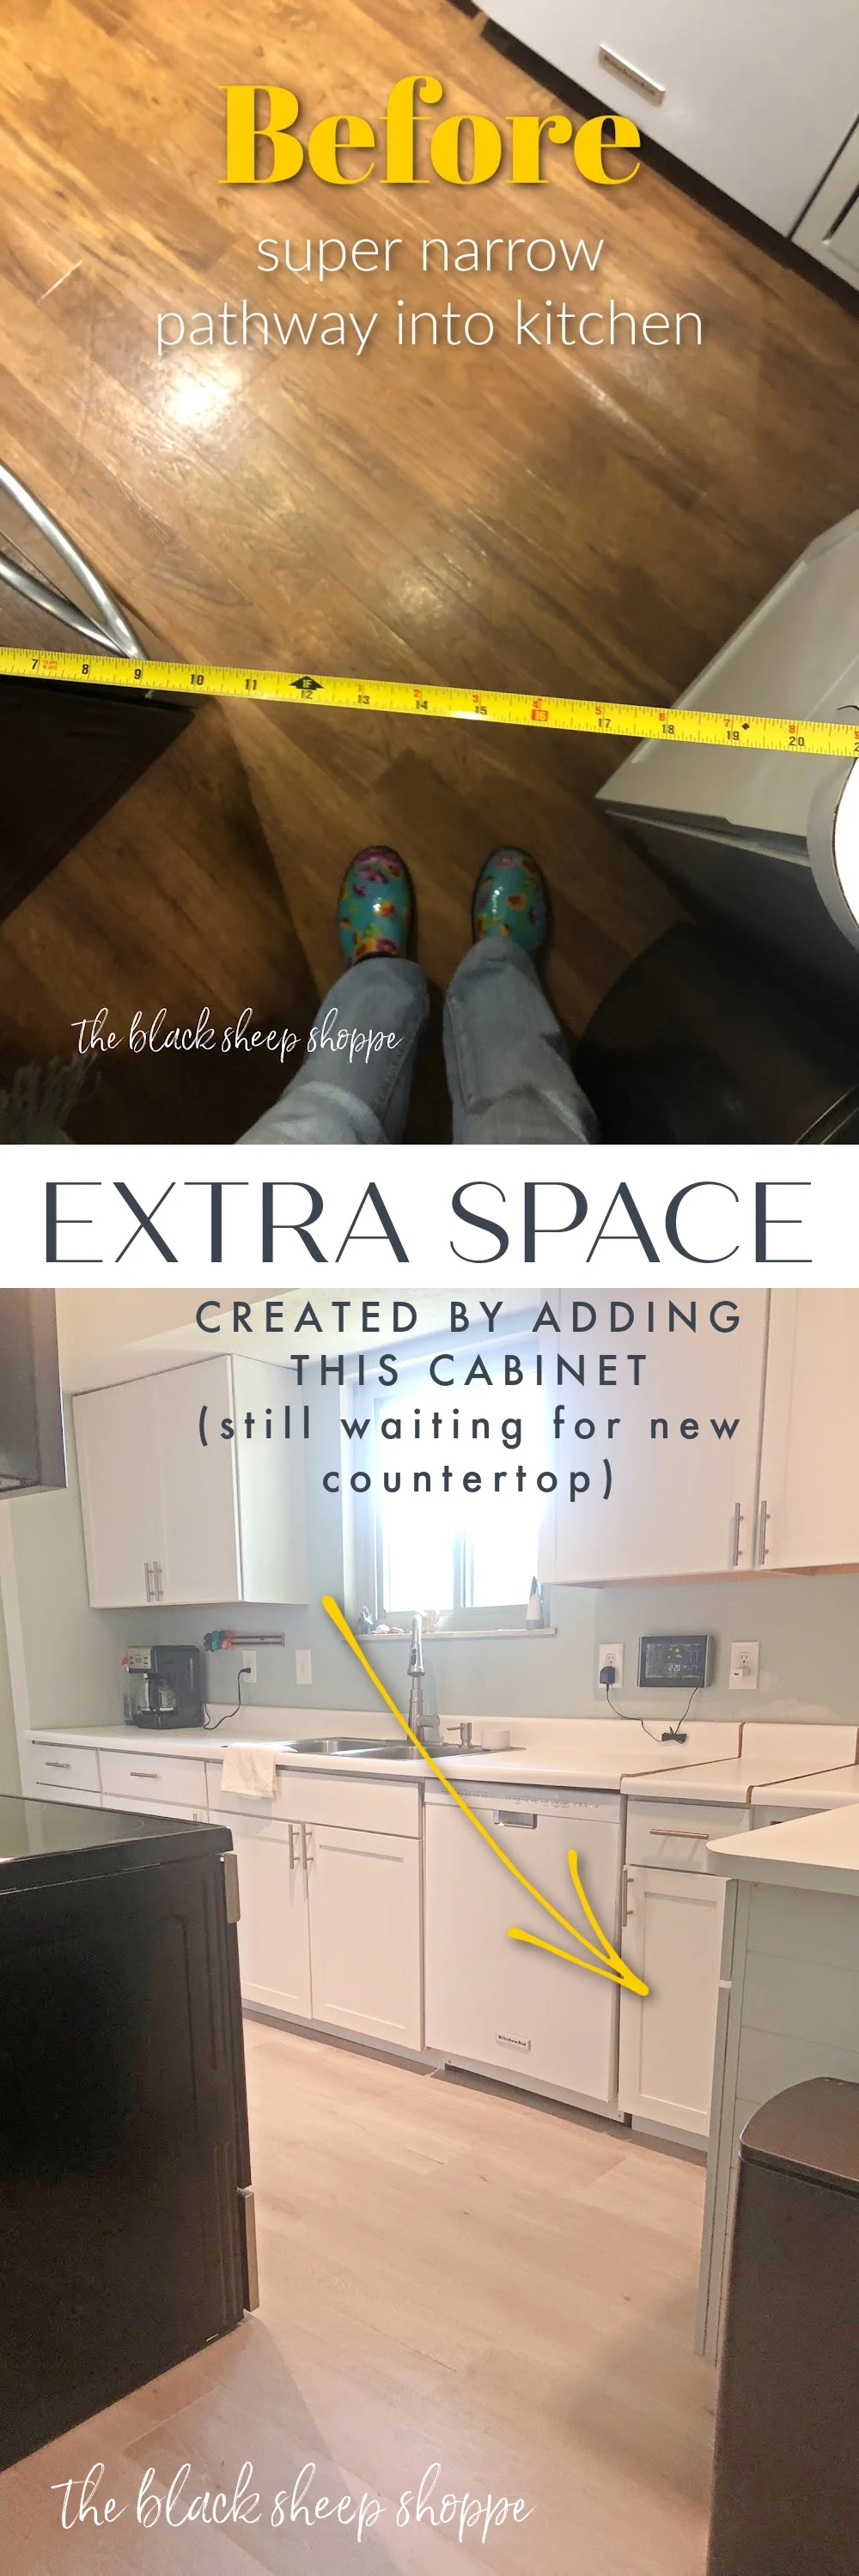
2. I am grateful for the new cabinets the previous owner installed, but the layout they created resulted in a VERY narrow pathway into the kitchen (less than 20").
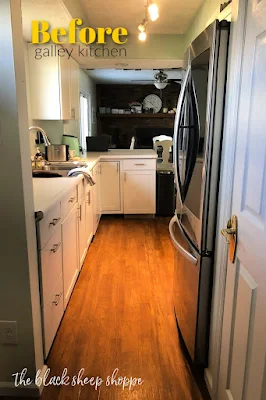
3. The soffit and the pathway are the two most awkward points of the kitchen. But as they say, troubles always come in 3's. The third problem is the refrigerator sticks out into the narrow galley. The fridge is squeezed in super tight between the wall and the pantry cupboard, and we cannot push it all the way to the back wall because we need clearance for the refrigerator door to open. It's not a huge problem to live with, but in a small kitchen every inch of space matters.
SOFFIT REMOVAL
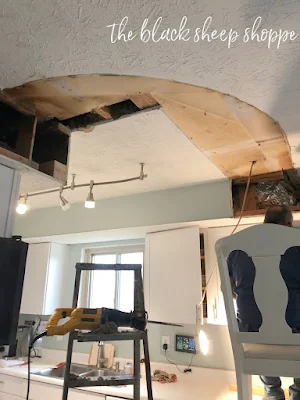
We weren't 100% ready to start the kitchen project, but we were lucky to have my brother-in-law visit unexpectedly from out of state to help us. He's been in the construction business for decades and brought lots of experience to the project. So we decided to dive into the project while we had the help available. The first order of business is removing the shingled soffit.
I considered removing all the soffits in the kitchen, but we are living in the house while renovations are underway, so I decided to leave the soffits above the cabinetry for now to save time.
The removal of the shingled soffit is complete and it looks better already! The photo below shows just how narrow the pathway is. The width of the ladder is larger than the pathway!
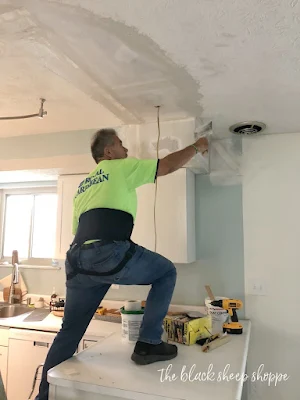
New drywall is being applied to cover the holes. A little labor and drywall was a small cost to remove the soffit. But the expertise of my crew was priceless.
FLOORING REMOVAL
My initial plan when purchasing the house was to lay a new floor in the kitchen. And since we will tweak the cabinetry layout a new floor is a must. However, the dining room adjacent to the kitchen had tile floor which created a bump between the rooms. I considered choosing a kitchen floor that would coordinate with the dining room floor, but the tile was laid incorrectly and no two tiles were level with each other, so it had to be removed instead.
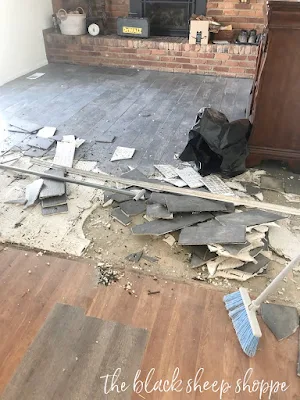
The flooring company (Lumber Liquidators) offered removal and installation, but we decided to save money and do the work ourselves. The LVP plank floor and vapor underlayment cost about $1300. Removing the tile was hard work. It was messy, too! Did I mention it was messy? OMG it was a mess! Dust went literally everywhere.
Some tiles came up easy but other tiles not so much.
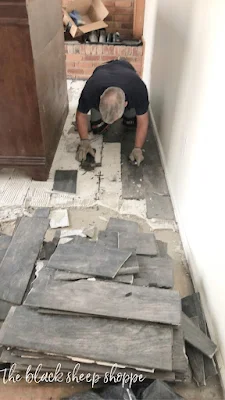
Knee pads came in handy for this part of the project.
We had to clear the dining room of furniture, so we temporarily squeezed everything into other rooms. But the buffet is quite heavy and we ran out of space, so we just worked around it as best we could. I knew it would get dinged up a bit, but I wasn't worried since I plan on painting it afterwards.
We purchased a
dumpster bag to collect all the debris. Once it was filled we called the company and they brought a truck with a crane to remove it.
We purchased a small
shopvac for the project. It was a workhorse for cleaning up the mess.
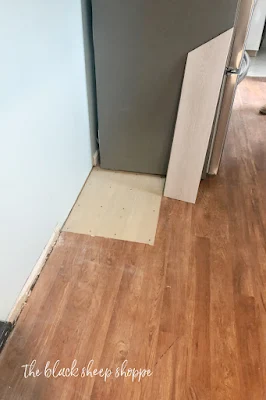
Now we're ready for the new flooring, but before it can be installed we need to move a cabinet or two in the kitchen.
ENLARGING THE PATHWAY
Before we laid the new flooring we had to solve the narrow pathway problem which involved moving a couple of cabinets. We discovered the countertop wasn't attached and was held in place by gravity and the sink. So we lifted the countertop and slid the peninsula out of the way.
Next they cut the countertop next to the dishwasher to make way for a new 12" cabinet.
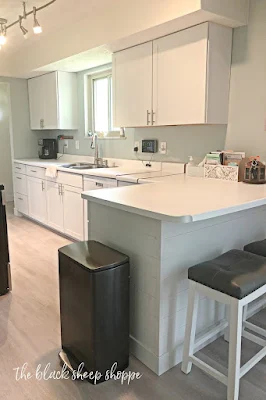
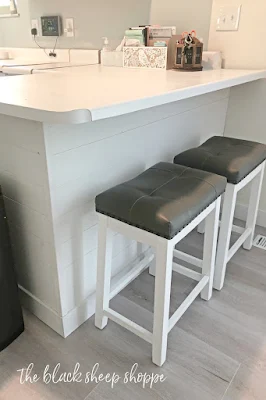
This pushes the peninsula down 12" and creates a larger pathway into the kitchen. Bonus: it also gives me easier access to the upper cabinets. A major problem solved for less than $200 ($169 to be precise)! (We pieced together a temporary countertop over the new cabinet until the new countertop is installed.)
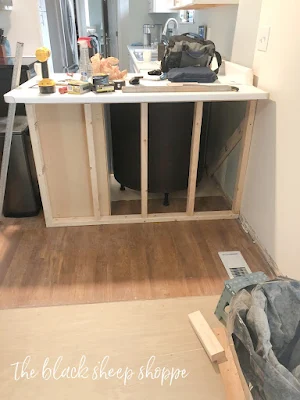
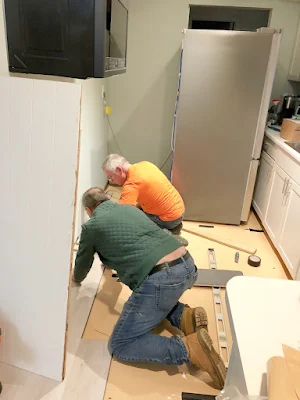
The men built a frame behind the peninsula so we would have a good support for the new countertops. Then they wrapped it in shiplap paneling from Home Depot.
UTILIZING WASTED SPACE
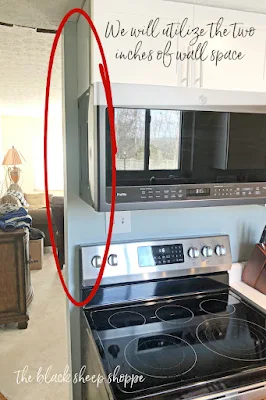
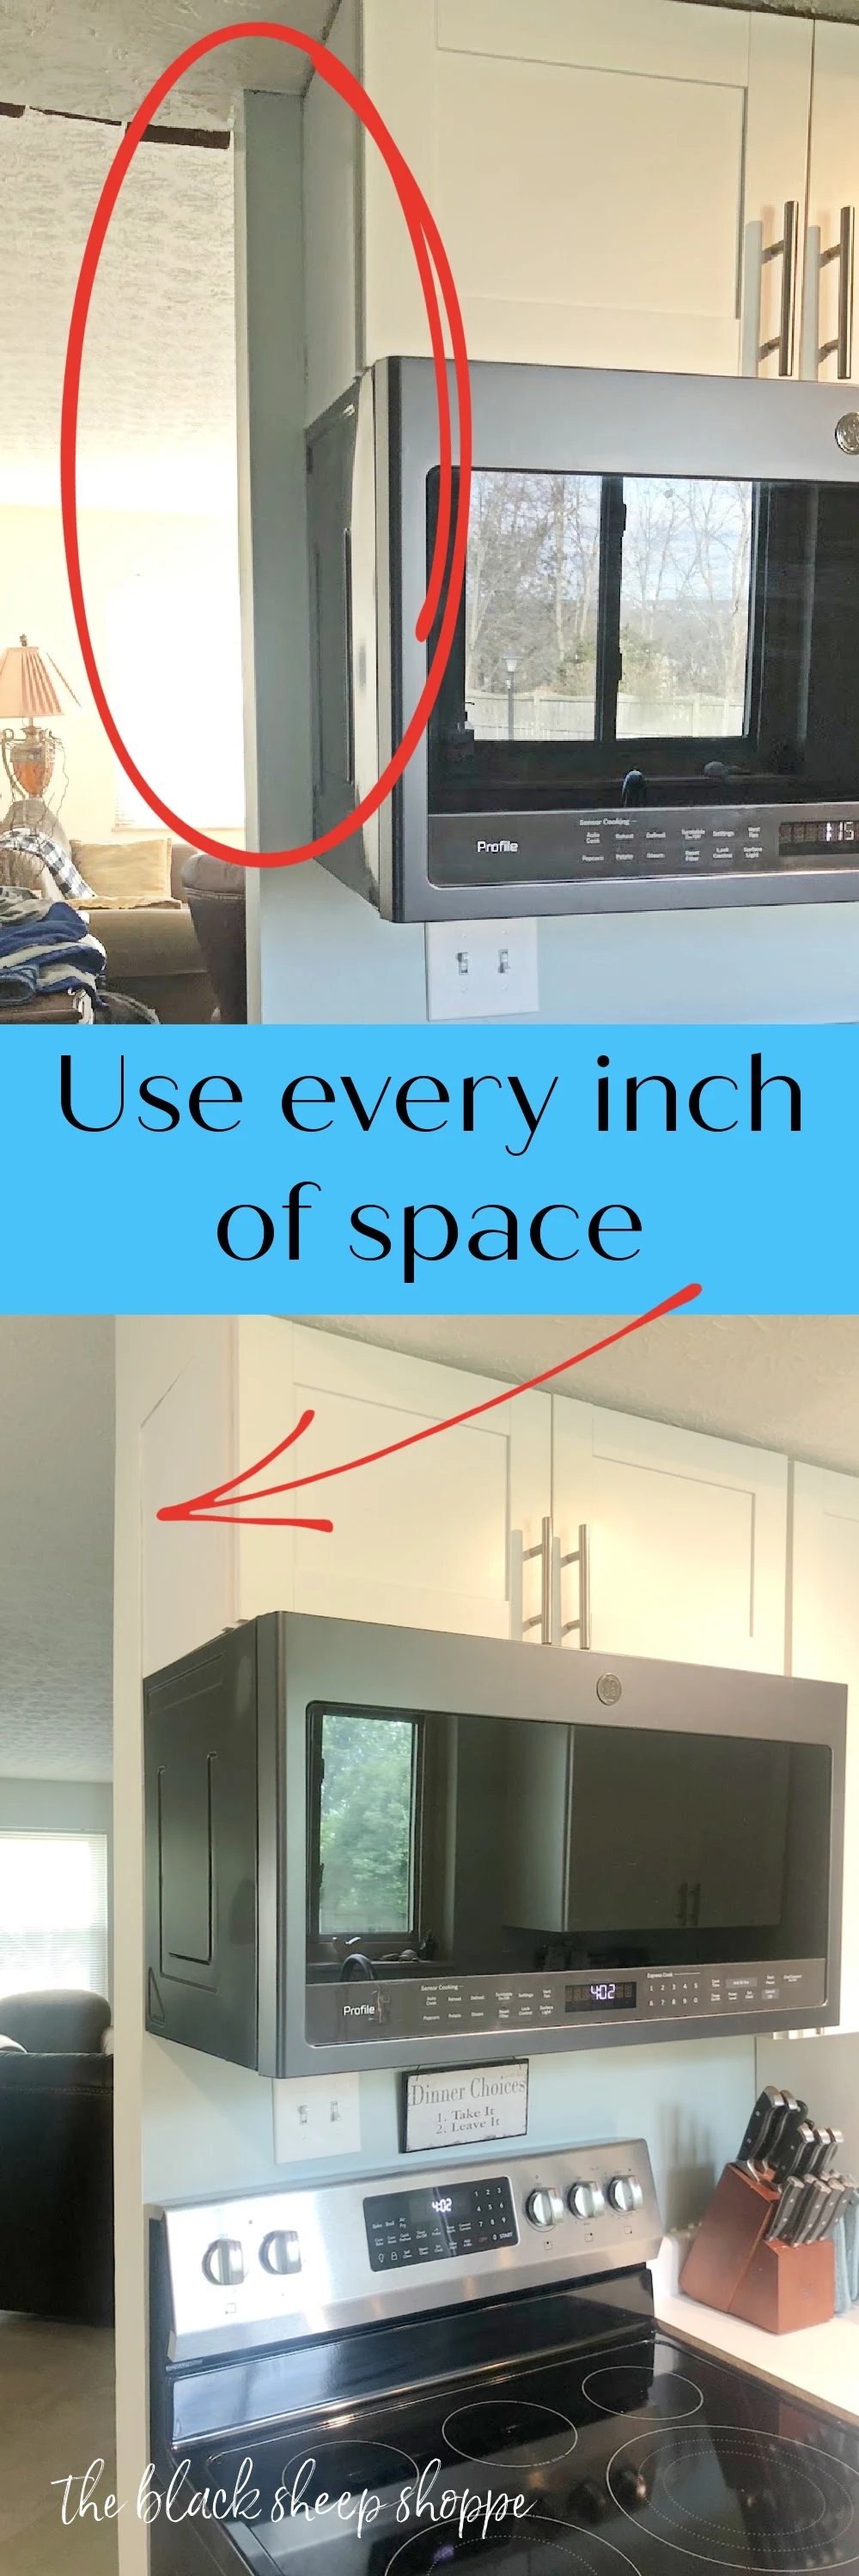
Two of the three problems were taken care of. To create more space for the fridge we had about 2 inches of empty wall space at the opposite end of the appliance wall.
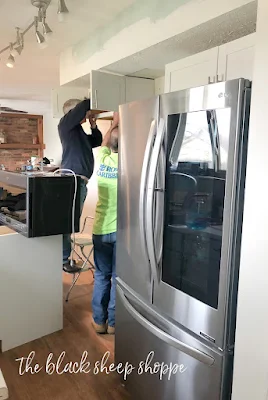
So my crew took down the upper cabinets and slid everything over 2 inches.
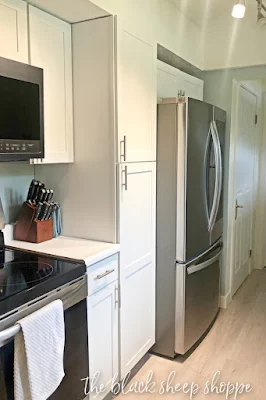
Moving the cabinets two inches created just enough space to push the refrigerator back against the wall.
FLOORING INSTALLATION
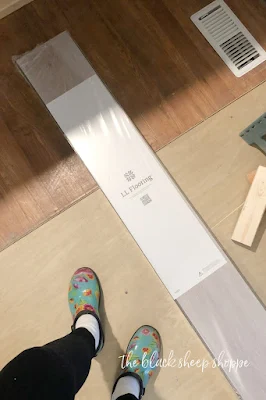
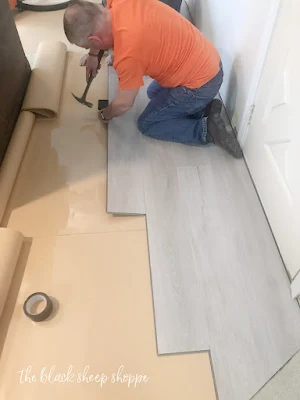
Now at last it was time to install the new floors! I can't tell you too much about installing floors because I didn't help the men with this part of the project. I can tell you the shoes you see me wearing in the photo below were fantastic for the renovation. They are easy to slip on and off and protected my feet from the construction debris. They come in so many fun colors and patterns!
(Click here for a link to the shoes if you're interested.)
We started the floor in the dining room . . .
. . . and finished up in the kitchen (it took about 2 days from start to finish).
ALMOST FINISHED!
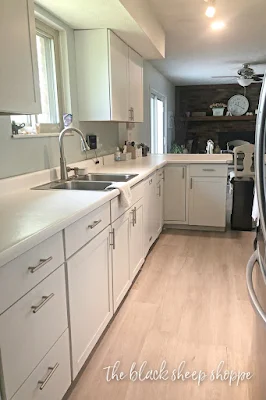
Once the floor was installed we put the cabinets and appliances back into place. And that completes this phase of the project!
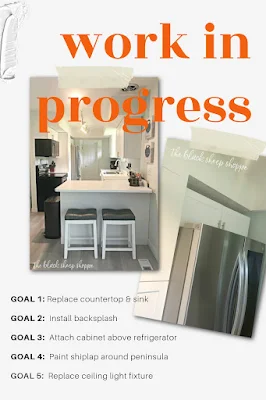
The final phase will be the installation of the new countertop, backsplash, and lighting. The countertop will be installed in about 6 weeks. I am a little nervous about my selection as it will either make or break the renovation. Stay tuned!
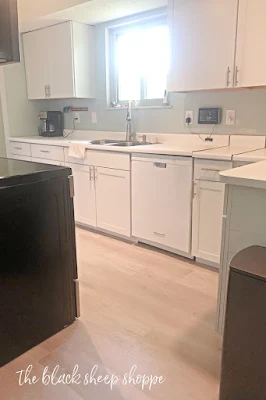
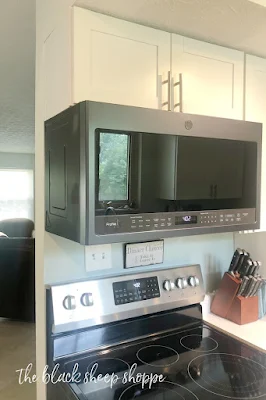
I'll finish up today's post with a few before and after photos. Thanks for stopping by The Black Sheep Shoppe!






.jpg)


.jpg)





Comments
Post a Comment
Select the NOTIFY ME box to receive a notification of a reply to your comment (yes, I do try to acknowledge all comments). There might be a publishing delay on older posts as they are moderated to reduce spam.