This Bed is Fit for a Queen
This project has a long story behind it, but I will try to keep it short and to the point. But I tend to ramble, so get a cup of tea (or your beverage of choice) and settle in . . .
It all starts with my recent downsizing to a fixer-upper house. My queen size bed set wouldn't fit in my downsized bedroom. I was going to donate the bed, but it doesn't fit in my vehicle, and the local charities wouldn't pick up due to the pandemic limitations.
THE PAINTING PROCESS
So I decided to use it as a practice project. What you say!? There's nothing wrong with it! True, but it turned out to be the perfect piece to practice using Heirloom Traditions All-In-One Paint which I plan to use in my kitchen (side note: this is NOT a sponsored post. I am just sharing about the products I actually used.) Every brand of paint works a little bit differently and requires different techniques to get the best results. And of course, practice makes perfect.
I started practing with smaller projects (you can see the first one HERE) but this was a good piece to scale up the process before painting my beachfront kitchen as told in my article the Pretty Darn Good Kitchen Makeover. I am glad that I invested the time in learning about the paint before I started the kitchen.
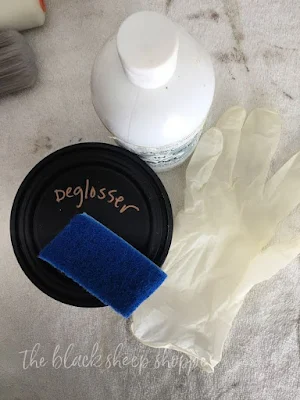
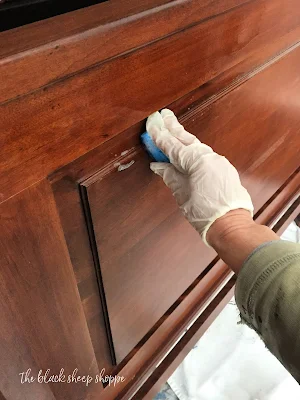
The first and most important step is the prep-work. I used the Heirloom Traditions All-In-One Deglosser. It deglosses the shiny surface and also cleans away dirt and oily residue. This brand does not require rinsing afterwards, but if you use another brand be sure to read the instructions because many brands do require rinsing.
The deglosser is low VOCs so I was comfortable using it indoors. However, I do wear gloves while applying it. One time I didn't and I had horrible dry flaky skin afterwards. Lesson learned!
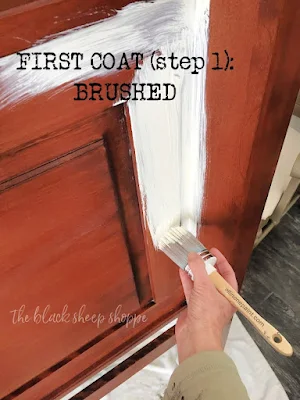
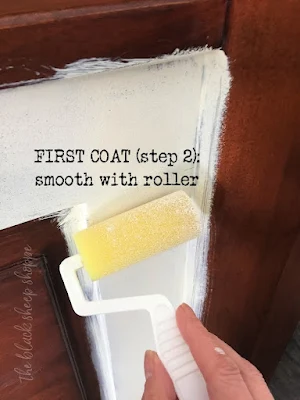
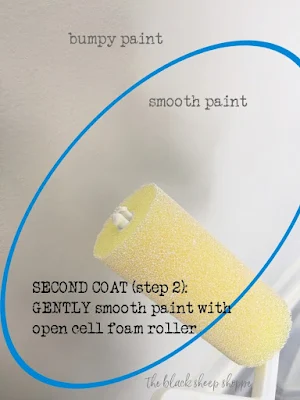
Working in small-ish sections, after applying the paint with a brush (part of the Tool Trio that I purchased), and before the paint starts to dry, I ever-so-gently smooth out the paint with an open cell foam roller. The key word here is "GENTLY". Use a very light touch! The roller on this step is simply to smooth out the paint. So just let it glide over the wet paint. The first coat won't have 100% even coverage, so don't fret about it at this point.
A BETTER SOLUTION FOR A SMOOTH PAINT FINISH:
The method above worked, but I found the coverage was too light and knew it would take way too many coats of paint. So for the second coat I ditched the paint brush and switched to a basic foam roller that I bought at the hardware store.
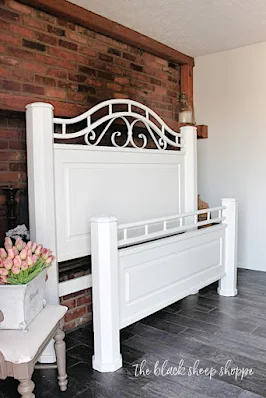
And finally at long last is the "after"!
The entire bed is painted in Heirloom Traditions All-In-One Paint in the color Linen white.
The neutral paint color will work with a wide variety of color schemes.
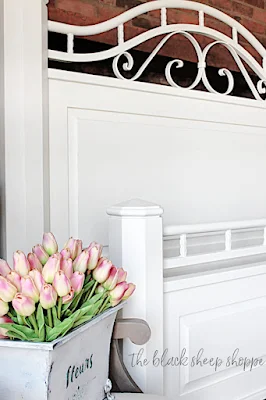
I can't say the painted finish is as smooth as glass, but it does have a lovely, almost sprayed on, finish. The metal sections are bumpy because the metal itself had texture.
In the end this project took three coats of paint. But white paints typically require multiple coats because there is less pigmentation in the paint. Other colors that I've worked with (blues, gray, etc.) usually only require two coats.
Although the paint has a built-in primer, I think it would be better to apply a coat of less expensive primer first which will result in using less coats of paint in the long run.
Thank you for stopping by The Black Sheep Shoppe today!
SUPPLY LIST:
- Deglosser / degreaser
- kitchen scrubby sponge
- Gloves
- Paint (linen)
- Paint roller
- Open Cell Roller (part of a trio) or separately HERE
- Paint tray
- Tulips (ok not necessary, but they are so beautiful!) This includes a link to the actual tulips I purchased in pink, but other colors are available.











Comments
Post a Comment
Select the NOTIFY ME box to receive a notification of a reply to your comment (yes, I do try to acknowledge all comments). There might be a publishing delay on older posts as they are moderated to reduce spam.