Blog Post #314: Behind the Scenes

Painting furniture for a living is more than simply painting furniture. After the painting is done it's time to take it to market and sell it. Today's blog post is a combination behind-the-scenes of the logistics of photographing furniture for marketing, and at the end of the post a quick peek at my booth space while it's waiting for me to move in some larger pieces.
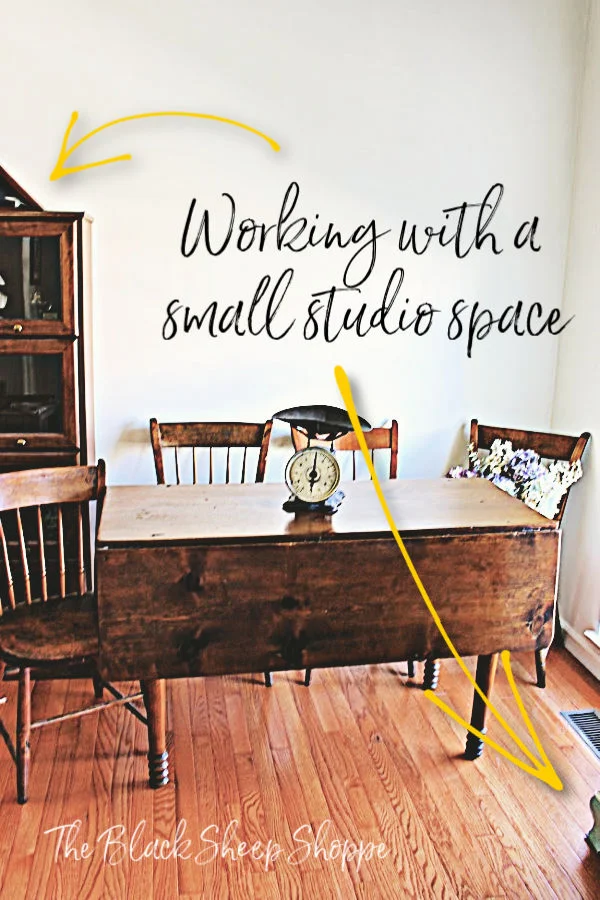
My studio space for furniture photography is small. Trying to squeeze in a dining table and four chairs, as shown in the lead photo, is a challenge. The room itself is ample, but my husband is currently using half of it for his office. This is the best shot I could get of the table without moving everything else out of the room.
The problem with the photograph is the bookcase on the left, the floor vent, and the tiny portion of my secretary desk showing in the bottom right corner. I could have moved the bookcase, but I just didn't have the energy to move it myself. I am also limited in how far I can step back from the corner of the room because of my husband's office furniture.
This isn't the best photographic composition, but it was only taken to advertise the set on Facebook Marketplace. Slightly cropping the photo eliminated most of the distractions from the bottom corner. I left the bookcase as it almost matches the table set.
The next day, I moved the table to my booth, and cleared my other furniture pieces out into my entryway.
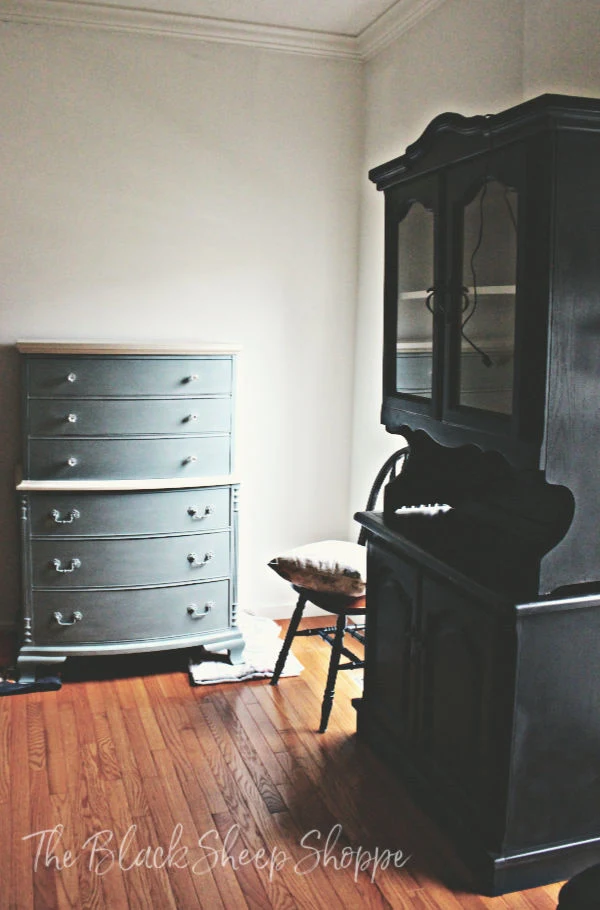
While my studio space was cleared of other furniture, I was able to take photos of the large china hutch. This is what it looks like from behind the camera.
And this is one of the final photos of the china hutch.
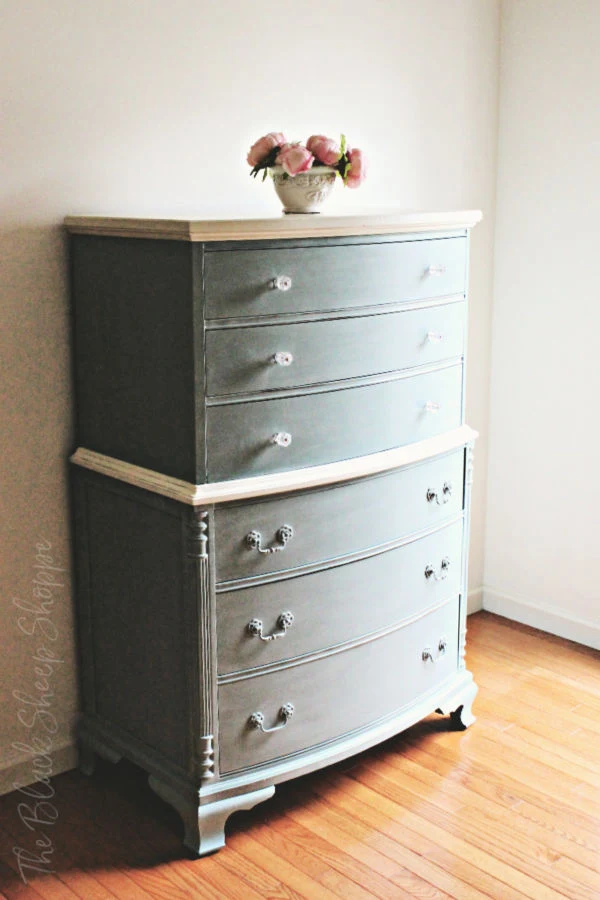
Once I finished taking photos of the china hutch, it was time to photograph the 6-drawer dresser. I slid the china hutch over to the side and positioned the dresser in place.
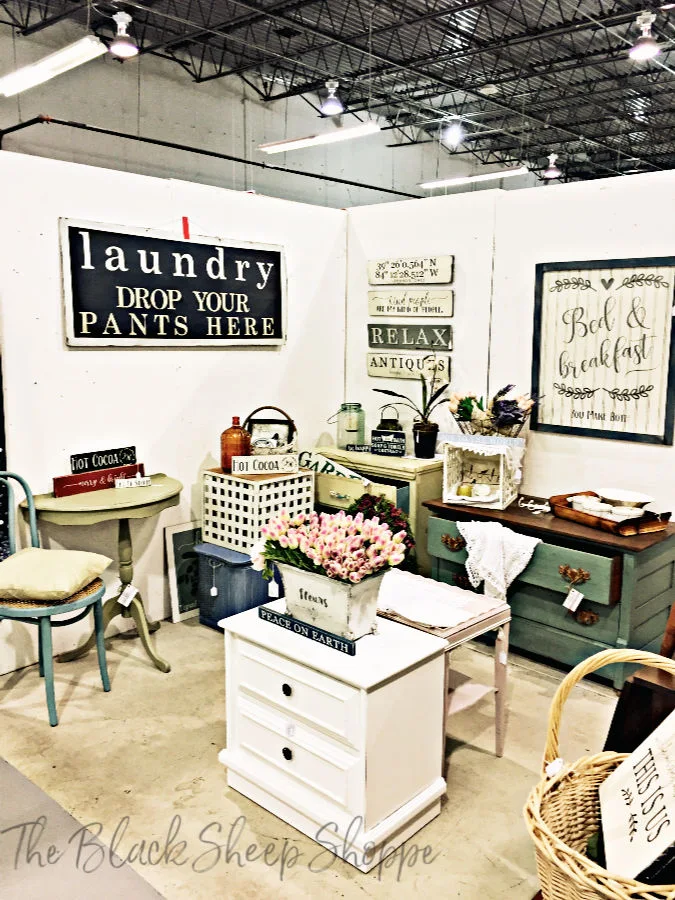
My next step is to get some larger pieces into my booth. I've sold out of all my large pieces, so I am currently re-stocking my inventory. I squeezed in the table and chair set, but will need to make room for the dresser and china hutch. I'm not sure exactly how they will fit, but somehow it always works out.
The back wall features some large signs which I used to visually build up the space. I will move these signs to make space for the china hutch.
The table and chairs take up a large amount of space in my booth. I might open one side of the table and tuck the chairs under it.
I am stacking some smaller pieces until I can get some larger pieces moved in.
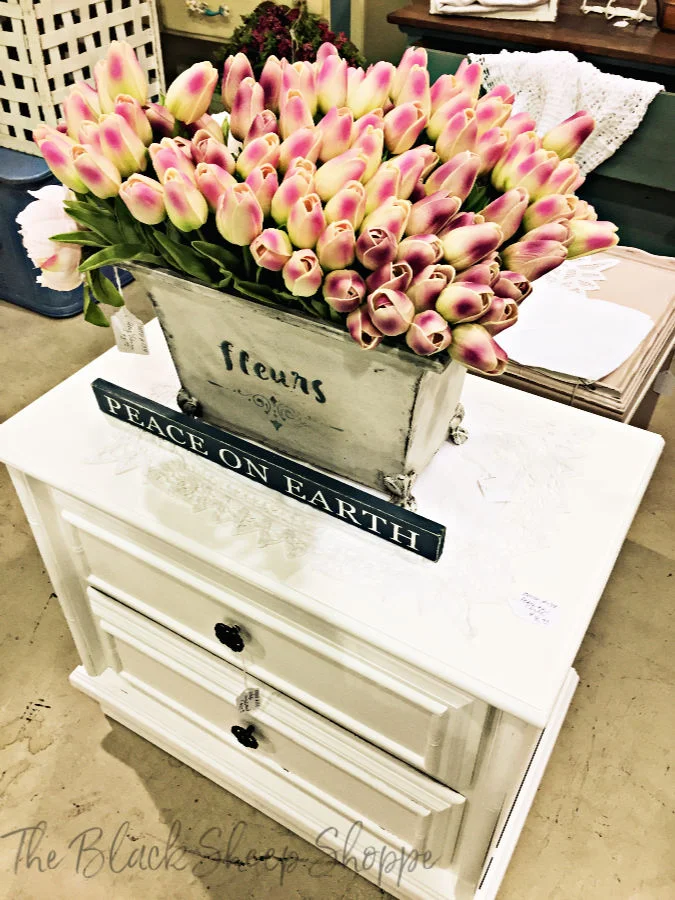
I painted the thrift store container in order to hold my floral displays. You can see that project HERE.
I hope you enjoyed the behind-the-scenes tour. Thanks so much for stopping by The Black Sheep Shoppe today!







Do you have a telephone for your shop.
ReplyDeleteI rent my space from a large store, so I don't have a business number for my shop. I can be reached via email at TheBlackSheepShoppe@gmail.com
Delete