The Perfect Project for Leftover Paint
Even though this is the perfect project for using leftover paint, your technique doesn't need to be perfect. In fact, the handmade look will only add a bit of charm.
SUPPLY LIST:
Paint (I used leftover chalk paint, but just about any paint will do.)Primer (if using a paint that requires it. I was able to skip this step.)
Scrap wood (or get it cut to size at lumber store)
Chip brush
Water
Stencils (affiliate link to the actual stencil set that I purchased on Amazon).
Stencil brush
Paper plate
Sealant (wax or poly)
My wood sign inventory at my booth is totally depleted, so today I am making more signs to replenish my supply. I had three 6' boards. I cut two of the boards into three sections measure 23" each, for a total of six signs. The third board I cut 23" off the bottom for a seventh sign and used the larger remaining piece for a single sign. OK so I'm not sure if any of that math made sense, but you'll see what I ended up with at the end of this article. :)
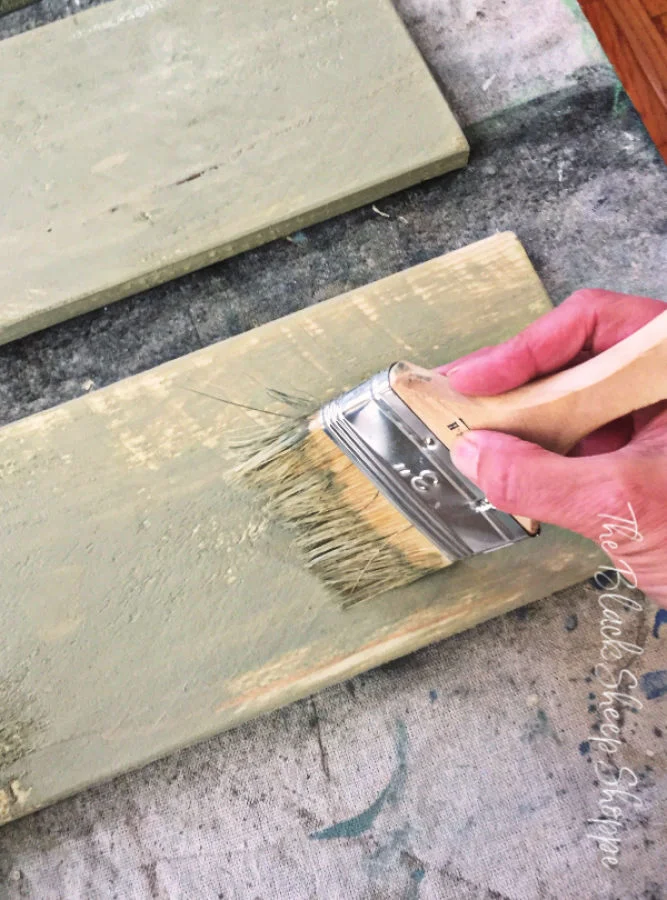
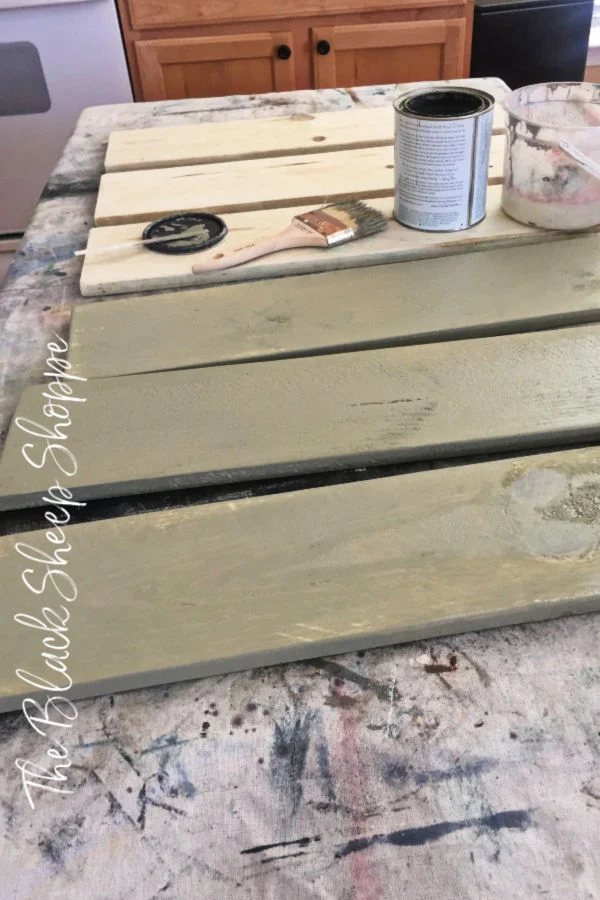
The first set of signs I am making have a beach theme. I used a chip brush to apply a base coat of Chateau Grey.
Since I am using a theme for this set of signs, I lined the boards up in assembly line fashion to speed up the process.
After the base coat was mostly dry, I used a wet brush to apply a quick coat of Duck Egg blue. The blue blended with the base coat which added a little variation of color here and there. After I took this photo I created some paint splatters with Coco to create a more casual vibe.
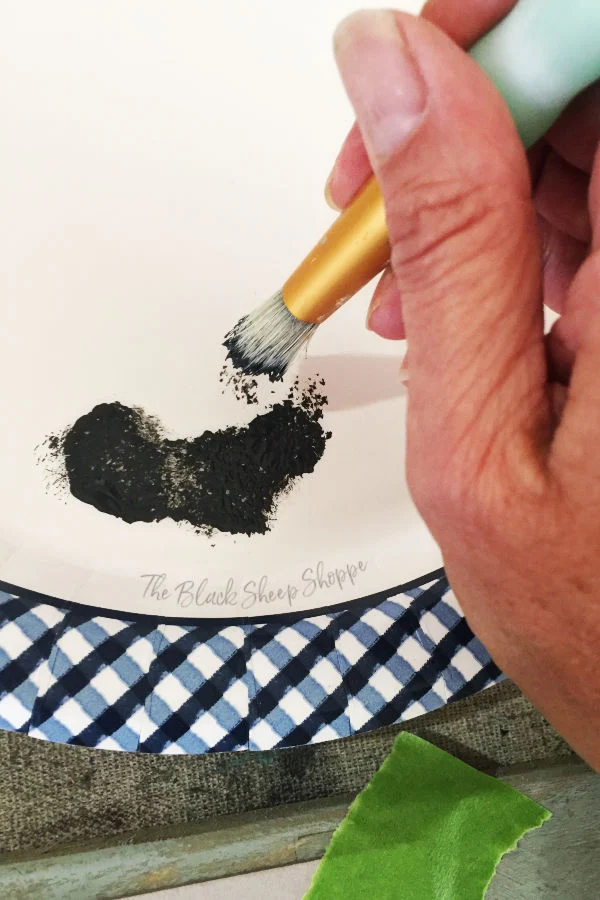
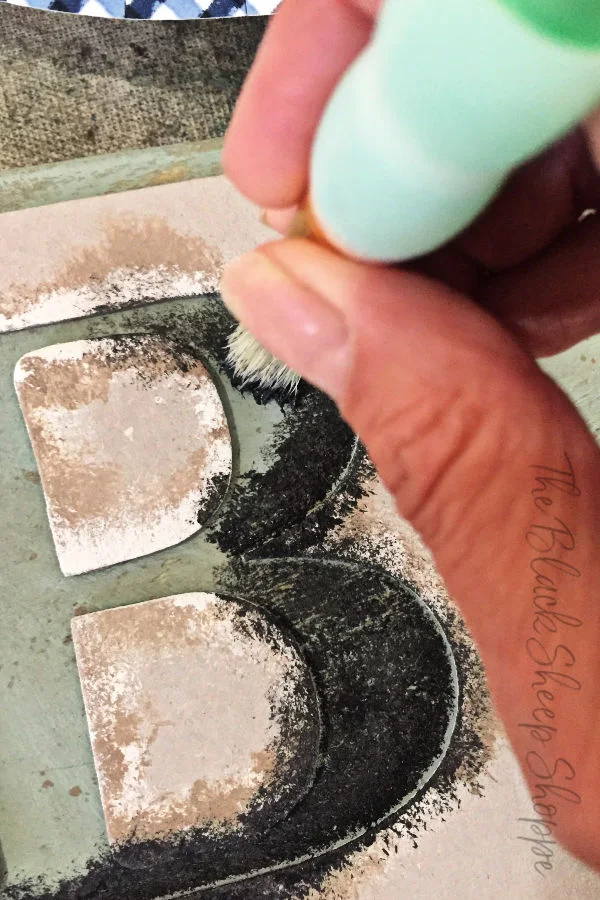
Once the background paint was dry I started stenciling. For best results, dab the stencil brush into the paint and then off-load it onto a paper plate or towel.
I didn't measure with any precision the placement of the stencils but rather just placed them out as evenly as I could. Then I dabbed the stencil brush over the stencil.
I wanted a dropped shadow effect for the letters, so after the black paint was dry I slightly re-positioned the stencil and then repeated the stencil process with white paint. I sealed the paint with clear wax.
The final step is to put hooks on the back for hanging. I didn't have the hooks installed when I took the final photos, so I have them laid out here on the floor of my studio. Each sign works well individually, but it also creates a large piece of art (for not a lot of money) if grouped and hung together.
For the remaining pieces of wood I used the same process to make a garden sign . . .
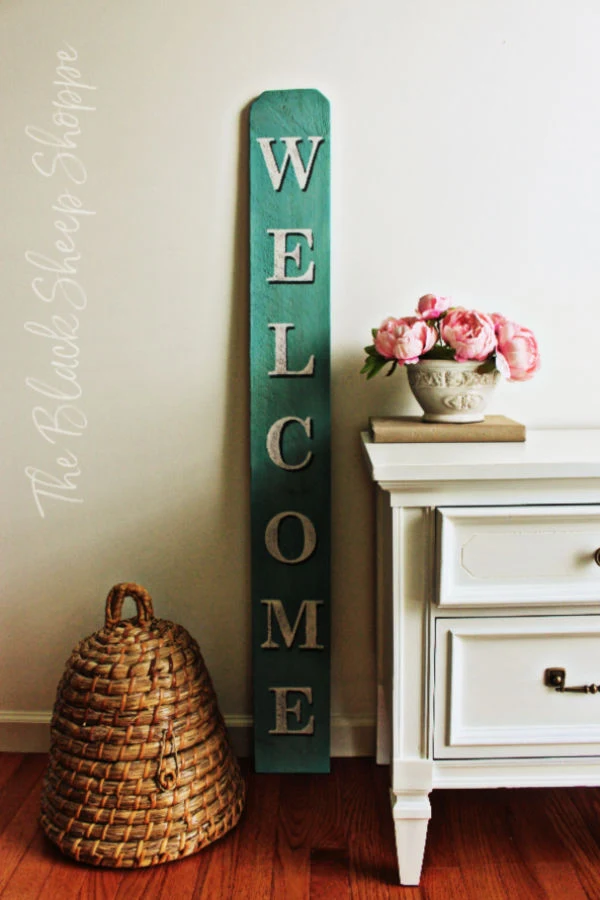
. . . and finally with the longer piece of wood I made a "welcome" sign.
I hope you enjoyed today's project. Thank you for stopping by.






Comments
Post a Comment
Select the NOTIFY ME box to receive a notification of a reply to your comment (yes, I do try to acknowledge all comments). There might be a publishing delay on older posts as they are moderated to reduce spam.