Blog Post #295: Antoinette Side Table
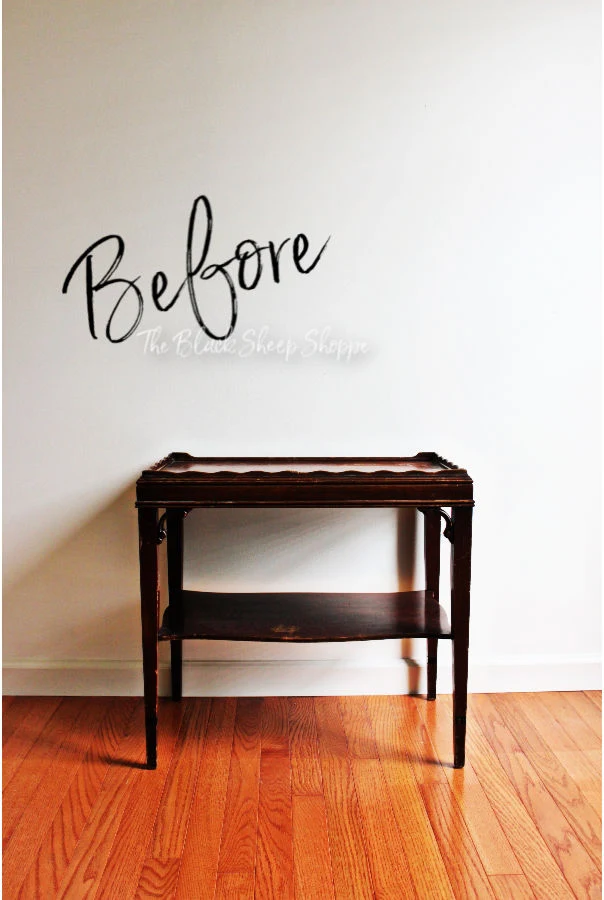
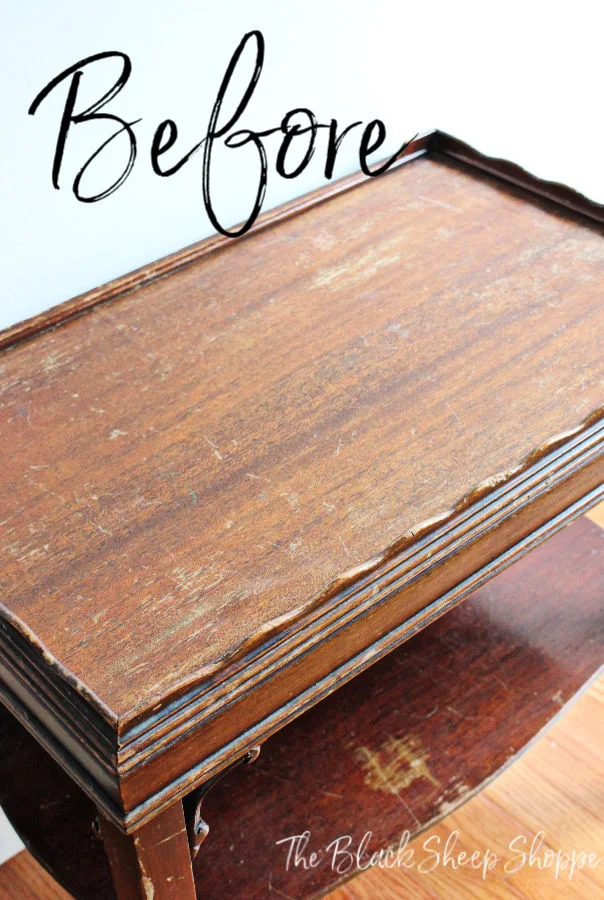
Small side tables don't have large profit margins for me, but I can't resist them IF they are cute and AND the price is right. The finish is heavily damaged on this one, but the details of the design are sweet. Fortunately, the makeover was a quick and easy project.
The table is sturdy and yet a little delicate as the wood is thin, so I didn't want to sand the finish smooth. Instead I used two coats of Antoinette chalk paint and applied both coats in a random fashion (as opposed to with the grain). This results in most of the imperfections being hidden by the paint.
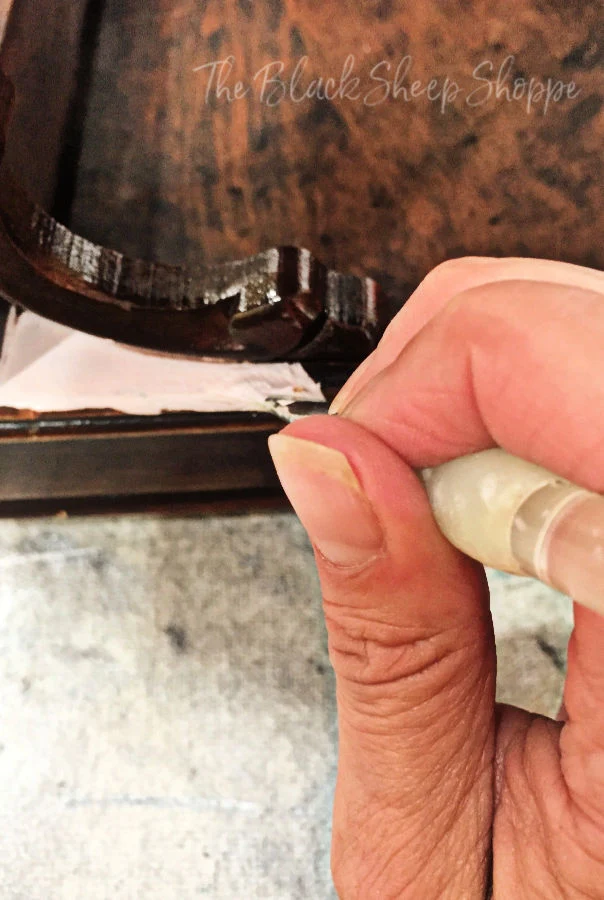
Some of the details get lost on a one-color finish, so I used two colors to highlight the decorative corners. I used an angled artist brush (affiliate) to make painting the tight corners easier. Simply load the brush with paint and insert into the corner . . .
. . . then drag it across. I later went back with the same angled brush and used it to paint the decorative pieces white.
AFTER:
And here is the "after" painted in Antoinette Pink with highlights in Gesso White.I haven't painted with pink for a while, so it was a refreshing change.
I lightly distressed the paint for a shabby chic effect.
I applied clear wax to the entire finish and then applied white wax lightly around the top of the table.
The texture created by random brush strokes is very subtle. The painted surface isn't as smooth as glass, but it is mostly smooth to the touch. The slight texture hides the flaws in the old finish.
Here's a before and after photo with the same staging in both.


Comments
Post a Comment
Select the NOTIFY ME box to receive a notification of a reply to your comment (yes, I do try to acknowledge all comments). There might be a publishing delay on older posts as they are moderated to reduce spam.