How to Sand Chalk Paint Indoors (Without Making a Mess)
If you've ever sanded Chalk Paint then you know what a mess it creates and is only suited to working outdoors. Nevertheless, the good news is that if you have a project that must be completed indoors there are still options for sanding that will still give you the look you are after.
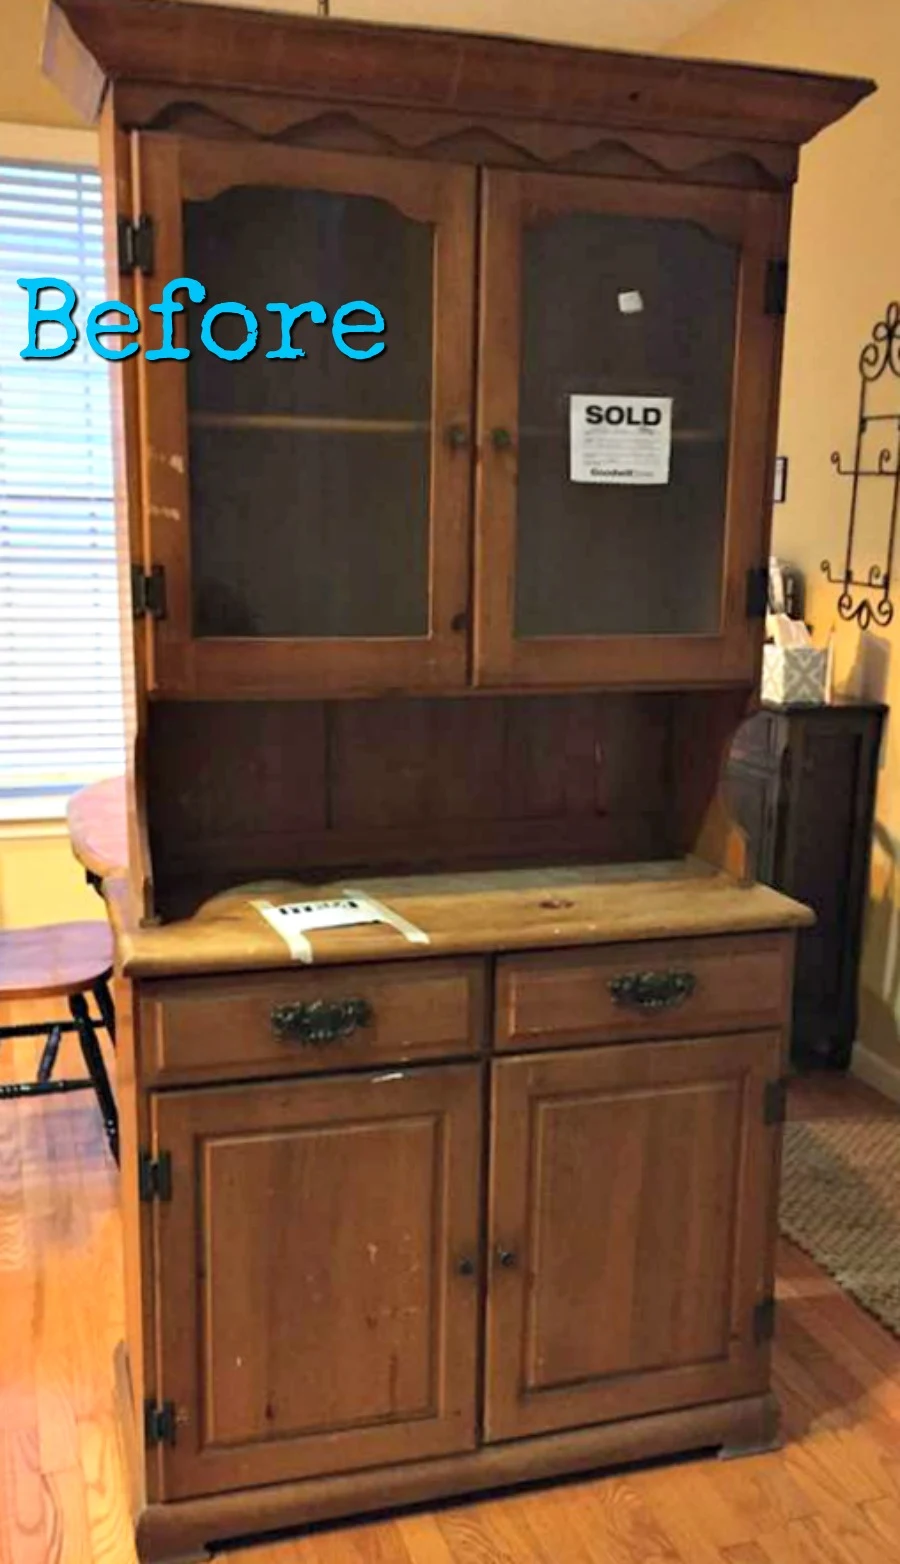
I purchased this china hutch just before the winter temperatures plunged to near zero degrees. And the forecast was for the bitter cold to hang around for a few weeks.
Luckily the hutch disassembles into two pieces. So I was able to create a work space in my kitchen. I put the top of the hutch on a table for cleaning and then painting.
After painting the top I moved it to a storage area and then began working on the bottom cabinet. I removed the doors so I could work on those separately. I painted the hutch in Graphite and the interior of the top in Country Grey (you can see more finished photos here).
I much prefer dry sanding because of the control it gives. However, there are other options if you want to avoid the mess all together.
Indoor Sanding Methods
The good news is that there are options if you need to sand your project indoors. These are my top 3 methods for sanding indoors:1. Seal the Chalk Paint with wax first and then distress with sandpaper. This method is suitable for light distressing on the edges and doesn't create the same amount of sanding dust as dry sanding. However, it's not suitable for smoothing out brush strokes since the wax creates an additional layer over the paint.
2. Wet distressing with a damp washcloth. I like this method and have used it many times to smooth out the painted finish and to distress the paint. I considered using this method for this project, but I sometimes get unexpected results and I wanted a little more control.
3. Wet distressing with sandpaper. This is the method that I chose for this project which I will share with you today.
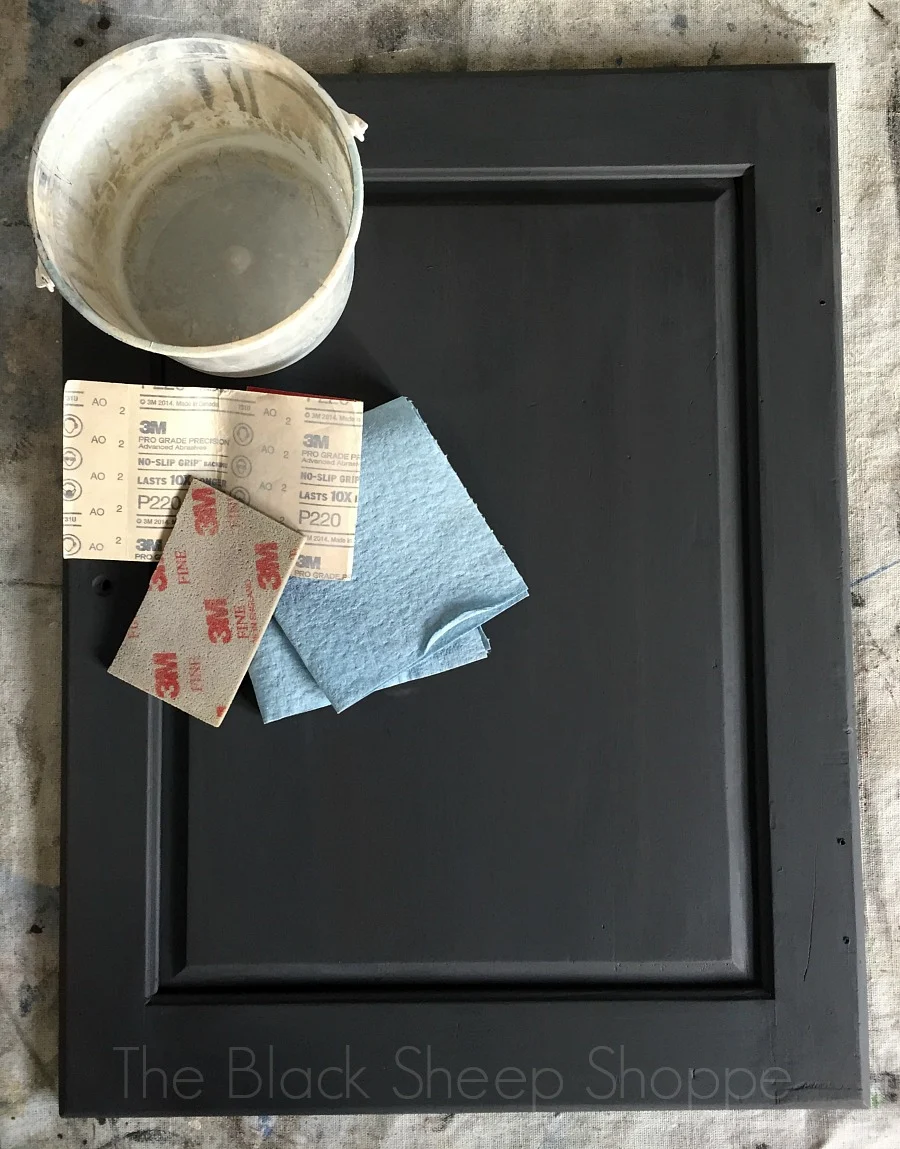
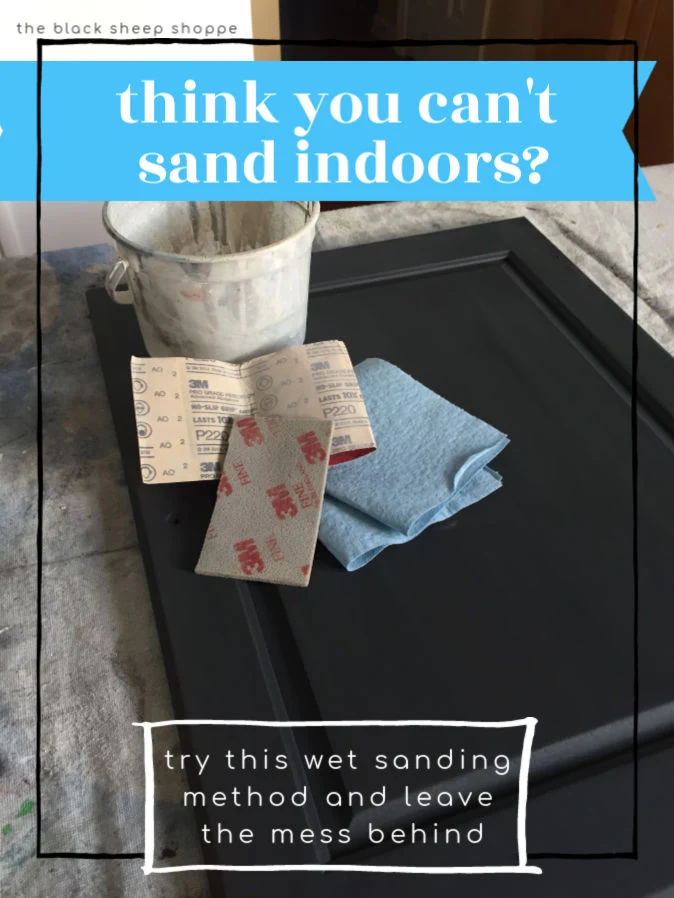
First you will need a sanding sponge, sandpaper, shop towel, and some water. It's also helpful to have on hand some tack cloths (optional).
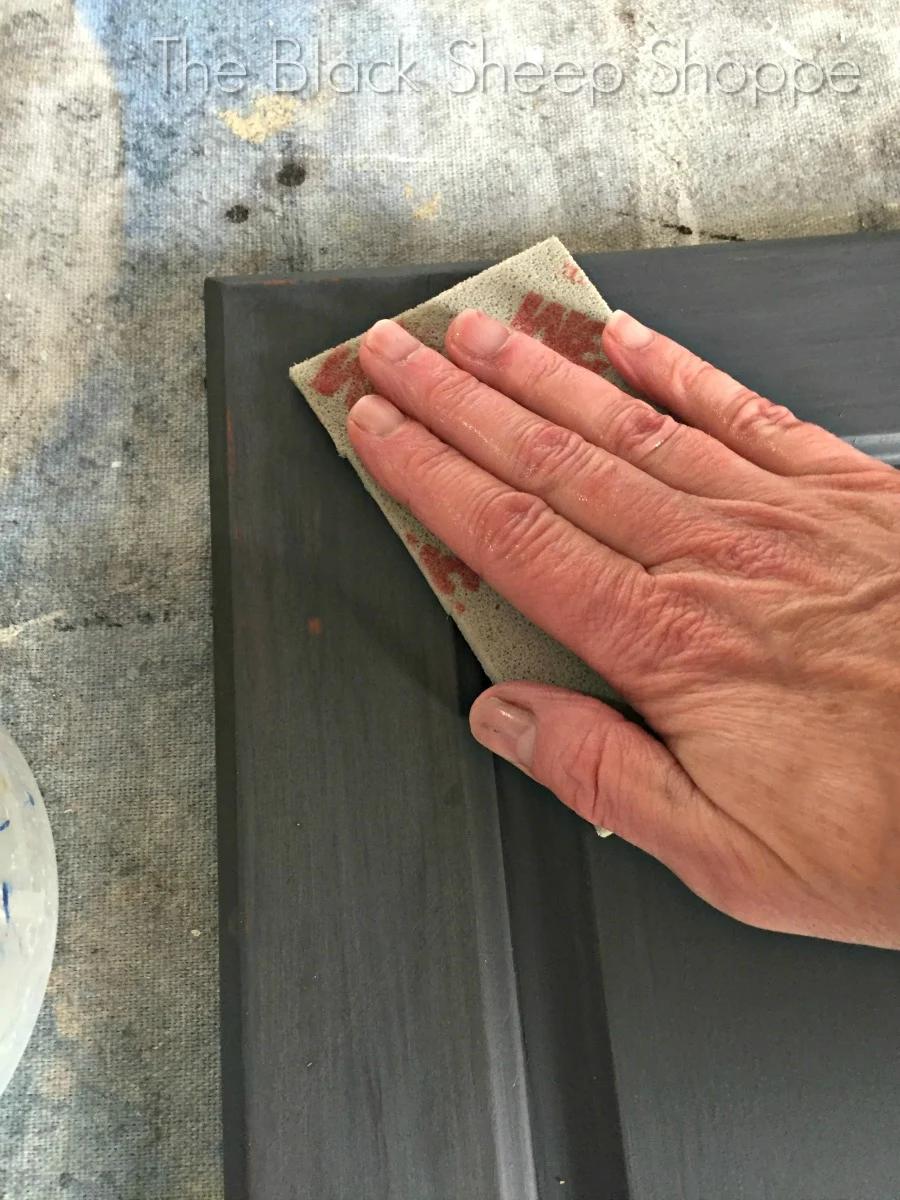
First dip the sanding sponge in water.
Next squeeze out the excess water. You'll want it damp but not dripping.
Then lay the sanding sponge flat and sand the paint smooth. Vary the amount of pressure depending on how much distressing you want to achieve. You should not notice any sanding dust at all!
You'll notice that the sanding dust is trapped inside the sanding sponge. As it begins to fill up with the sanding dust you will need to rinse the sponge out with water. Then squeeze out the excess water again, and repeat.
To quickly distress the edges, I used a damp shop towel to moisten the paint. I squeezed out most of the water so it was damp but not saturated and then wiped it over the area I planned to distress.
Next I used 220-grit sandpaper and swiped it over the edge for a crisp distressed edge.
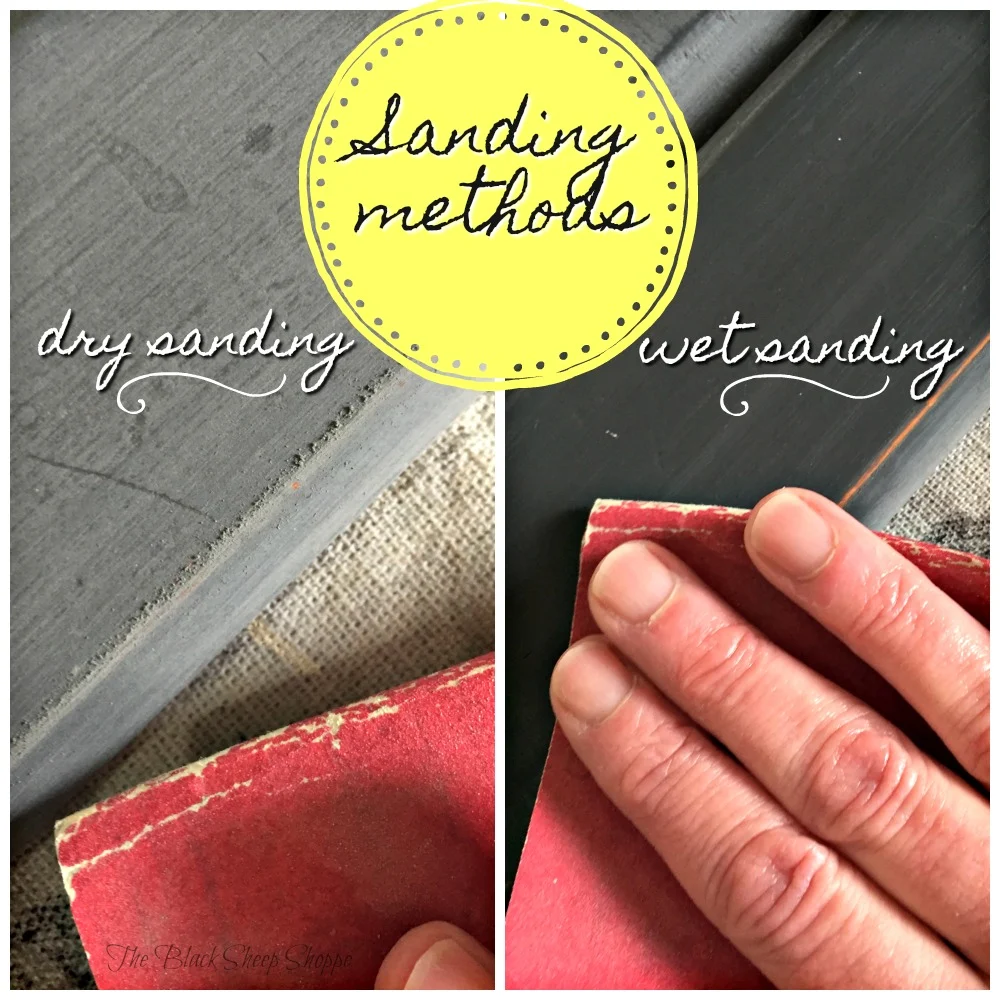
Below is a side-by-side comparison of dry vs wet sanding. You can see with dry sanding even the lightest touch creates sanding dust. The wet sanding method is more suitable for indoor projects.
After all the water was evaporated, I used a moistened shop towel and a tack cloth to go over the sanded surfaces to pick up any residual sanding dust that was left behind. It's not really "dust" at this point but rather a loose film if that makes any sense. Once everything was wiped clean and dry I applied clear wax to the painted finish.
Here's the final finish of the china hutch along with additional close up photos of the sanded finish. You can still see brush strokes, which I love as it shows it was hand painted, but the finish is actually as smooth as silk to the touch. Additional finished photos of the hutch can be found on my previous post "Farmhouse China Hutch".
Supply list
(Affiliate links: I earn a few pennies. It doesn't cost you extra. You're awesome!)- Foam sanding sponge
- 220-grit sand paper
- Shop towel
- Tack cloth (optional)
- Water










Comments
Post a Comment
Select the NOTIFY ME box to receive a notification of a reply to your comment (yes, I do try to acknowledge all comments). There might be a publishing delay on older posts as they are moderated to reduce spam.