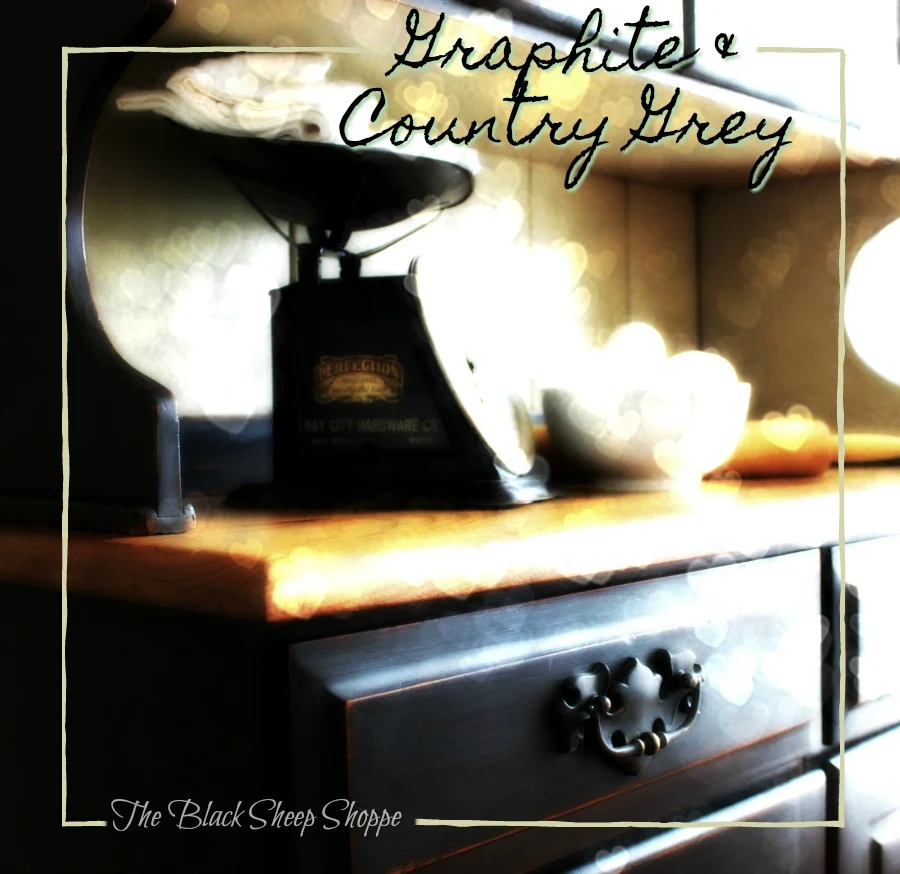
I found this china hutch at a local thrift store. I gave it a classic farmhouse style finish in a
Graphite and
Country Grey with hints of
dark wax. I worked on the hutch indoors during the recent deep freeze, and will post another time about managing a large project indoors. In the meantime, please enjoy the finished photos. (Links are to the actual product/colors that I used, and I may earn a small commission, although it won't cost you extra.)
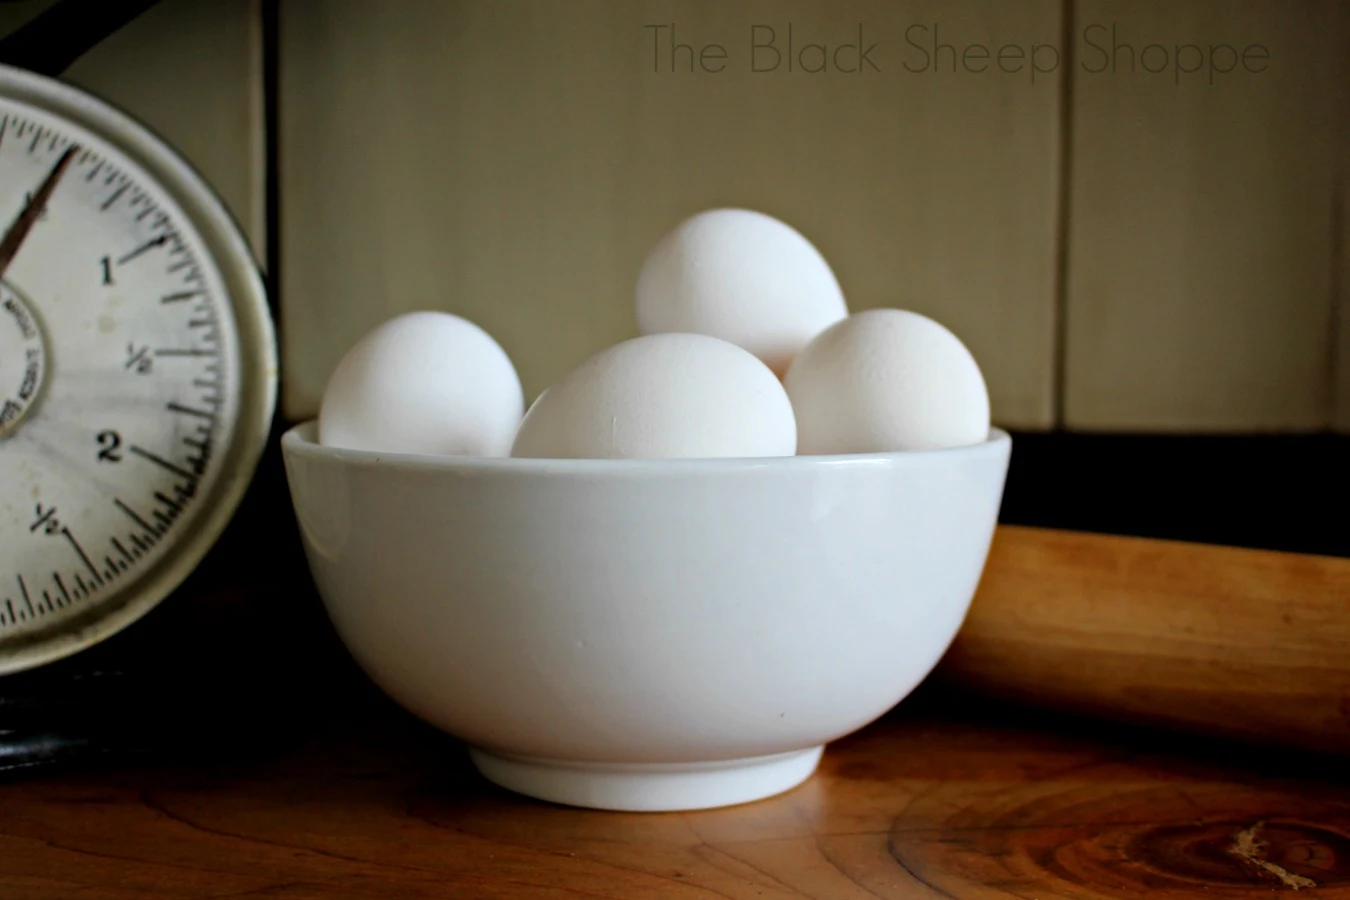
Country Grey is a wonderful neutral color. Not too much grey, almost a "greige", with an undertone of green. It's difficult to capture the true color of cabinet interiors, so I shot the next photos with props in white and red for a better comparison.
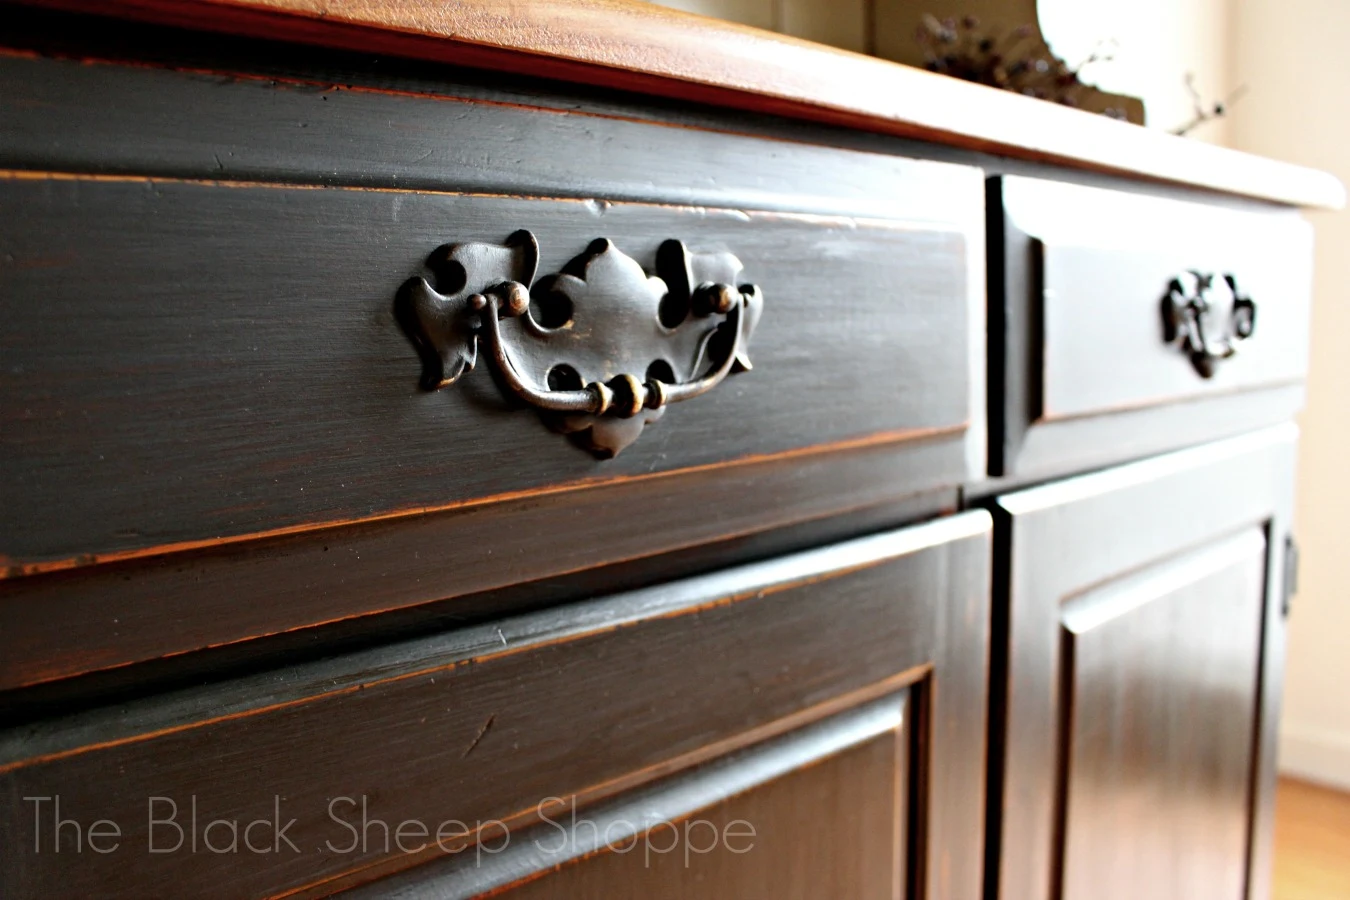
I applied the dark wax directly over the Graphite paint. However, I sealed the Country Grey with clear wax first before appying the dark wax.
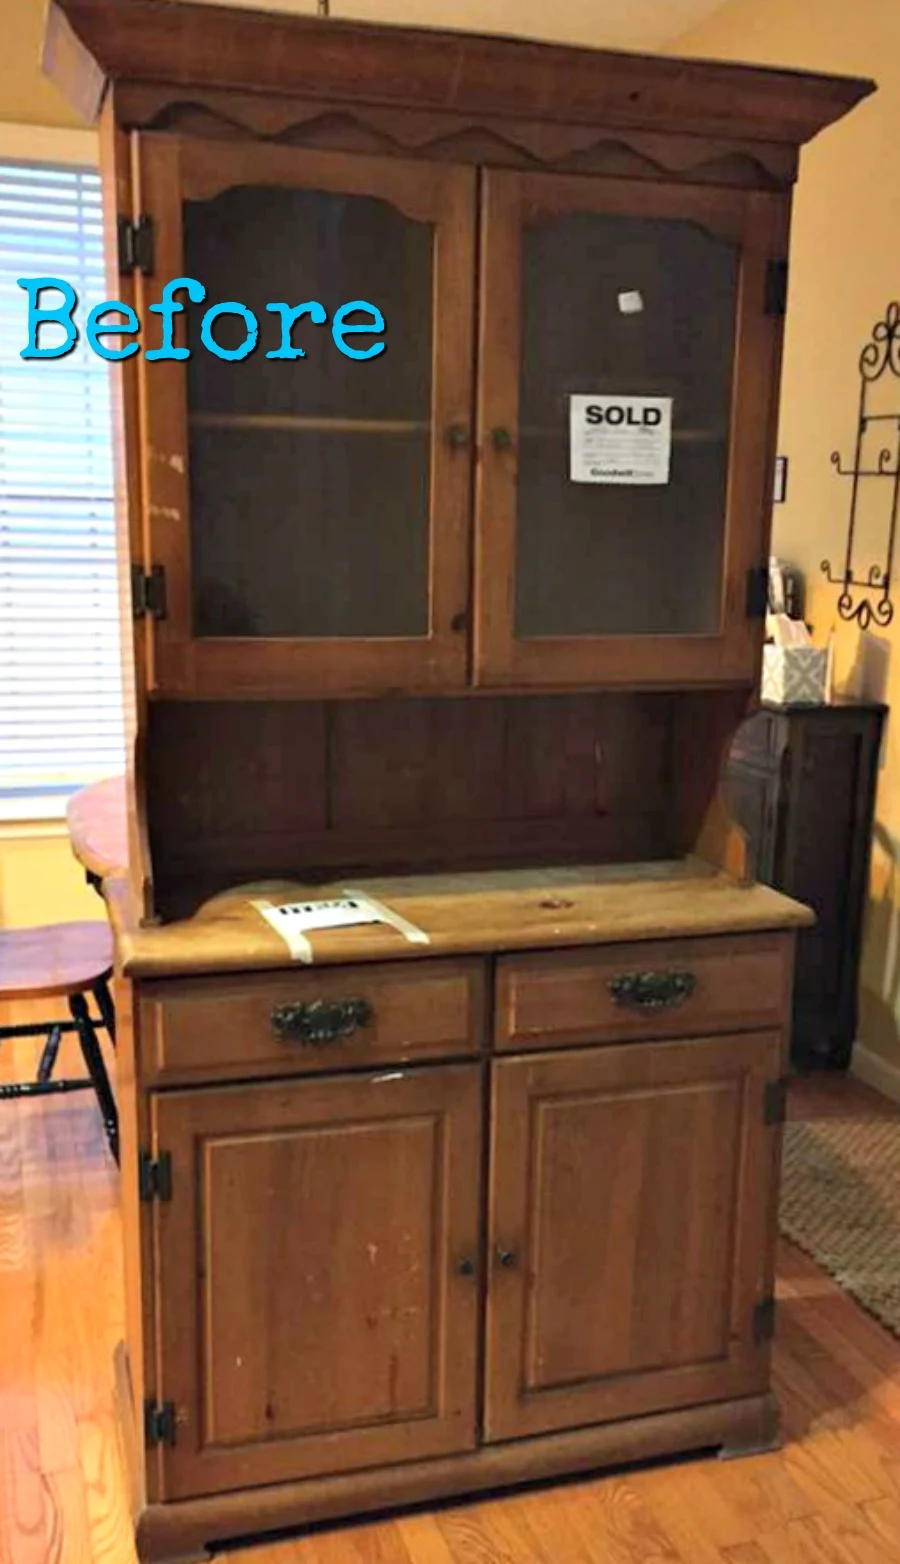
Oops! I almost forgot to include the "before" photo!
It was old and a bit grungy, but its new finish is clean and stylish.
Thank you for stopping by The Black Sheep Shoppe's blog today!


I love it painted black and distressed. Totally transforms and updates this piece in an expensive looking hutch. It also inspired me for another project I've been waffling about! Pinned
ReplyDeleteThanks so much Marie! I'm happy to hear it inspired you, and I appreciate your kind words.
DeleteI love this piece! when I saw the before, I envisioned what I would do with for my home. I would have done the same as you! It's just to my taste. You did a wonderful job. Thanks for the inspiration!
ReplyDeleteThanks so much for your comment. I'm glad to hear you liked the finished piece.
DeleteReally really nice job! it turned out so pretty.
ReplyDeleteThank you! :)
DeleteBeautiful! Did you do anything to that original hardware?
ReplyDeleteThank you Diane! I kept the original hardware. I painted it Graphite with a light sanding and sealed it with clear wax.
DeleteWOW!!!!! Simply Gorgeous!!! I'm usually not a painted-wood person...but this is AMAZING!!! How long did it take?! Loooove it!
ReplyDeleteThanks so much Amber. I don't remember exactly how long it took, but I worked on the project over the course of 3 - 4 days., and one of the days was devoted to cleaning it.
DeleteBeautiful! You did a wonderful job!
ReplyDeleteThanks so much Peggy!
DeleteAbsolutely beautiful! Perfect for my home (when I find it). Would be so nice with my farm table in same colors. You are an artist!
ReplyDeleteThank you so much. I also like how the colors work so well together. Good luck on finding your home some day!
DeleteI was so happy to stumble upon your project. I have a desk very similar to yours and have been researching what could be done to fix it up. How did you determine that the top could be removed? I am wondering if I might be able to do the same.
ReplyDeleteThere were screws in the back of the cabinet that attached the top to the bottom. It was easy to remove the screws. Good luck with your project!
DeleteYou said you spent a day cleaning it. What did you do to get it ready for painting? I have a very similiar size cabinet with the glass inset doors on the top like yours, but the bottom half is a secretary (with a fold down desk) with drawers underneath. It was my great grandmother's desk. It's looking pretty rough and I love the look of your completed project. Also, maybe you mentioned this already, but what brand of paint and/or wax did you use?
ReplyDeleteHi Laurie, This piece was very dirty when I bought it. So I cleaned it inside and out with Dawn dish soap and water. Then I cleaned it again with diluted Mr. Clean and a final clean with Dawn again prior to rinsing twice with water. Most pieces I get don't require that much cleaning, but each piece is different. The paint I used is Annie Sloan Chalk Paint in Graphite and Country Grey for the interior. I also painted a secretary desk that was my grandmother's. If you would like to see that project I will include the link: https://theblacksheepshoppe.blogspot.com/2018/05/colonial-style-secretary-desk.html
DeleteGood luck with your project.
Can you talk more about the dark wax you use? When, where, how? I'm new to this. Thank you.
ReplyDeleteI used Annie Sloan Dark Wax to seal the chalk paint (also Annie Sloan in Graphite). Chalk paint must be sealed. You can you the clear wax, dark, black or white wax to seal the chalk paint. The dark wax over the dark paint gives an extra dimension of color. However, if using dark wax over a light color paint I always seal first with clear wax before applying dark wax. It's best to experiment first to make sure you get the results you want.
DeleteWhere can I see prices that you charge. I am interested to see if this would be a viable business for myself as I love painting
ReplyDeleteMy prices vary on each piece depending on a number of factors. It also depends on if you are only selling furniture from your home or if you are renting a booth, participating in markets, or running a small shop. You might want to check out the FB group Vintage Market Tips and Tricks. Good luck with your venture!
DeleteLove love love .just popped across from Hometalk to see the extra photos and I'm in love with this colour scheme. Well done on such a beautiful piece .I mentioned my Ercol solid base cabinet that I recently found the China shelf top to and I'm really looking forward to choosing colours to update it .I'm a bit if a wuss when it comes to braving painting classic pieces such as my lived Ercol piece but, the top has seen better days and the choice is either strip back and revarnish, trying to match the deep patina my base has acquired over the years of me lovingly polishing it, or, go the while hog and with the times and paint it something fabulous to showcase it's curves . I think you've persuaded me with the latter. I might even be brave and do the base too!
ReplyDeleteThanks for stopping by from Hometalk! This was my first time using Graphite and Country Grey together, and I loved how they worked so well together. I understand your hesitation on painting a classic piece because if you paint it and change your mind it's not easy to strip the paint. Sometimes I will strip the varnish and then decide which way to go (paint or stain). Good luck with your project Michelle.
DeleteDid I leave the brown part from the original? How many coats of paint? Luv it!
ReplyDeleteThank you! I left the work top in the original wood stain. I used two coats of paint.
DeleteI just saw your post. It turned out beautifully. I am curious about the distressing on the hutch. It looks brownish. I am wondering if you used black wax on it to get that deeper, darker rich color. I am chalk painting a sofa table that’s orange knotty pine for a friend. She would like it to match her existing dining room furniture which is lightly distressed and black. Her distress marks have that nice brown rich color. However, I am concerned that when I go to distress it I’m going to get a lighter tone...which will not match her existing furniture. Any suggestions you have would be greatly appreciated.
ReplyDeleteHi Lisa, I used Graphite chalk paint, distressed the paint. and then sealed it with dark wax. For the knotty pine in a light color it most likely won't be as deep a brown even with a dark wax. You might consider staining the wood darker before you paint it. If you have an inconspicuous spot to test it that would be best. When I stain first I use a gel stain (General Finishes brand). I will include a link below to another post where I used this method on a mirror frame. https://theblacksheepshoppe.blogspot.com/2017/10/cheval-mirror-painted-for-antiqued-look.html
DeleteGood luck with your project!
I love how your hutch turned out! For a long time I've been wanting to paint my armoire. What has been stopping me is I live in a small apartment with no where to place it while I paint it. But now I see where chalk paint is completely safe and toxic free! And I also hear I won't need to sand, just to make sure I wash very well! Yay! I'm so excited to finally start on my project in my apartment! I want to paint it with a black chalk, so I was wondering about the wax part, that's to seal the paint, right? What kind should I get? I would be so appreciated on any suggestions you have.
ReplyDeleteHi Laureen. I'm excited for you about your painting project! Prior to sealing the chalk paint, you'll only need to use a damp wash cloth with a fairly gently hand to remove some of the paint to get a distressed look. You can skip this step if you don't want it distressed. Once the paint is to your liking you will need to seal it with wax. You can use clear wax or a dark or black wax over the black paint. I used Annie Sloan Chalk Paint and wax for this project, but now my local stores in the US carry Jolie Chalk Paint (same formula but a different name). For beginners, I recommend first testing the process on a small project before working on a large project. Either something you have around the house, or find a small wooden jewlery box, picture frame, or small side table at a thrift store. Good luck! Email me at TheBlackSheepShoppe@gmail.com if you have more questions.
DeleteYou did a marvelous job on this piece. I see lots of painted and updated furniture, but this is one of the nicest I’ve seen.
ReplyDeleteThanks so much for your kind words and encouragement Karen!
DeleteCan I buy this piece?
DeleteThank you for your interest, but it has already sold.
DeleteHow could you do this to a BEAUTIFUL original Art Deco piece?? It makes me ill.
ReplyDeleteI appreciate your concern, but I can assure you it wasn't an original Art Deco piece. If I recall it was most likely built in the 1970s or 1980s, so no worries.
DeleteHi, what stain did you use on the flat surface the top sits on?
ReplyDeleteThe flat surface top is the original finish. I did not paint or stain that section (just cleaned it).
Delete