Today's post is about a vintage kitchen table circa 1920's to 1930's. It's very similar to another table that I refinished (you can see that project
HERE). I planned to take it to my booth, but I ended up using it as a work table instead.
BEFORE
The finish to the top was worn and uneven. Hidden leaves are tucked underneath each end of the table. Unfortunately, the leaves wouldn't slide out, but I bought it with the hope that I could make the necessary repairs.
 |
| Before: Vintage kitchen table |
I turned the table over onto its back for further inspection. It was very dirty, so I spent an hour vacuuming the dirt and scrubbing the grime a few times. Turns out removing the dirt that had accumulated in the tracks over the years was preventing the extensions from sliding in and out. Once the dirt was removed it worked fine and didn't require repairs.
 |
| Cleaning underneath the table. |
The finish on the table top was very uneven and worn, but still parts of it retained a beautiful patina.
 |
| Before: Uneven and worn finish. |
I used my orbital sander to remove the remaining finish.
 |
| Using an orbital sander on the table top. |
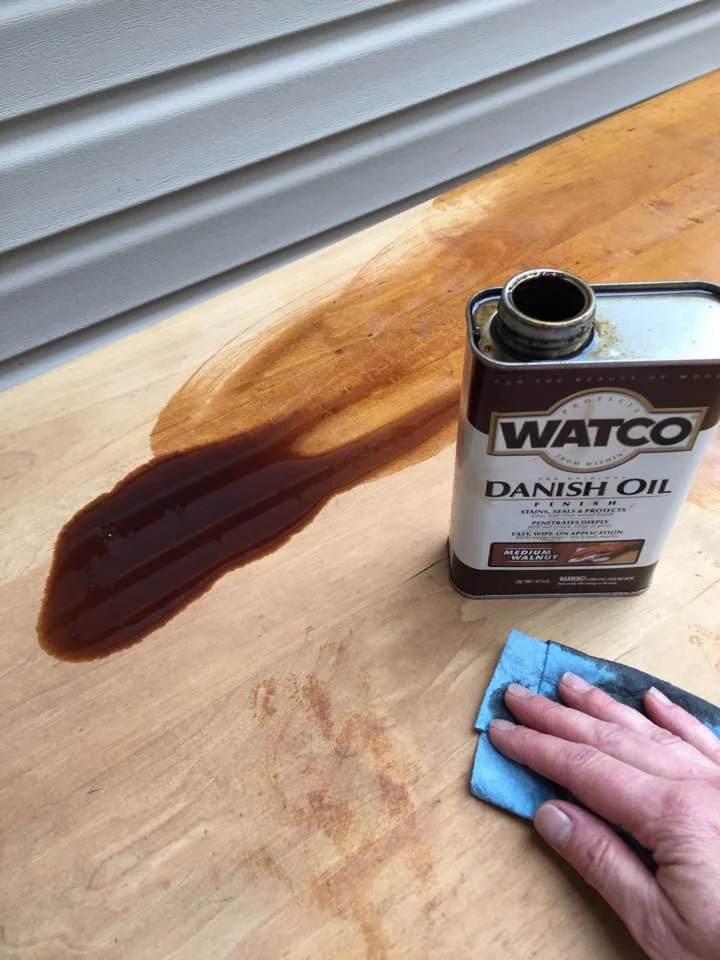
I sanded it back as far as I dared, but there were still some imperfections and stains. I was reluctant to paint the top, so at this point I wanted to use something that would help me work the character back into the finish. I decided to use Danish Oil to bring out the color of the wood and help condition it. The Danish Oil does slightly stain the wood, but it's not as heavy as a regular stain. It's very easy to apply. Just pour it on and spread it out with a lint free cloth. After the Danish Oil was completely dry I further sealed the table with a top coat to give it further protection.
 |
Applying Danish Oil to wood table top.
(Wear gloves when applying. I took my gloves off so I could get a picture.) |
I love the patina and character of the new finish! There are still imperfections but I like the look.
 |
| Beautiful patina after applying Danish Oil. |
AFTER
Here's the table after:
 |
| Vintage kitchen table circa 1920's - 1930's. |
Both leaves slide out easily to extend the surface space and then slide back in when not in use.
 |
| Vintage kitchen table with leaves extended. |
Here's an overview of the wood top with the leaves extended.
 |
| Table top refinished with Danish Oil. |
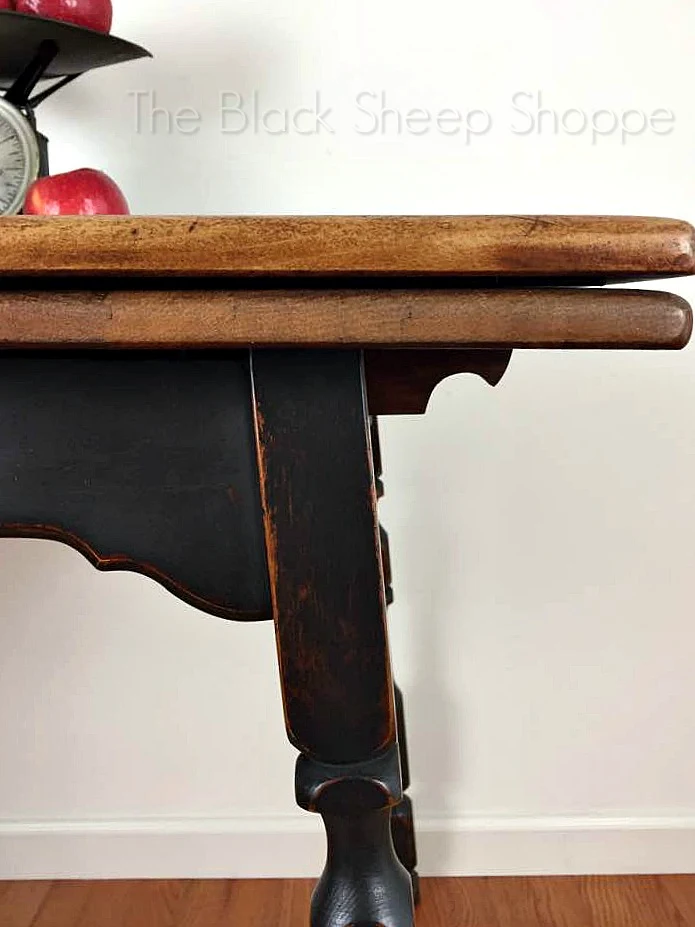
I painted the base of the table in Graphite and lightly sanded the edges. Next I sealed it with clear wax, and then applied dark wax to further deepen the color.
 |
| Graphite Chalk Paint with dark wax. |
I just finished up four ladder back chairs and was getting them ready for staging, so I added a shot with the chairs around the table. Although the table and chairs are not originally a set, I think it provides a good example of how easy it is to coordinate different pieces with paint.
 |
| Vintage table and ladder back chairs. |
 |
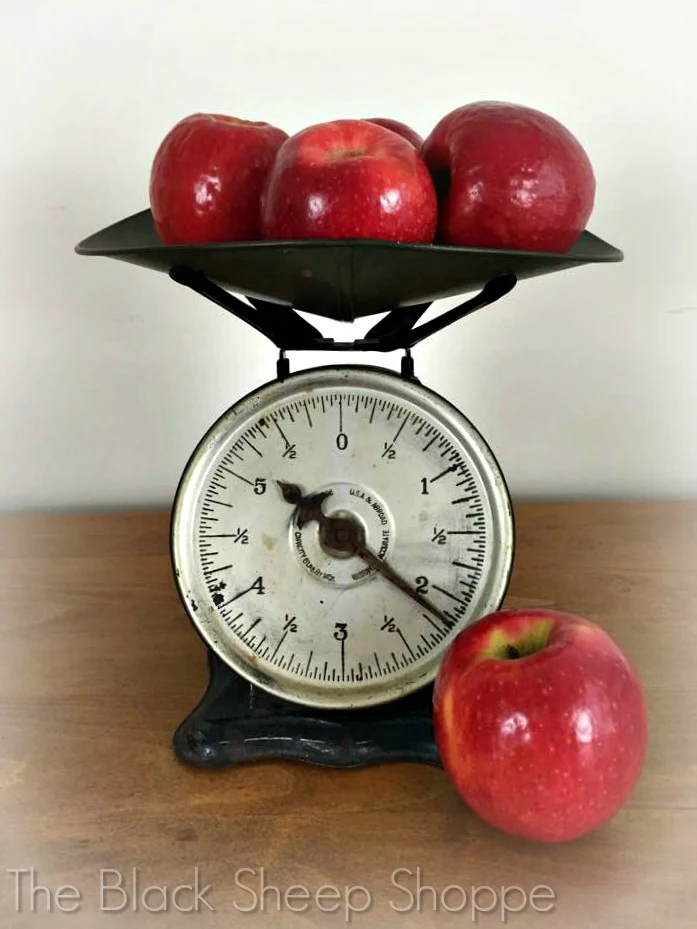
| Vintage Bay City Hardware Company Scale with apples. |
Thank you so much for stopping by my blog today!
Supply List
Below are the supplies I used for this project. Some links are affiliate links.


Comments
Post a Comment
Select the NOTIFY ME box to receive a notification of a reply to your comment (yes, I do try to acknowledge all comments). There might be a publishing delay on older posts as they are moderated to reduce spam.