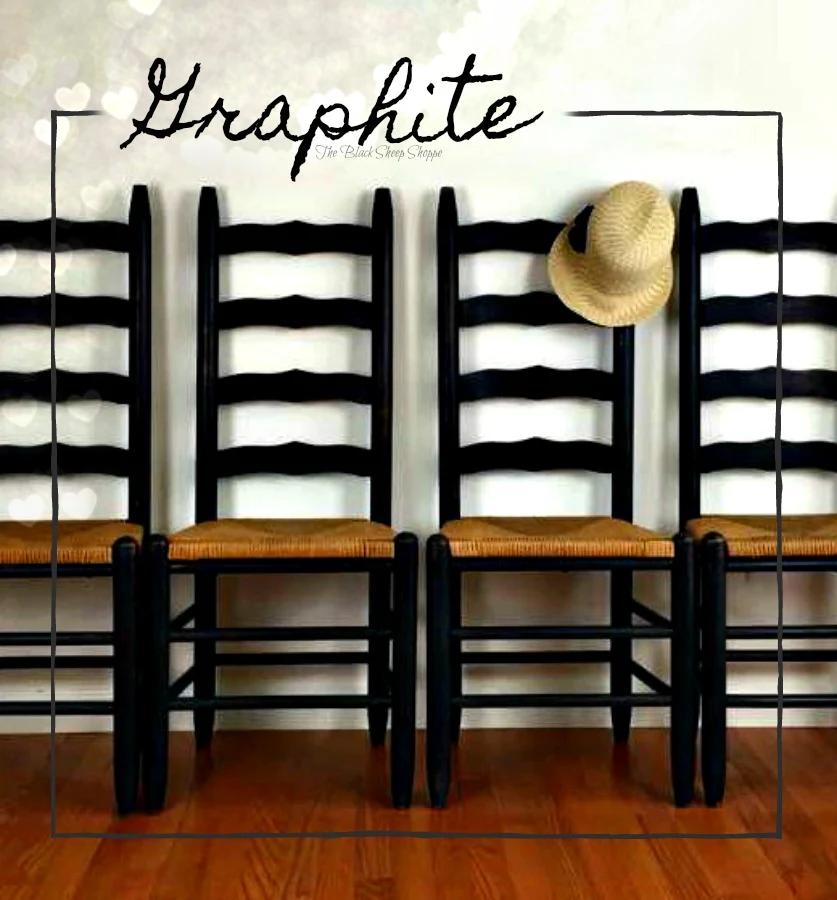
Black Ladder Back Chairs
I spotted these chairs for sale on Facebook Marketplace, contacted the seller, and 30 minutes later the chairs were mine. How easy was that?
A little bit of the wax seeped out once the screws were tightened. I simply used a shop cloth to wipe away the excess.
 |
| Wipe away excess wax with a rag. |
I worked the chairs in an assembly line fashion. I applied the first coat of paint on each of the chairs. Next I painted the second coat. I then distressed each of the chairs, cleaned off the sanding dust, and applied wax to seal the paint. It's a fairly straight forward process, but to be honest by the third chair of each step it became tedious. Good thing I like painting furniture.
Here's a quick side-by-side shot of two of the chairs before I applied the wax and after. The wax not only seals the paint, it also deepens the color and gives it a luxurious feel. I think it's more striking in person, but hopefully the photo gives you an idea of the difference the wax makes over Chalk Paint.
 |
| Graphite Chalk Paint distressed and waxed. |
I love the traditional look of the natural seats against the black paint.
 |
| Natural toned seats against black paint. |
There's is a bit of wear to the seats, but not enough to need replacements. I'm not after perfection, and I think a little bit of wear and tear adds to the authenticity and gives it a bit of vintage charm.
 |
| A little bit of wear and tear adds to the authenticity and vintage charm. |
I took a few different shots of the chairs with slightly various staging ideas.
 |
| Four ladder back chairs |
 |
| Four ladder back chairs staged with vintage hat. |
 |
| Four ladder back chairs staged with yellow wreath. |
 |
| Four ladder back chairs with one chair at angle. |
Finally, here are the chairs paired with my vintage table. The black base of the table matches the chairs, and although this was not originally a set, all the pieces coordinate well together.
I hope you enjoyed today's project, and I appreciate you stopping by.
Supply List
Below are the supplies I used for this project. Some links are affiliate links.
- Cleaning products (Shop vac, dish soap, water, Lysol disinfectant)
- Chalk Paint Products by Annie Sloan (Graphite paint and soft clear wax).
- Flexible sanding pad, 220-grit sand paper, and tack cloths (for quick removal of sanding dust.
- Wooster Vintage Effects paintbrush (2" angled china bristle)
- Wax brush
- Lint free shop rags and Shop towels for removing excess wax and buffing.


Comments
Post a Comment
Select the NOTIFY ME box to receive a notification of a reply to your comment (yes, I do try to acknowledge all comments). There might be a publishing delay on older posts as they are moderated to reduce spam.