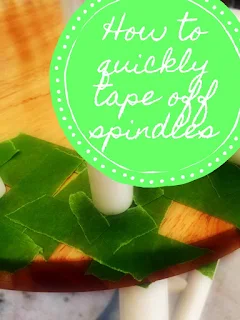
When painting chairs it's so much easier to paint them in all one color. But if you want the seat a different color or stained then you'll have to deal with painting around the spindles. Today I'll share how I tape off the spindles quickly to get a nice crisp finish.
BEFORE
 |
| Before: Wood chairs factory painted |
The "before" shot doesn't really show the damaged to the original finish, so I'll include a close up of one section. It's normal wear and tear that just about all furniture experiences. But there's no need to toss it! A fresh coat of paint will make it like brand new.
 |
| Example of damage to original finish. |
I found the best way to get a crisp edge around the spindles is to tape them off with painters tape. Each chair has 12 spindles (8 on top and 4 underneath) that needed to be taped off. Although the spindles are round, I begin by taping off a square. First I put a piece of tape at the front of each spindle. Next I added another piece to the side of each spindle.
 |
| Begin by taping off the front of the spindles. |
I added a third piece to the other side of each spindle, and then a fourth piece of tape to the back.
 |
| Tape off a square around the round spindles |
Finally, I filled in the gaps around the circle with 4 small pieces of tape.
 |
| Use four small pieces of tape to fill in the gaps. |
Prior to painting I also repeated the process underneath the chairs where the spindles meet the seat.
 |
| Repeat for spindles underneath the seat. |
AFTER
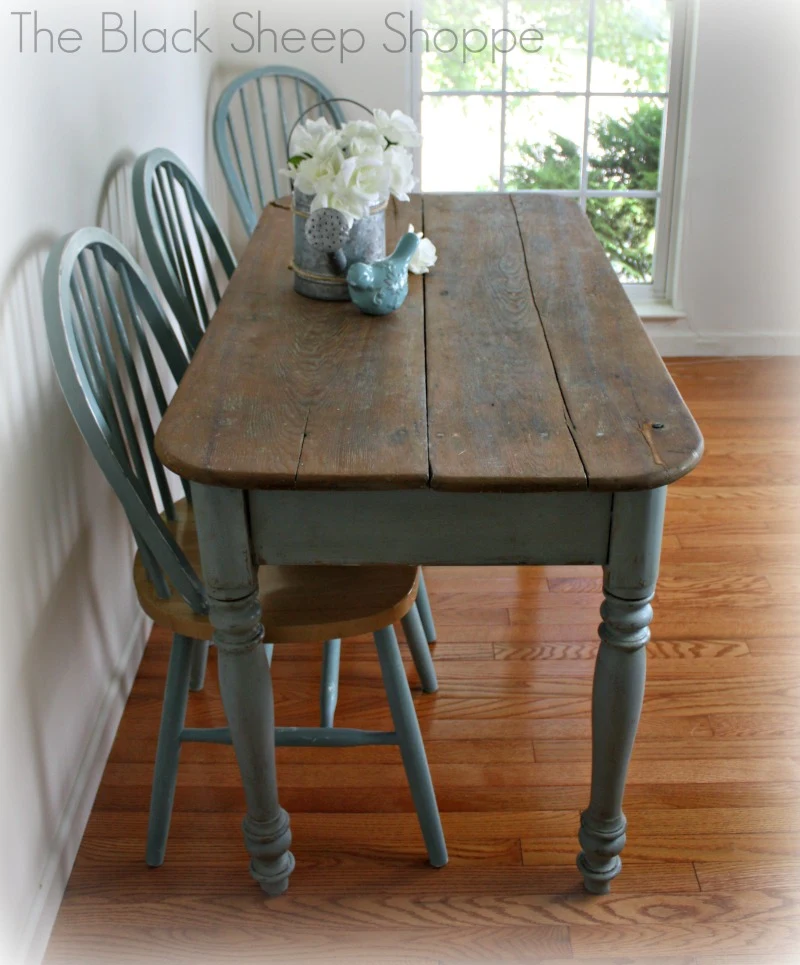
The chairs are painted with two coats of Duck Egg Blue. I used a fine sanding sponge to lightly distress the blue to reveal the white underneath. I love the way the blue and white look with the natural wood.
 |
| Duck egg blue chairs with natural wood seats |
 |
| Duck Egg Blue paired with natural wood. |
Thank you for stopping by.
SUPPLY LIST
Below are the supplies I used for this project. Some links are affiliate links.


The chairs look amazing! How much of the duck egg paint did you need to use for this job?
ReplyDeleteThank you! I don't remember the amount of paint I used specifically, but it was definitely less than a quart. Maybe about 1/2 quart.
Delete