Twin Bed: Painted Pink with Handmade Appliques
This twin bed comes from my personal collection. Sounds fancy, but in fact I bought it at a yard sale about 10 or 15 years ago. The original finish was brown and I painted it white many years ago.
Before
This white finish was one of my earliest refinishing projects. It's received a lot of wear and tear over the years. I've been in the market for a new bed to use in my guest room (I'll post that project soon), so I decided to give this bed a face lift and sell it. |
| 15 years of wear and tear! |
During
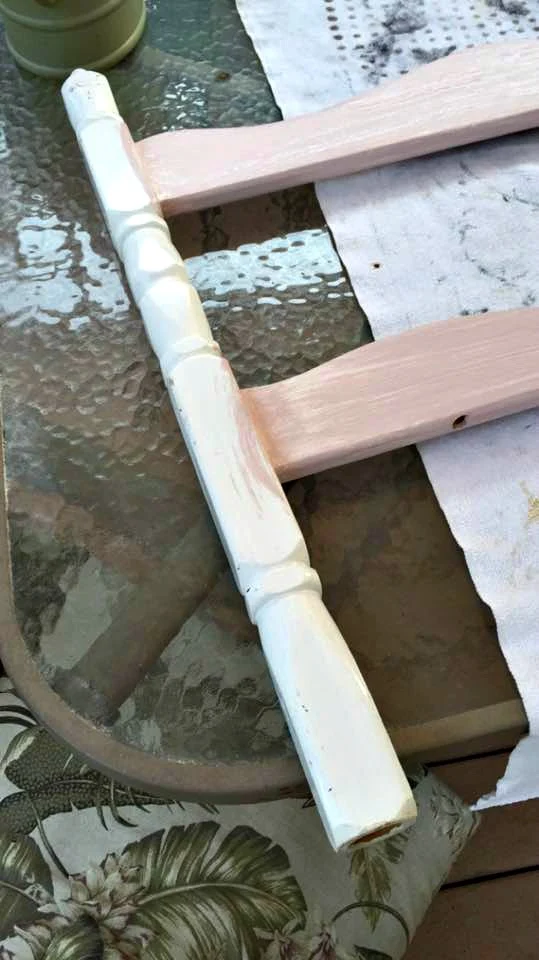
I choose Antoinette Pink chalk paint for my color scheme. Using the chalk paint meant I didn't have to prime the previous paint first.
 |
| First coat of pink! |
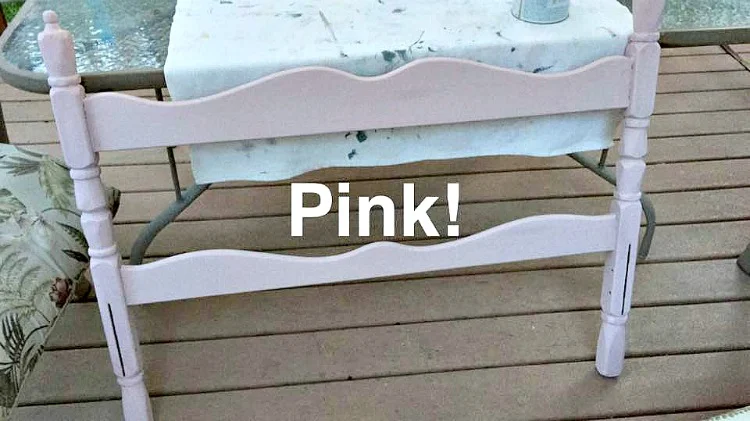
The painting part of the project was nice and easy. I alternated painting between the headboard and footboard and painted one while the other dried.
 |
| Pink! |
Instead of distressing I decided to apply white wax to soften the pink color and give it a little dimension. The effect is subtle but it did the trick.
 |
| White wax |
Handmade Appliques
At this point I felt the bed still needed a little something extra, so I decided to make an applique using paper clay.
 |
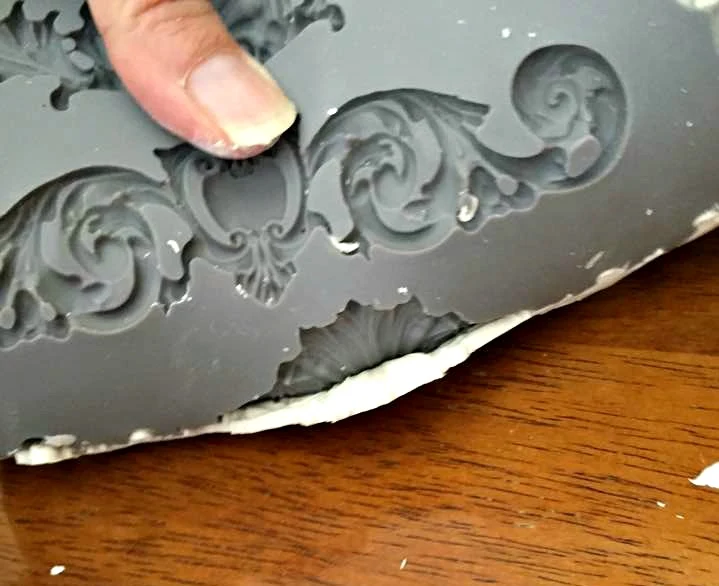
| Paperclay and mold |
Paperclay doesn't require any baking and it will air dry with little to no shrinkage. I bought some silicone molds to make the furniture appliques with.
First knead the clay a little bit so it's soft and pliable.
 |
| Knead the clay |
Then start pushing it into the mold.
 |
| Press into mold |
Continue pushing the clay into the mold until it is completely filled.
 |
| Continue pressing clay into mold |
Smooth off the surface of the clay so that it is as level as possible. I used a metal spatula to smooth it out and then just used my fingers to continue smoothing it.
 |
| Smooth out the surface of the clay. |
Finally bend the mold to release the applique. I made two of these, plus a few others, and it was easy to release from the mold. However, it must have been beginner's luck, because when I tried it another day I ruined a few. I've found that dusting the mold with corn starch will help prevent sticking.
 |
| Release the clay from the mold. |
As I mentioned before, the paperclay dries quickly, so seal the unused clay as airtight as possible. I used my Seal-a-meal to seal my clay. I cut the food bag open when I work on a new project, and then just re-seal the same bag again. So far it has kept the clay as good as new with no drying out.
 |
| Seal unused clay as airtight as possible |
Finishing Touch
The last part of this project is the metal bed frame. It had a brown finish and just didn't coordinate well with the rest of the bed. Actually you really don't see it once the mattress is on the bed and if you add a pretty dust ruffle, but sometimes the finishing touches really make a project complete. I applied 2 coats of white spray paint. |
| Attention to details give the project a professional finish |
After
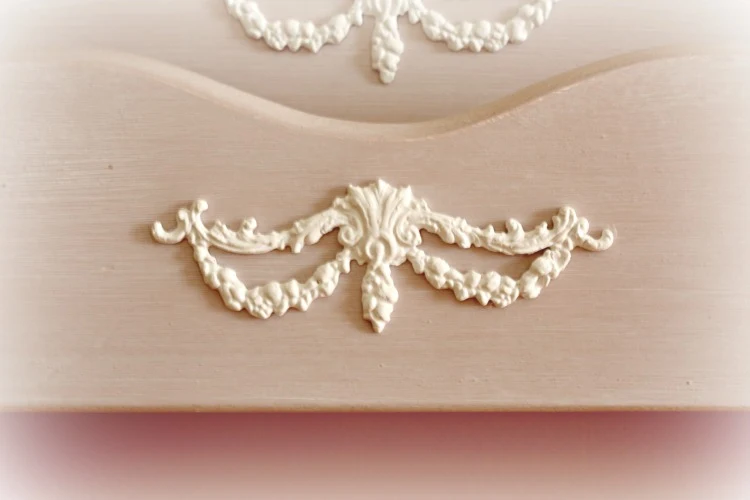
And here's the final bed painted in Antoinette Pink with the handmade appliques. I think it's lovely for a little girl's room. |
| AFTER: Antoinette Pink, white wax, and handmade furniture appliques. |
I made two appliques; one for the headboard and the other for the footboard.
 |
I'm happy that I used the white wax to give the pink a little softness.
And here's a shot with the bed frame along with the headboard and footboard.
I've included a supply list below with some affiliate links in case you're interested in any of the products I used for this project. Thanks for stopping by!
Supplies
Below is a list of supplies I used for this project (affiliate links).
- Antoinette Pink, Soft Clear Wax & White Wax (Annie Sloan Chalk Paint)
- Paper Clay
- Applique Mold
- Craft Glue
- Food Sealer
- Rustoleum Paint + Primer


Comments
Post a Comment
Select the NOTIFY ME box to receive a notification of a reply to your comment (yes, I do try to acknowledge all comments). There might be a publishing delay on older posts as they are moderated to reduce spam.