I purchased this dresser from an online auction, and based on the photos I thought it was the perfect project for painting. But it turns out it was about 100 years older than I initially thought, and I was reluctant to paint it. Still it was in rough shape and needed some work in order to prepare it for sale.
Before / During
I had a long debate with myself as to whether or not to paint this dresser. (I won't keep you in suspense -- I didn't paint it.) It would have been a lot quicker and easier to paint, but I loved the handcrafted workmanship and the veneer was lovely. Except of course where it was falling off. And a poor restoration will devalue the piece just as easily as painting it will. So although I'm not an expert restorer I kept my work to a minimum and left an easy path for a real expert to restore later as the case may be.
 |
| Before |
 |
| Chipped, loose, and missing veneer. |
The main area of concern was the missing veneer that surrounds the drawers. The antique veneer is much thicker than modern day veneer and was difficult for me to source. So I removed the remaining veneer around the drawers and replaced it with iron on
veneer banding. I know, I know, I know . . . it's not authentic, but remember I was working on getting this to a sale-able condition for everyday use and not an authentic restoration.
It was easy to apply the
veneer banding using a hot iron wrapped in foil. Afterwards I stained the new veneer. There's a lot of color variation in the original veneer, and I tried to match my stain to the darker variant.
 |
Patching in new veneer placement
|
 |
| Applied heat to banding with hot iron covered in foil. |
 |
Stain applied to new veneer. I applied 3 different stain colors.
|
 |
| Vertical veneer applied and getting ready to apply horizontal veneer. |
The next area that needed attention were the drawer bottoms. There were about 1/4" gaps where the bottoms meet the drawer fronts. I knew this when I bought the dresser and thought I would simply replace the bottoms. However, after I got it home and turned the drawers over, I saw that they were hand planed and chamfered. Let me tell you that they don't sell replacements like these anywhere!
 |
| Gaps in drawer bottoms from previous owner's repair. |
A previous owner had added some nails to the drawer bottoms, but instead of lining up the bottom to where it meets the front of the drawer, they had lined up the bottom with the back of the drawer which created the gap in the front. And they pounded little tiny nails deep into the wood, ugh! It wasn't easy to remove the nails, but with the help of my husband we got them all out and re-secured without causing major damage.
 |
Antique chamfered drawer bottoms.
I slid these back into place and re-secured with nails. |
The interior of the drawers were in overall good shape, but even after a few thorough cleanings, they appeared a bit dry. So I used
Restore-A-Finish to refresh the drawers followed by beeswax conditioning. The drawers still retain their vintage charm, but are now suitable for everyday use.
 |
Interiors in good shape, but the wood was dry.
|
 |
It's not a dramatic change, but now it's got a fresh look
while still maintaining its vintage charm. |
After
The knobs needed some serious tightening. Most of the screws holding the knobs in were replacements at some point in time and they weren't a perfect fit. My husband was able to find some better fitting screws in his hardware stash, and now they work well for everyday use.
 |
| View of center drawer |
 |
| Interior view of lock |
 |
| Close up of the beautiful veneer |
 |
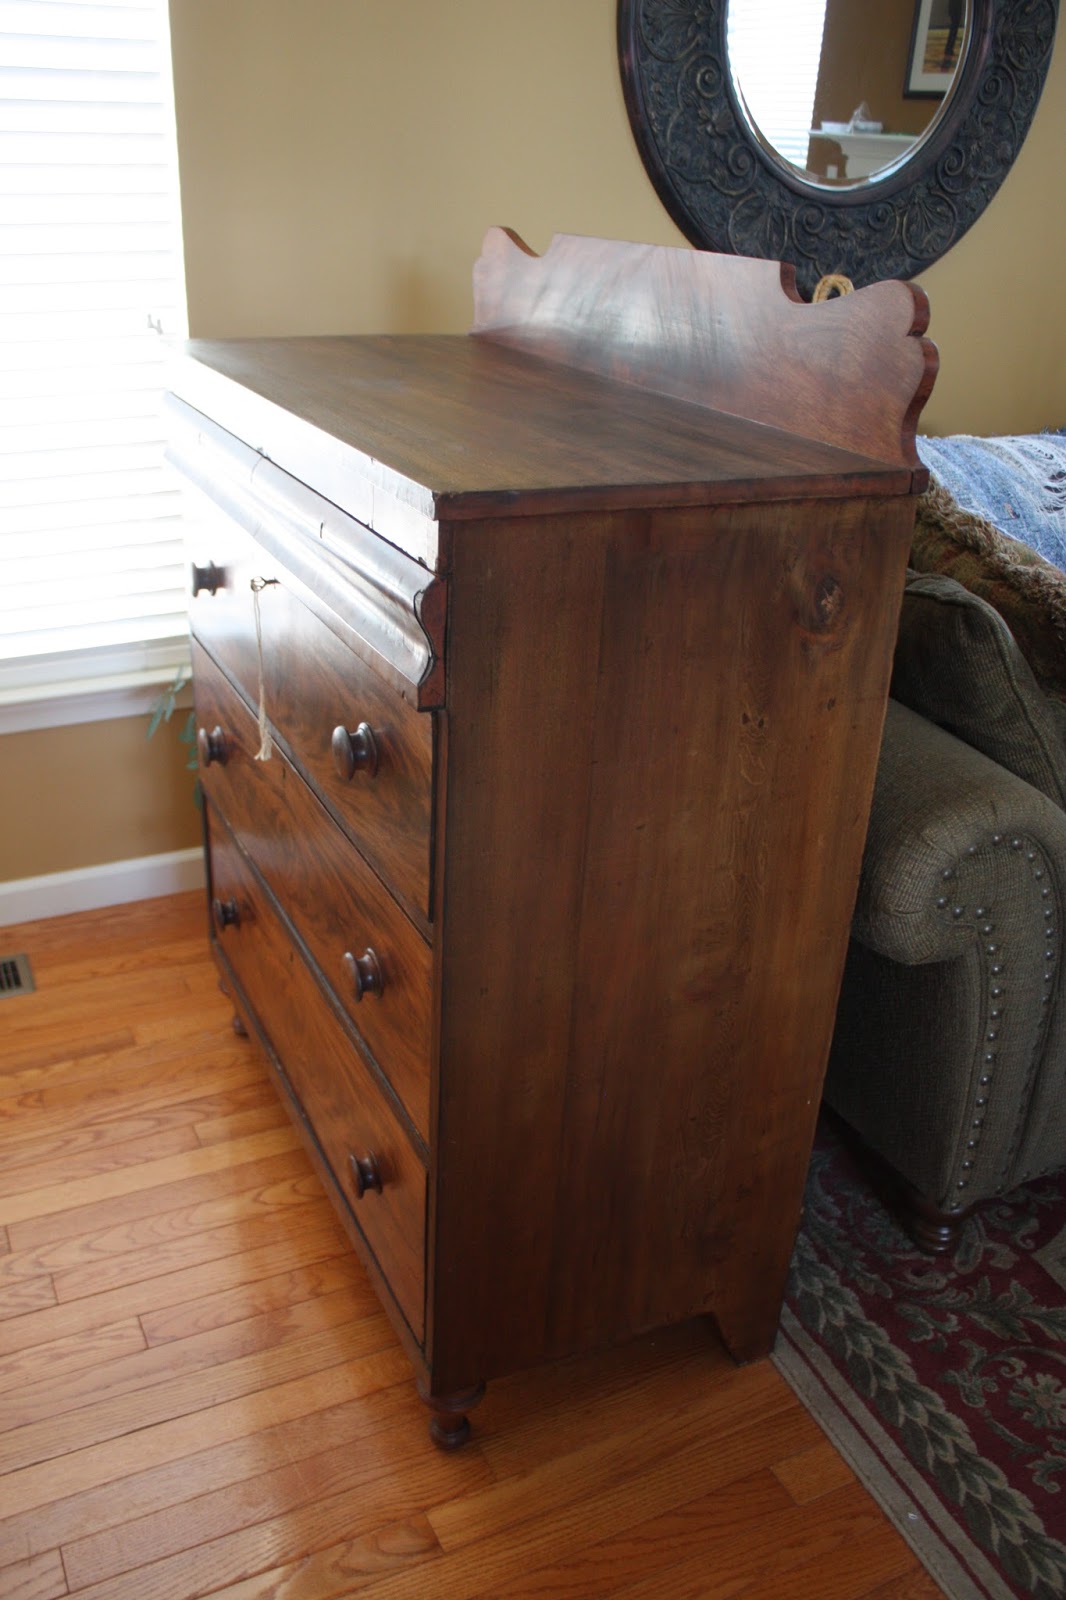
| Side view |
Products I used for this project:


You did a beautiful job restoring her back to her beautiful self and I love her joinery, it's so luscious.......how do they do that ?!
ReplyDeleteThank you Diena. They sure don't make them like they used to!
Delete