This is a SUPER EASY diy craft that is fun for both adults and kids. Even better you can customize it for any holiday or celebration. The supply list below is what I used, but you can use whatever basic supplies you have on hand (crayons instead of markers, cardstock instead of paper bags, etc.)
Supplies:
- Paper lunch bags,
- Scissors,
- Tape,
- Pencil,
- Marker,
- Ruler,
- Hole punch,
- String,
- Embroidery needle (optional).
 |
| SUPPLIES TO CREATE BANNER |
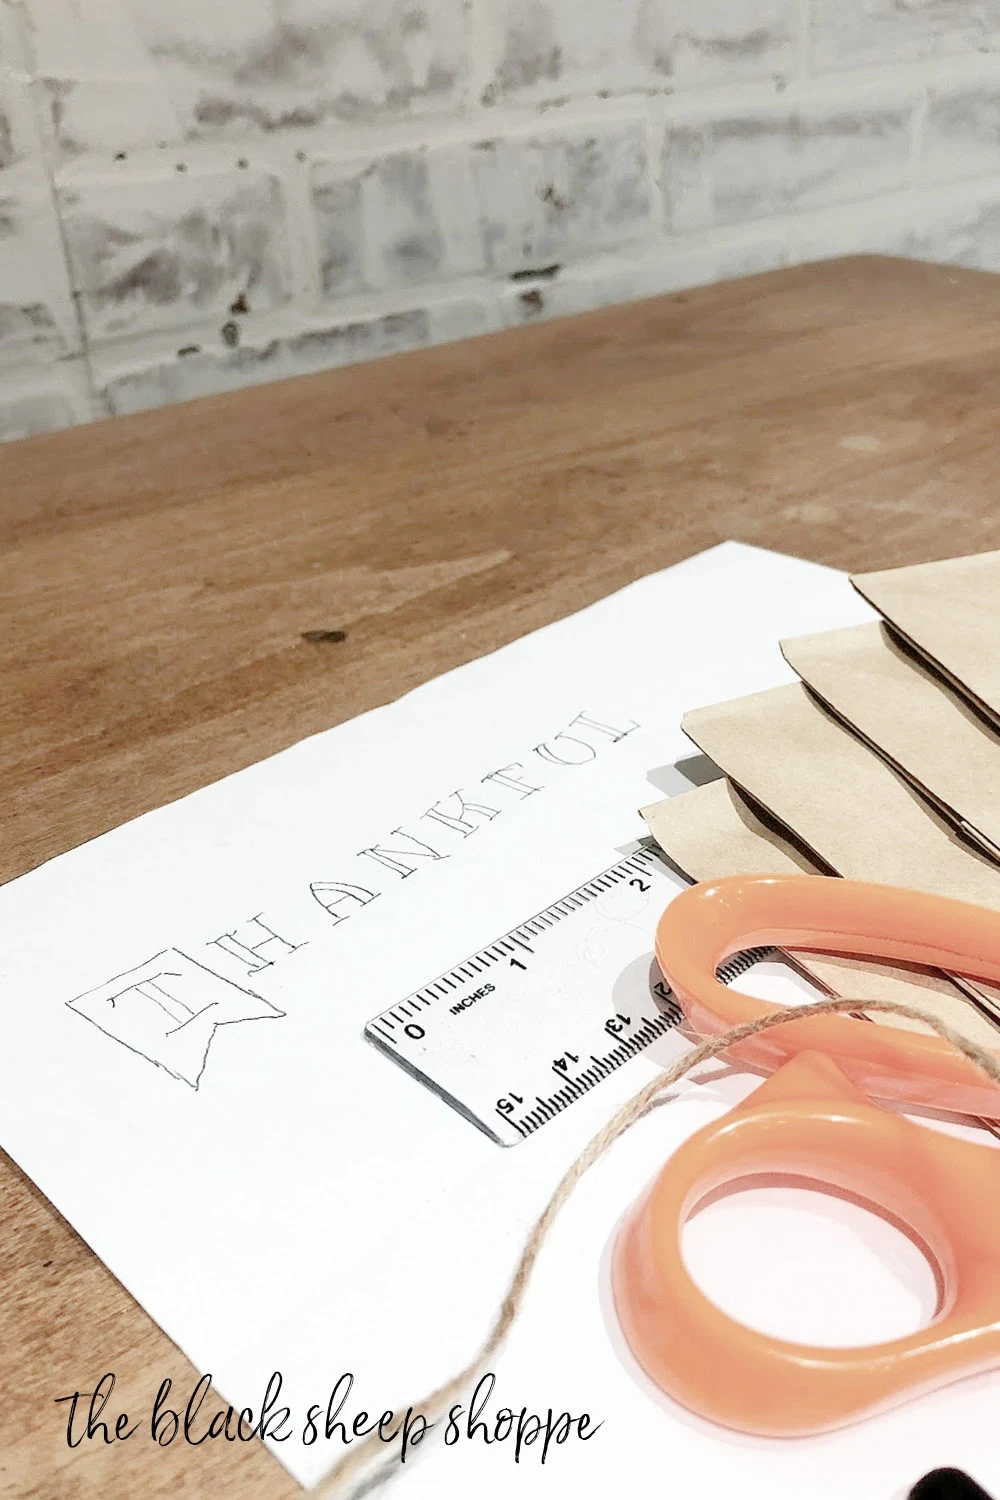
I previewed a few different fonts that would be easy for me to handletter. I chose "Ribeye Marrow" which you can see below.
 |
| CHOOSE A BASIC STYLE FONT |
First I sketched a rough draft on paper just to make sure I could recreate the font. I wasn't worried about it being perfect.
 |
| SKETCH A ROUGH DRAFT |
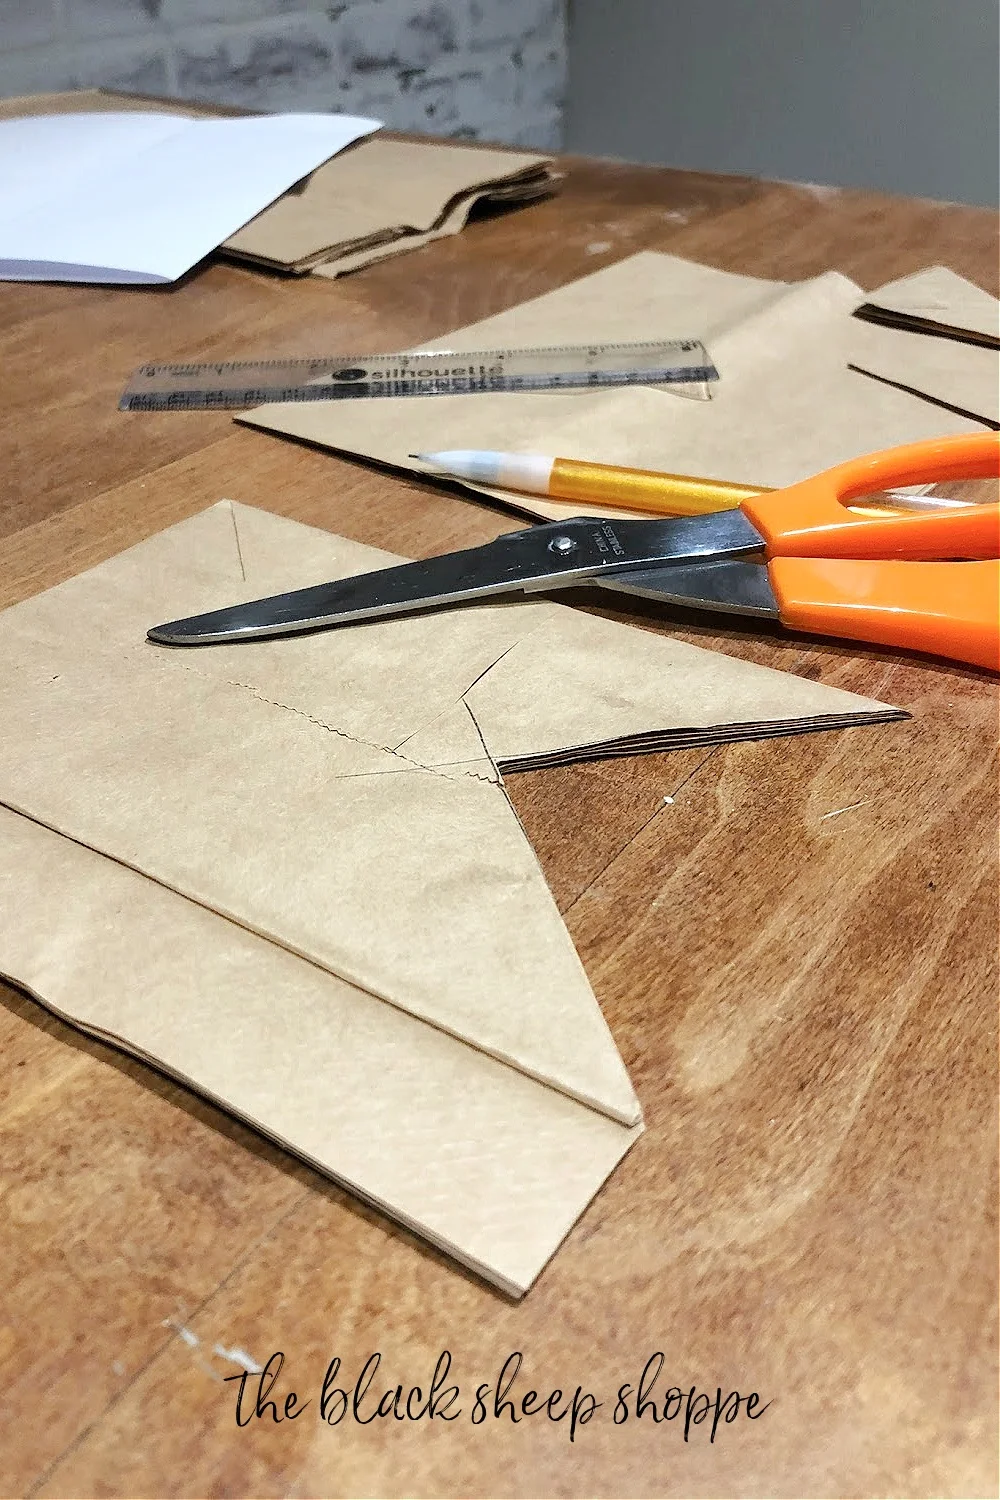
I trimmed the paper lunch bag to size. I let the cut side extend about 1/2" beyond the bottom of the lunch bag.
 |
| CUT THE PAPER LUNCH BAG WITH SCISSORS |
Then I cut a triangle out of the bottom to create a "swallowtail" on my pennant flag.
 |
| THE CUT TRIANGLE CREATES A SWALLOW-TAIL FLAG |
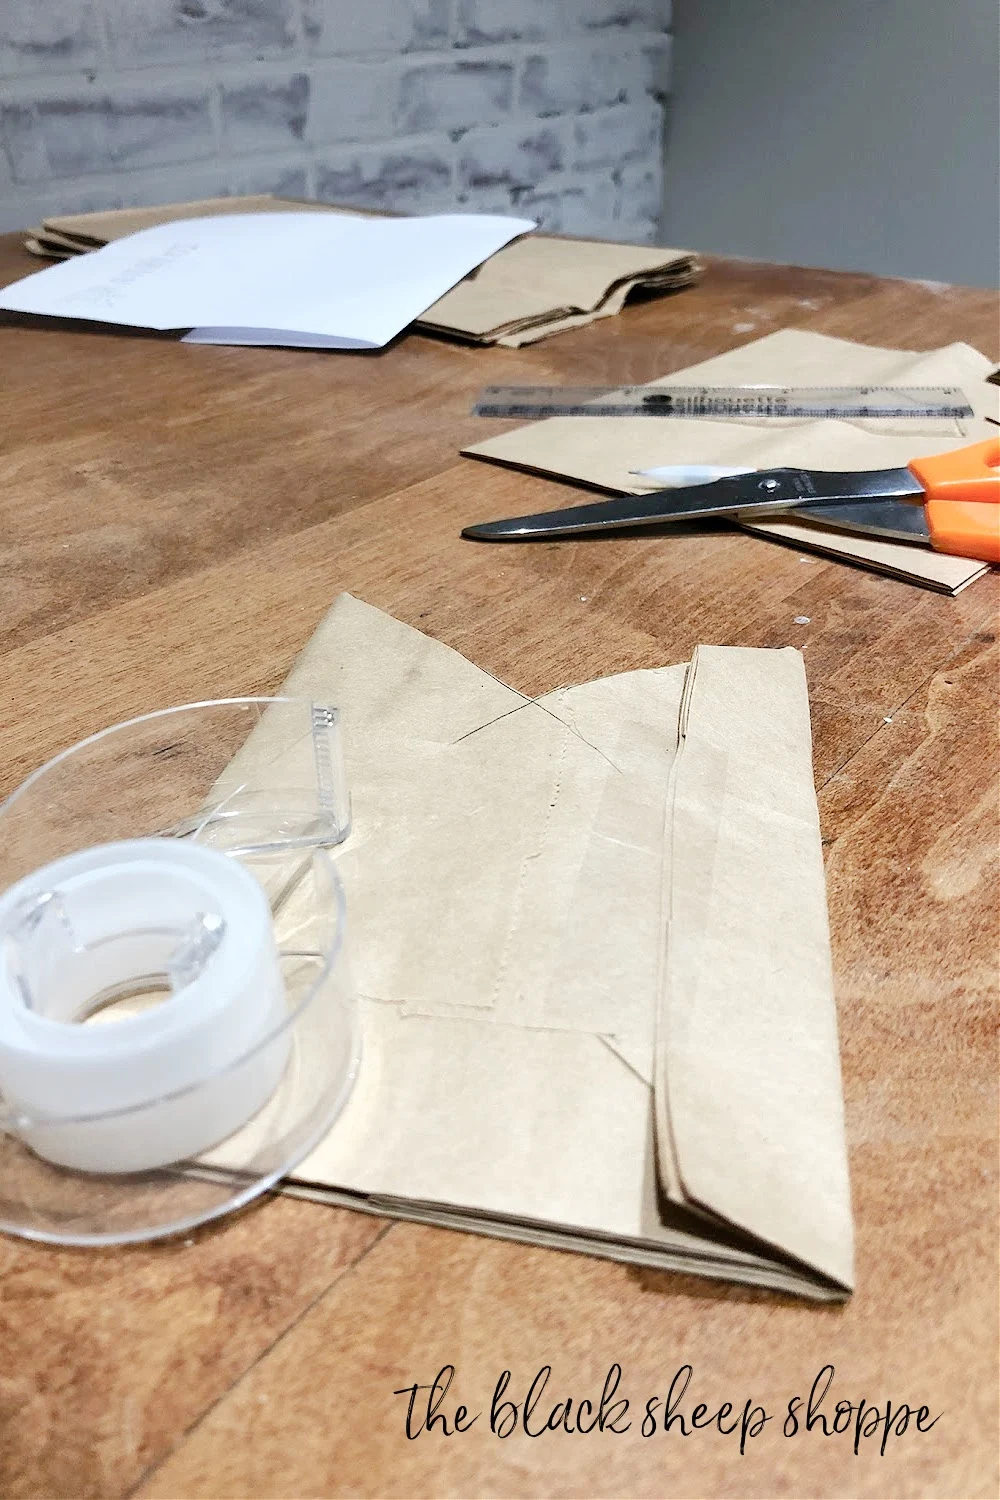
I folded over the cut edge of the bag to create a neater edge and taped it in place. The width is now about 4" wide.
 |
| FOLD AND TAPE THE CUT EDGES OF THE LUNCH BAG |
Next I lightly sketched a letter on the bag with pencil.
 |
| USE A PENCIL TO LIGHTLY DRAW THE LETTER |
Following my pencil marks, I used a ruler to create a neater lines as I drew with the permanent marker.
 |
| TRACING OVER THE PENCIL MARKS WITH A SHARPIE MARKER |
I repeated the process until I spelled out "thankful".
 |
| PAPER LUNCH BAGS EMBELLISHED WITH MARKER |
I punched holes into each of the top two corners.
 |
| PUNCH HOLES ON TOP OF BAGS |
I cut a very long piece of string and used an embroidery needle to thread it through the holes. The needle made it easier to thread through, but it's not necessary. You could instead wrap a piece of tape around the end to help guide the string through the holes (like an aglet on a shoelace). Leave enough string on either side of the banner to hang it up with later.
 |
| THREAD STRING THROUGH HOLES |
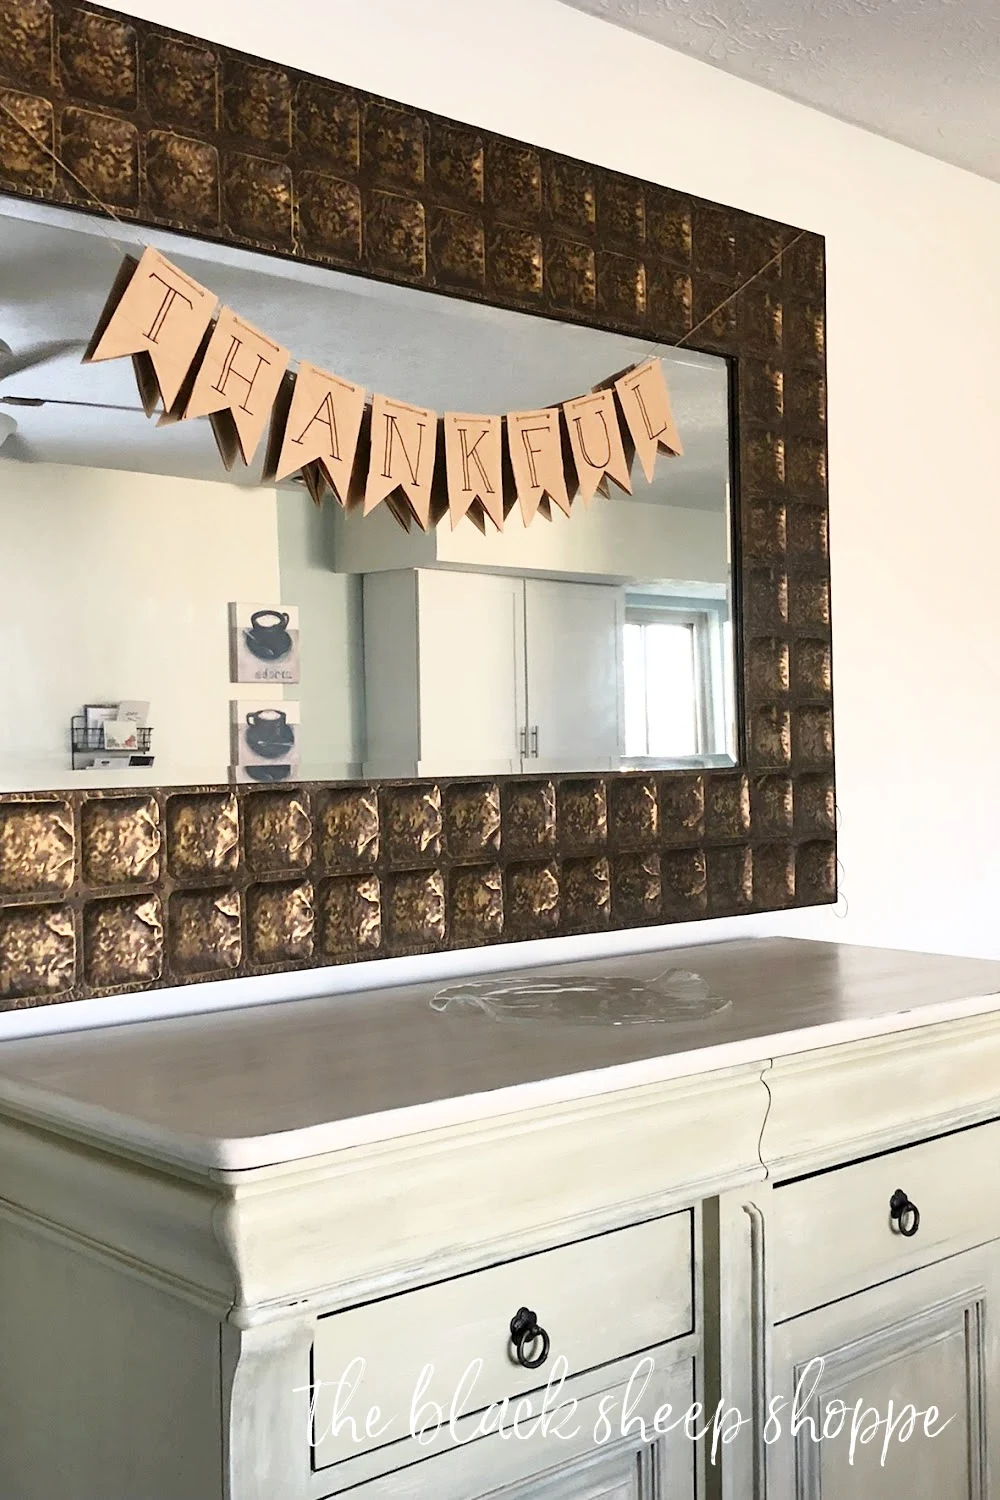
I spaced the letters about 1/4" apart. Once I was happy with the placement I put a small piece of tape on the back of the holes to keep them in place. Finally, I secured the string with tape to the back of a mirror to display my banner. If hanging on a wall then a couple of command hooks would work nicely.
 |
| PENNANT BANNER FLAG HUNG FOR DISPLAY |
I hope you enjoyed today's easy DIY craft. I am very THANKFUL for your visit to The Black Sheep Shoppe today!
 |
| EASY BANNER FOR HOLIDAYS AND CELEBRATIONS |


Comments
Post a Comment
Select the NOTIFY ME box to receive a notification of a reply to your comment (yes, I do try to acknowledge all comments). There might be a publishing delay on older posts as they are moderated to reduce spam.