Want to freshen up your louver doors but don't want to spend a lot of cash on replacements? Many people are daunted by the task of painting all the slats, but don't worry I am here to help, and I present to you today the best way to paint louvers!
Before we begin let me introduce you to my fixer upper basement! You'll see in the photos that there's a lot of brown, orange, and yellow color tones happening. And don't get me started on the flooring! Slowly but surely we're working on renovating the entire basement. Don't expect a big reveal today for the entire space though! That will come later. Today I will focus on the louver doors that are mounted on the furnace room.
PREP WORK:
First I vacuumed the entire door with a brush attachment and next with a crevice tool to assure all the dirt and cobwebs were removed. Normally I also clean with a DEGLOSSER, but I skipped that step on this project. Many times skipping the deglosser is a disaster, but SPOILER ALERT, it turned out just fine this time. Do as I say, not as I do.
SUPPLY LIST
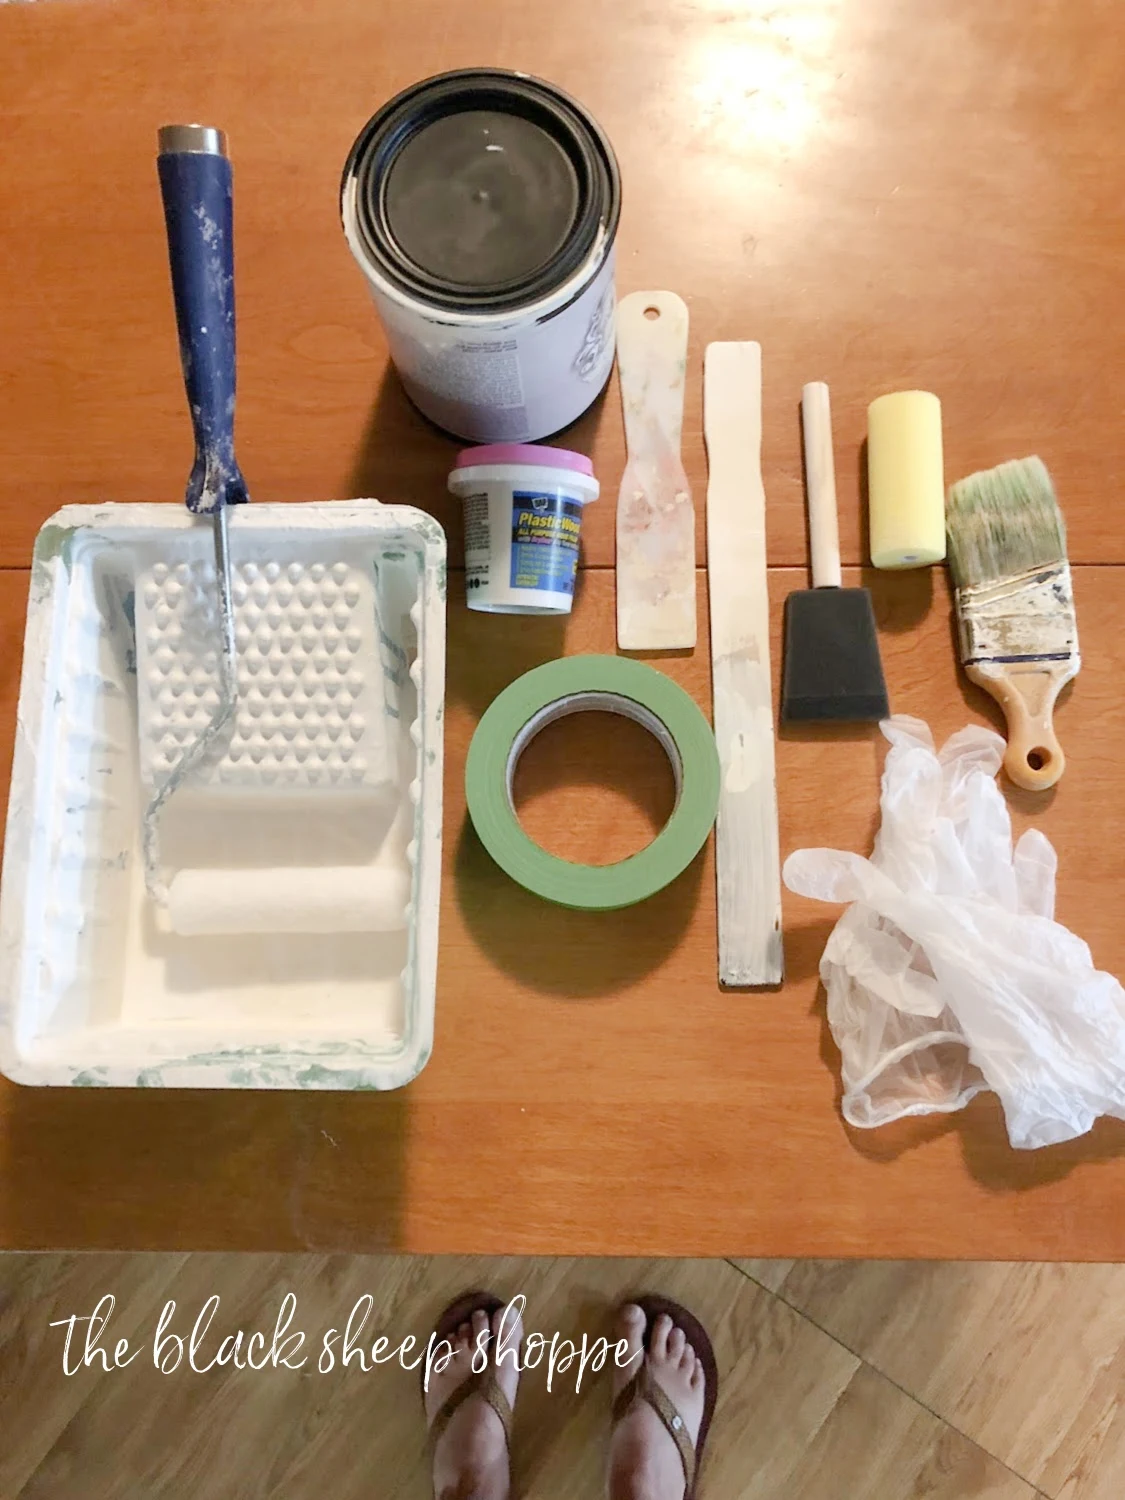
- All-in-One Paint - This is my preferred paint brand for kitchen cabinets, but it also works well for trim and doors. It has an enamel-like finish with a built in primer and top coat. It's water clean up. This paint is not available in stores, so you'll need to order online either on Amazon (affiliate) or direct from Heirloom Traditions.
- Foam brush - maybe just as important as the paint, this is key to getting the project done quickly and efficiently. I used one brush for the project, but had more on hand just in case.
- Angled paint brush
- Small roller and tray
- Painters tape
- Gloves (optional)
STEP-BY-STEP GUIDE: PAINTING LOUVRE SLATS
I've included step-by-step photos of the process for readers that want to tackle a similar project. I also took a short video to better demonstrate the actual process (keep scrolling).
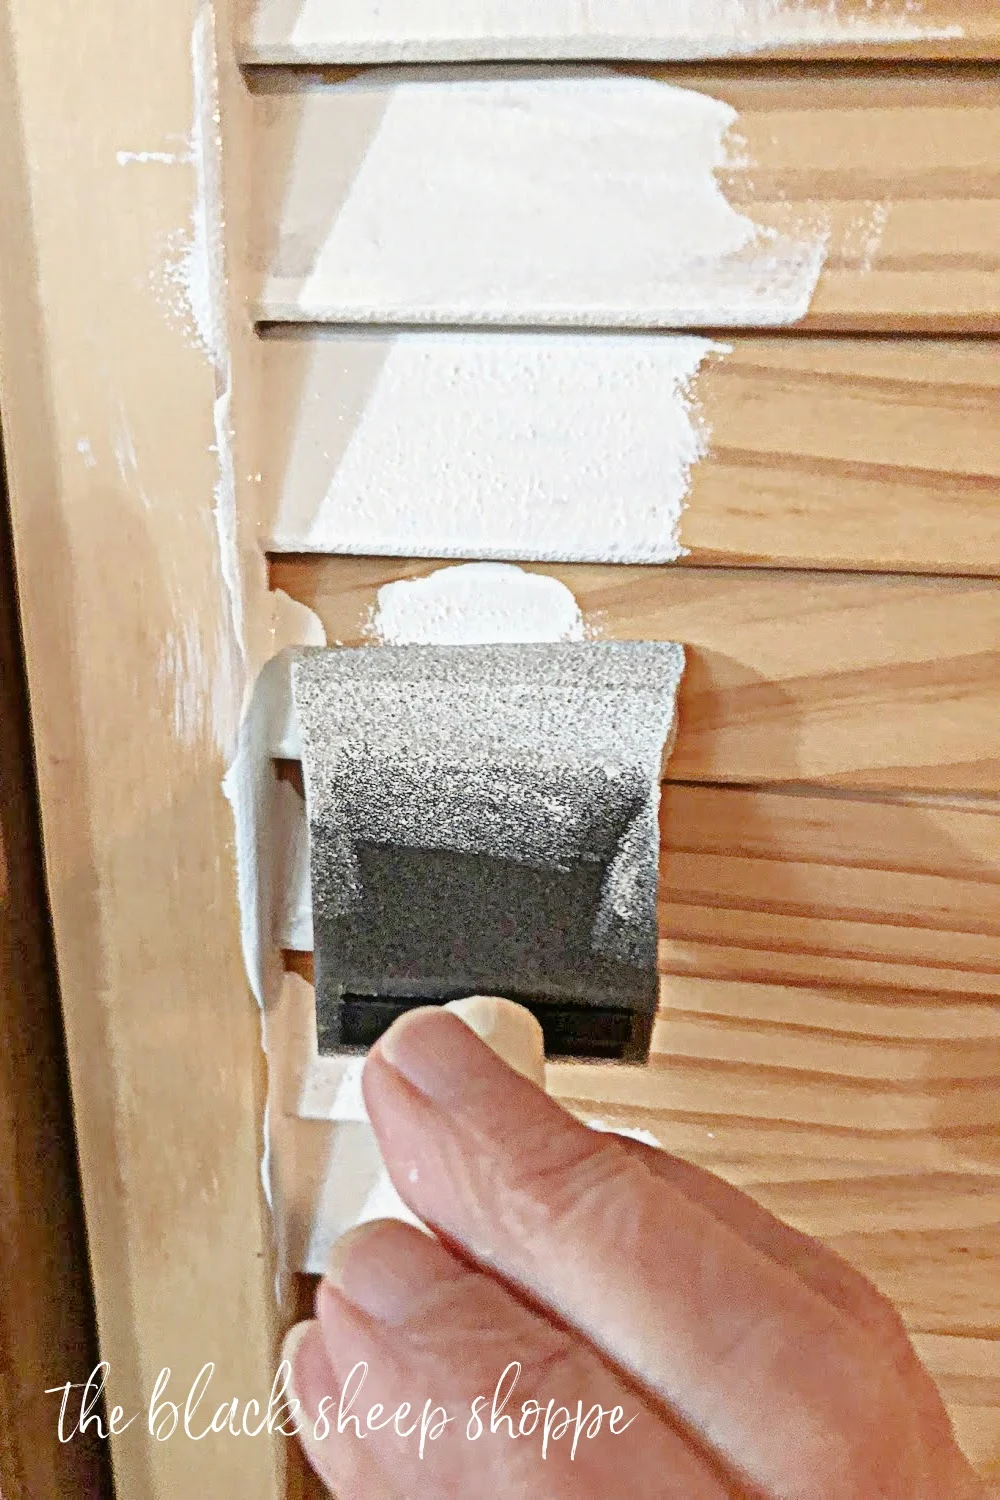
Apply a GENEROUS amount of paint to the foam brush. Don't be stingy at this point with the paint! It shouldn't be dripping all over the floor, but you really want to load up your brush. Working with an area of 3 to 5 slats at a time, push the paint into the corner where the slats meet the frame.
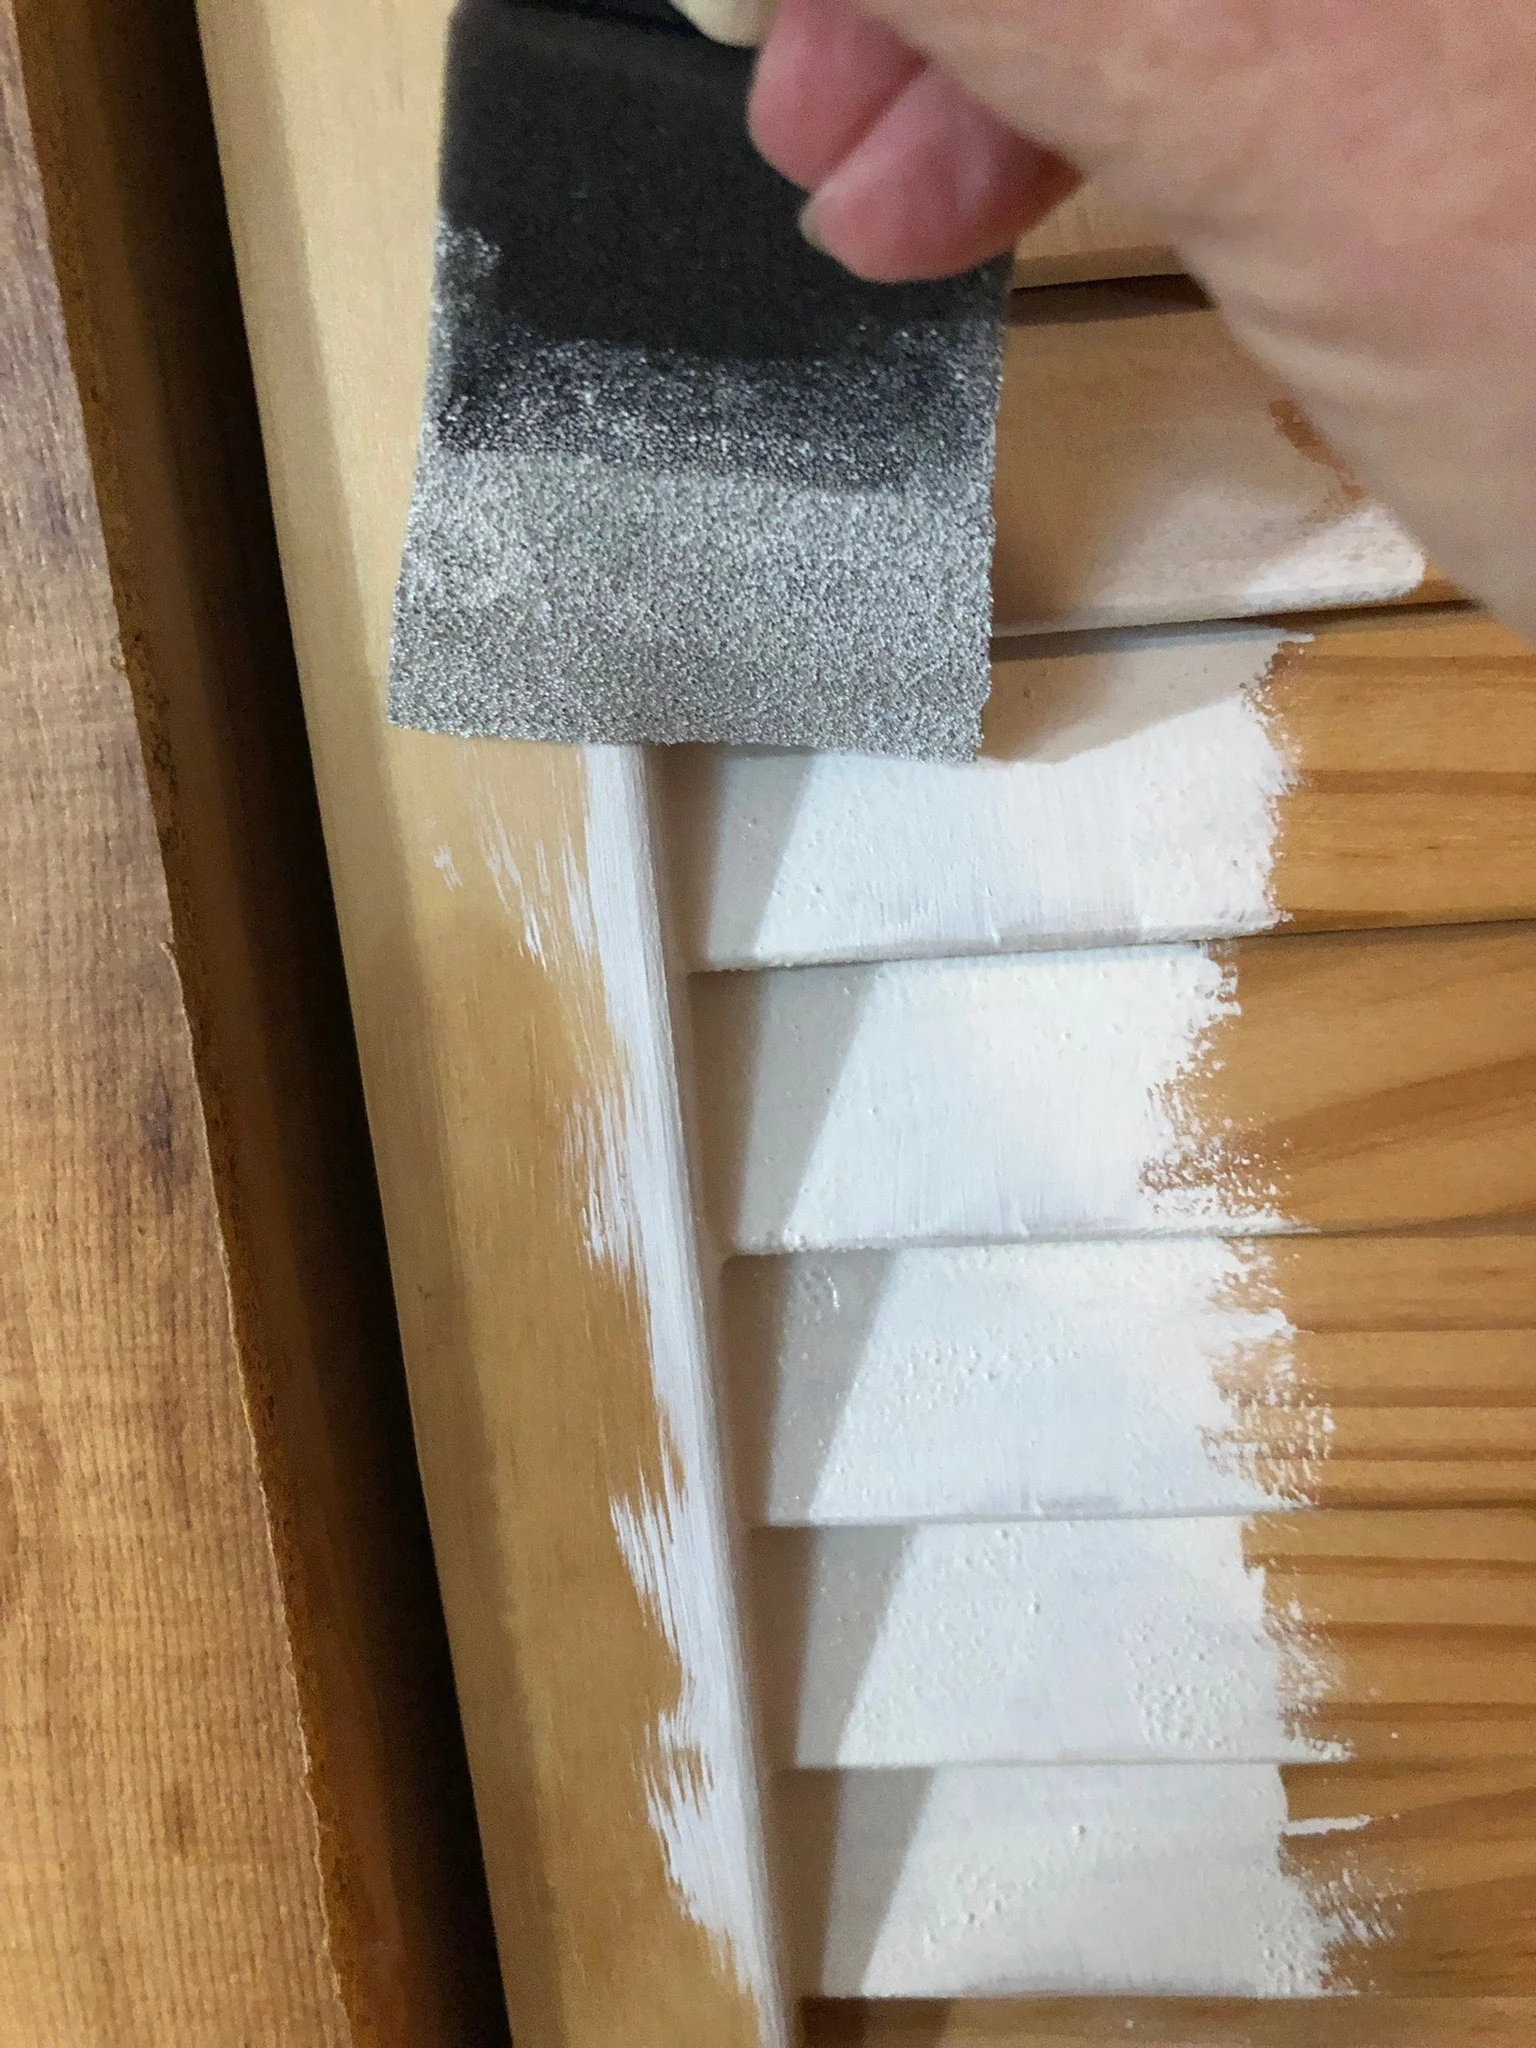
Next push and spread the paint upwards and under the slats. Wiggle and jiggle (the brush) as needed to work the paint in.
Use a pounce and stipple motion to even out the paint. Then gently pounce the foam brush over it to remove any large bubbles. There will be some texture but it does even out as it dries.
Before continuing to the next group of slats, swipe the brush along side the frame to remove any big globs of paint before it dries. This will even out any splothes of paint that worked onto the frame and will result in a nice even finish when the frame is painted later.
Here's a quick video to demonstrate the process (no audio as apparently I cannot film, paint, and talk at the same time).
Repeat the process on each end of the slats, then with a light amount of paint, swipe the foam brush across at the top of each slat.
Now you probably could continue with the foam brush, but I think it would take too long. Instead, load a generous amount of paint onto the angled brush, apply it to one or two slats at a time and then spread it across the slats. Continue until all the slats are painted.
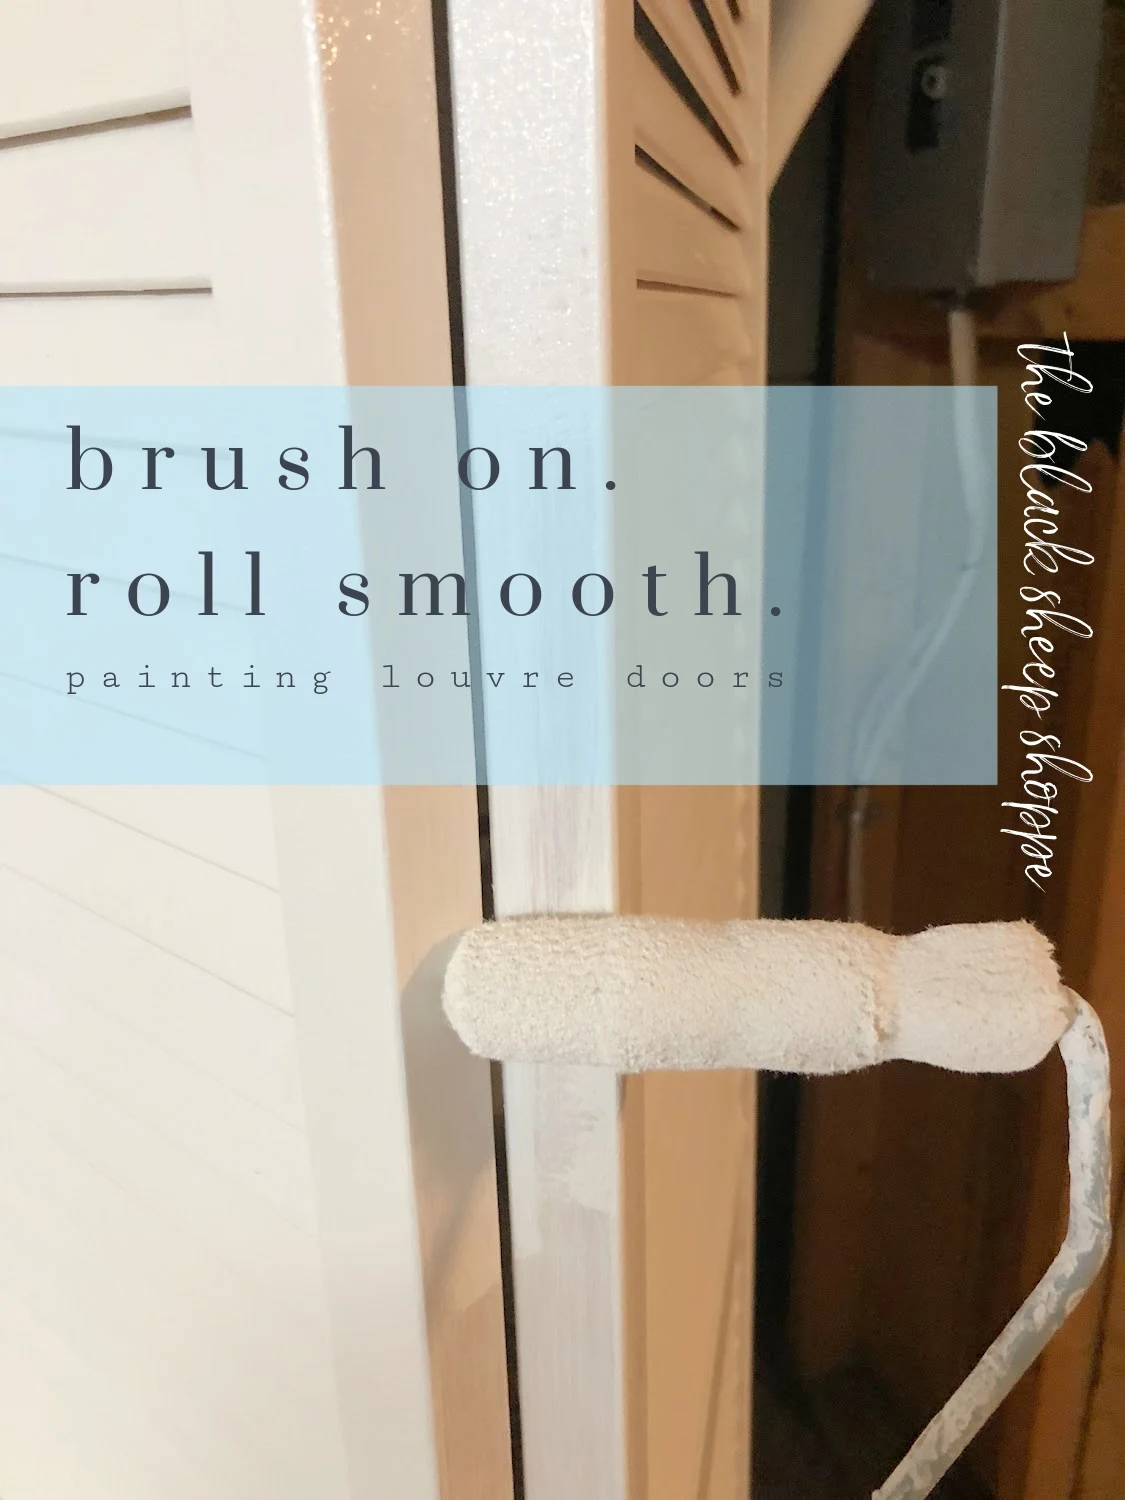
Next, while the paint applied with the brush is still wet, take the small roller and angle it in alignment with the slats then roll it gently across. This will even and smooth out the brushed paint and give it a soft texture. It will also catch most drips, but be sure to do a final inspection before allowing the paint to dry fully. If you do have any drips then gently work the roller over it, or use the foam brush to stipple the drip smooth.
Finally, pour a small amount of paint into a tray and use the roller to apply the paint to the frame surrounding the slats.
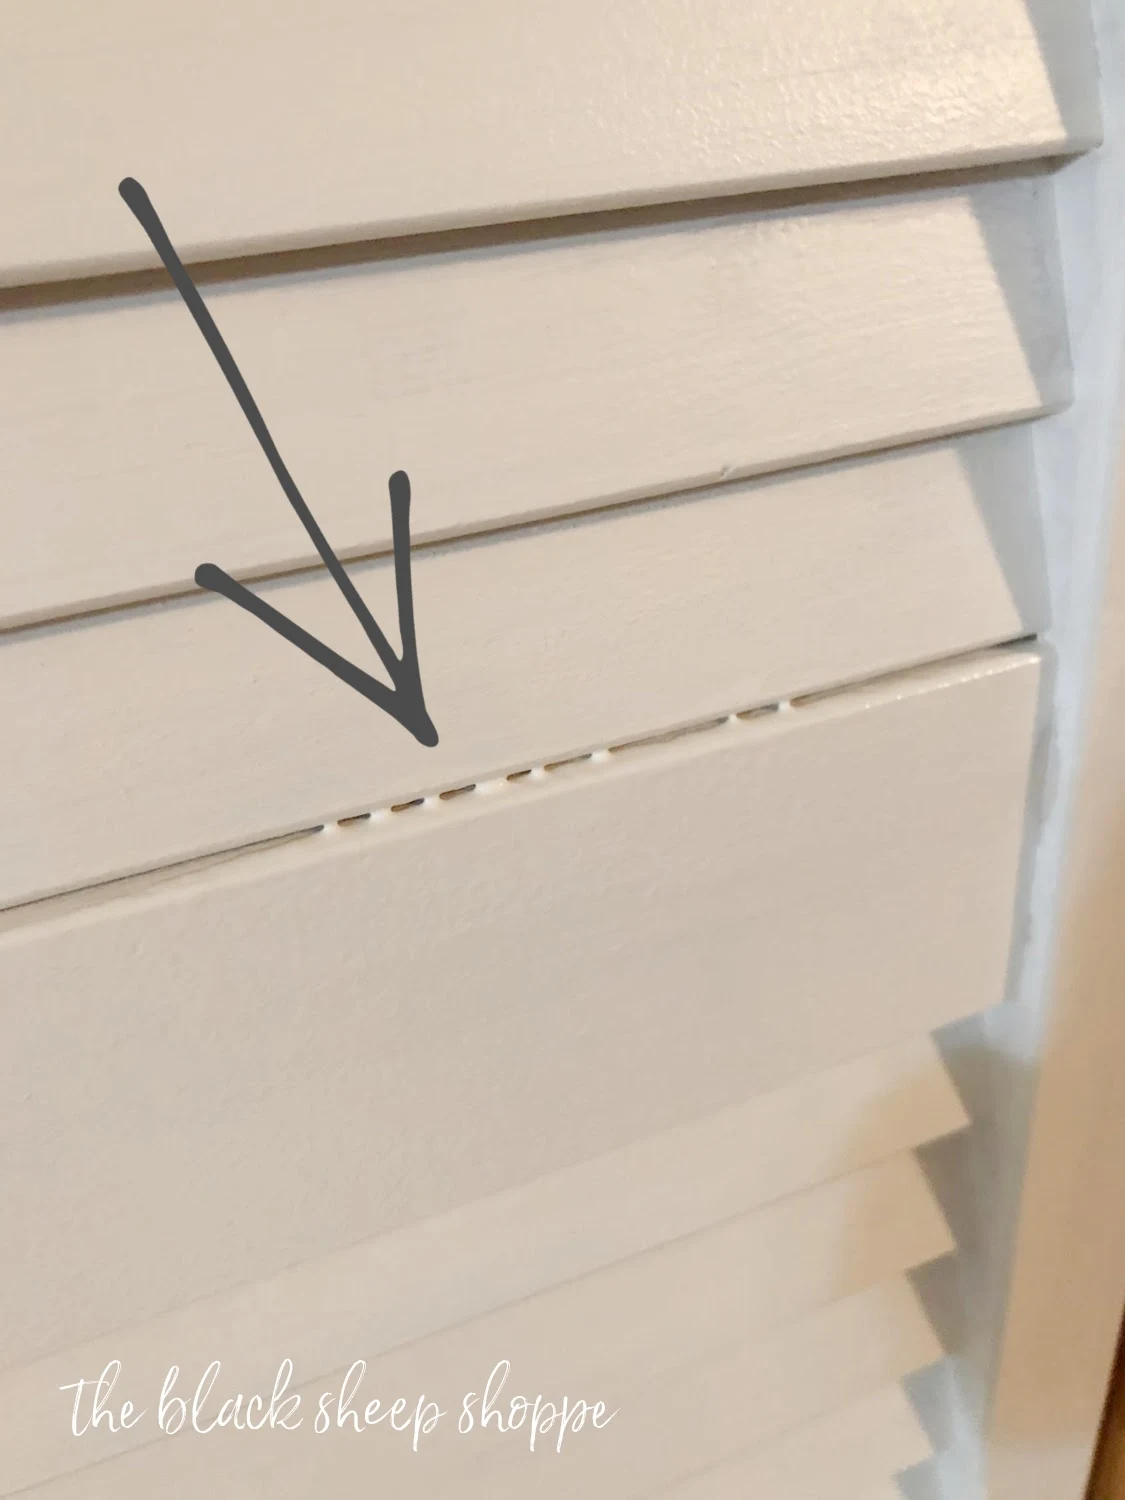
On final inspection I didn't notice any paint drips, but I did notice some paint blobs pooling and coagulating where the final slat met the frame. This is easily fixed before the paint is fully dried.
Use a spatula or tooth pick and run it GENTLY between the slat and frame.
Easy fix! This is also a useful trick to use when painting kitchen cabinets.
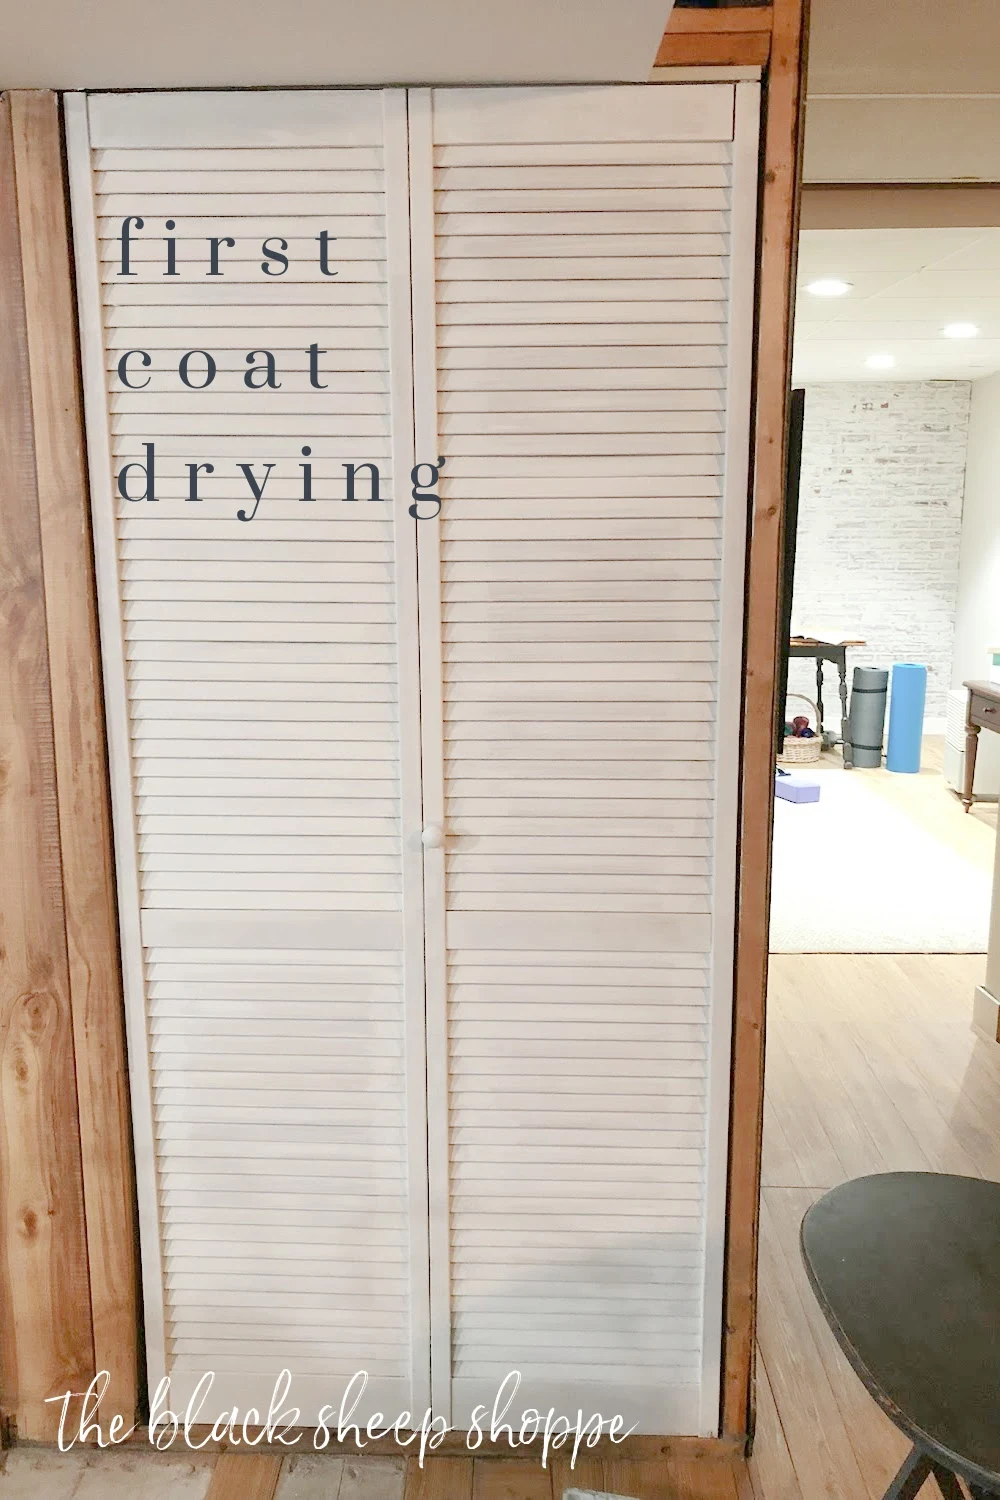
And here is the first coat finished and drying. Pretty good coverage so far, but it will definitely require a second coat. You'll need to repeat the steps above for the second coat, but I found it went much faster as I didn't have to be as precise to get full coverage. Apply as many coats as needed for full coverage. My project required only two coats.
Once the door itself is painted and dry, open the door to expose the frame between the bifold panels. Tape off any hardware then brush on a coat of paint.
Then while the paint is still wet take the roller and smooth out the paint for a beautiful even finish. I only applied one coat to this section as it is rarely seen but also because I didn't want to build up too much paint that might interfere with the functionality of the doors. I let the doors dry in the open position overnight.
And here is the completed project. I warned you at the beginning of the article not to expect a full room reveal, and obviously I wasn't kidding! But if you peer into the background you will see I am making progress in other parts of the basement (my exercise and yoga studio).
The key to success for this project was excellent paint, foam brush, angled brush, and a roller. And maybe a dash of patience as well. But it's worth it!
Thanks for stopping by The Black Sheep Shoppe!











Hello I want to paint a medicine cabinet door it is a dark wood color..would this process work?
ReplyDeleteThe same process can be used over dark wood. However, sometimes the tannins in the dark wood will bleed through the paint, if that happens apply a coat of clear shellac before the second coat of paint. Also, if you choose a light paint color, if might take more than two coats. Best of luck with your project!
Delete