It's a good idea to have a couple of design plans in mind when buying used furniture. This vintage oak dresser looks pretty good from a distance, but looks can be deceiving. My first plan was to strip the old finish and leave it with a natural wood finish. However, there was some major staining and scratches on the wood top. So before investing too much time stripping the entire dresser, I started working on the wood top first. Despite my best efforts, there were still a few unsightly stains remaining in the wood, so I went ahead with Plan B and painted.

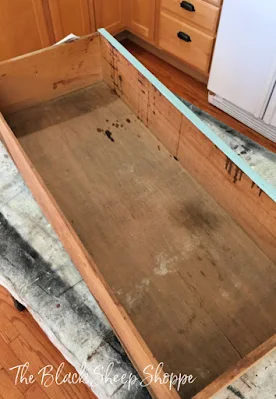
The drawer interiors were all in rough shape. I didn't take too many photos, but the one below is representative of all the drawers. Actually some of the drawers were in even worse shape than the one I've shown here.
I planned to line the drawer bottoms with a pretty fabric. I cleaned the drawers, but as you can see it still looks dirty. I didn't want to risk any of the stains bleeding through the fabric, so first I applied two coats of primer. Despite using a stain blocking primer, some of the stains still bled through. After the primer was thoroughly dry I applied clear shellac over the stains. Then I applied two coats of white paint. Once all the paint was dry and there was no evidence of bleed through I was finally able to start working with the fabric.
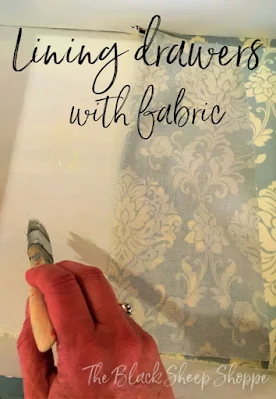
Lining the drawers with fabric is easy, but I have a few tips that will give the best results.
- First (before cutting) steam iron the fabric to remove as many wrinkles and creases as possible.
- Next, measure the dimensions and make the cuts. To minimize any threads unraveling, I don't cut the fabric until just before I am ready to adhere it to the drawer.
- Fit the cut fabric into the drawer. Not every drawer is perfectly square, so take extra care to line up the front of the drawer and let any imperfections fall to the back of the drawer.
- Carefully lift and fold back half of the fabric. Use a chip brush or foam brush to apply Mod Podge (it dries clear) and spread it evenly on the bottom of the drawer.
- Fold the fabric back into place over the adhesive and smooth out any air bubbles or wrinkles.
- Repeat the process with the other half of the fabric. Set aside until the adhesive is thoroughly dry. It dries quickly, but I like to give it at least 24 hours to fully set.
AFTER:
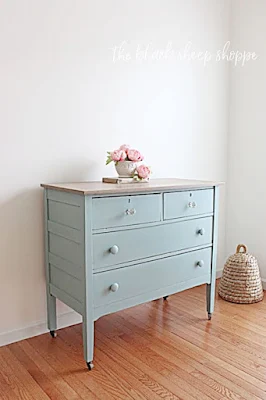
I painted the base of the dresser in Duck Egg Blue, which is now
available in the US under the Jolie Matte Finish Paint in the color Bliss.
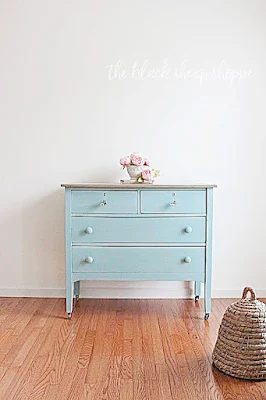
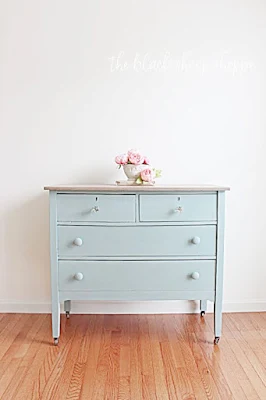
This old dresser was obviously tucked away in storage once upon a time. Now it's beautiful and ready for everyday use once again.
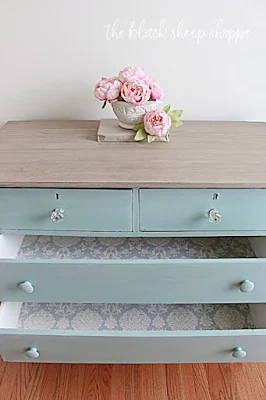
One thing I didn't notice when I purchased the dresser is one of the wood knobs was a different size than the others. If you look closely at the before photo, you'll see that the right knob of the middle drawer is smaller than the others. Rather than buying all new knobs I replaced the knobs of the top two drawers with vintage glass knobs from my stash. Then I used four of the remaining matching knobs for the bottom drawers.
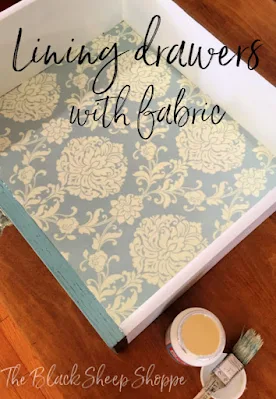
The refurbished drawers are so pretty now! I painted the sides of the drawers in Antique Villa One Hour Enamel (by Wise Owl). The white paint gives the drawers a fresh and clean finish. The paint was easy to use and clean up with the added bonus of not having to seal it afterwards.
Remember the before photo of the drawer? It wasn't something that anyone would want to store their clothes in! But now it is not only clean and fresh but beautiful, too.
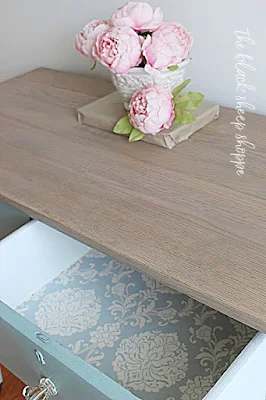
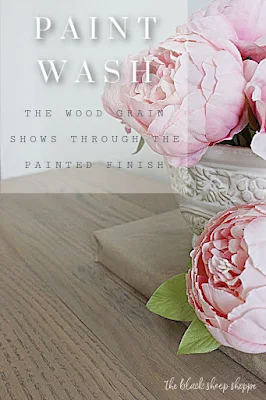
It might look like the wood top has a natural finish, but it is actually painted. Since there were still some imperfections after sanding the top, I applied a paint wash over the bare wood. The paint wash is translucent and allows the wood grain to peek through. But it adds just enough color to help camouflage and minimize the imperfections.
Here's a couple of close ups of the paint wash over the wood top.
Thank you for stopping by The Black Sheep Shoppe today.











Love the blue color and the fabric you chose for the drawer interiors is gorgeous. What a really nice, good looking dresser! Thank you.
ReplyDeleteThank you so much Mary!
Delete