How to Give Used Furniture a Sophisticated Style
I picked up this 3-drawer dresser recently from a local thrift shop. It's what I would call "used" instead of "vintage".
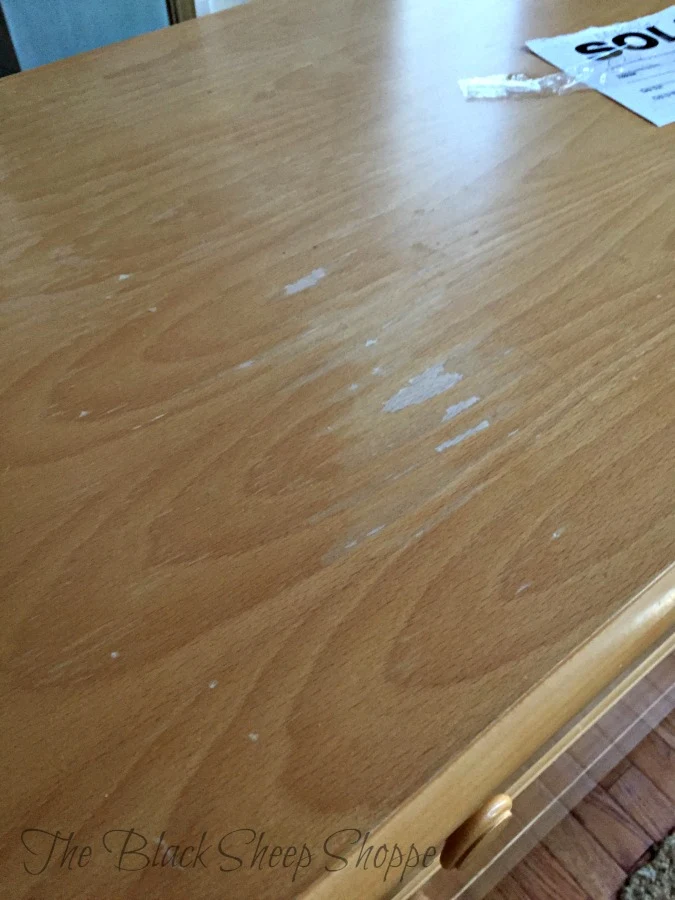
Overall the condition was good, but there was slight damage to the finish on the top.
The factory varnish was chipping away in spots which you can see better in the photo below. Also, this particular thrift store uses packing tape to affix the price tags, and nine times out of ten it damages the finish when it's removed. In any event, worn away spots are fine to paint over, but when it's chipping then I think the finish is compromised and the problem needs to be addressed.
So I lugged the dresser back outdoors in order to sand away the old finish. My orbital sander made it a quick job, but it's also messy which I don't enjoy. Not shown in the photo (because I was wearing it), but imperative for this method, is a sanding mask. I started with a 60-grit sanding disc and then worked my way up to 80 and 100-grit for a nice smooth finish. After I finished sanding I used a large soft bristle paint brush to brush away residual sanding dust and then wiped it down with a tack cloth.
The wood veneer was in good condition and would look fabulous with a stained finish, but I wanted a one color finish for this piece. So I sealed the wood with shellac prior to painting. The shellac blocks stains from bleeding through the paint and also stops the wood from absorbing too much paint. It also dries quickly (about 30 minutes to an hour), so it helps keep the project moving along.
I gave the dresser a quick wipe down before I initially brought it in my house, and then gave it a second cleaning after I sanded it to make sure it was free of dust and oils.
There aren't a lot of details on this piece, but using my angled brush helped get the paint easily into the recessed areas and corners. This is my all-time favorite brush for chalk paint, but I noticed that it is currently out of stock on Amazon. Luckily I bought extras, but I hope it gets re-stocked soon. Since I was using chalk paint I didn't need a primer coat, but you might need one if you use a different type of paint (check the manufacturer recommendations).
Don't be discouraged if your first coat looks a little splotchy! You can see in the photo below the trim pieces only have one coat of paint, but the second coat that I applied on the side panel has much better coverage. After the final coat of paint was dry, I sealed it with soft clear wax.
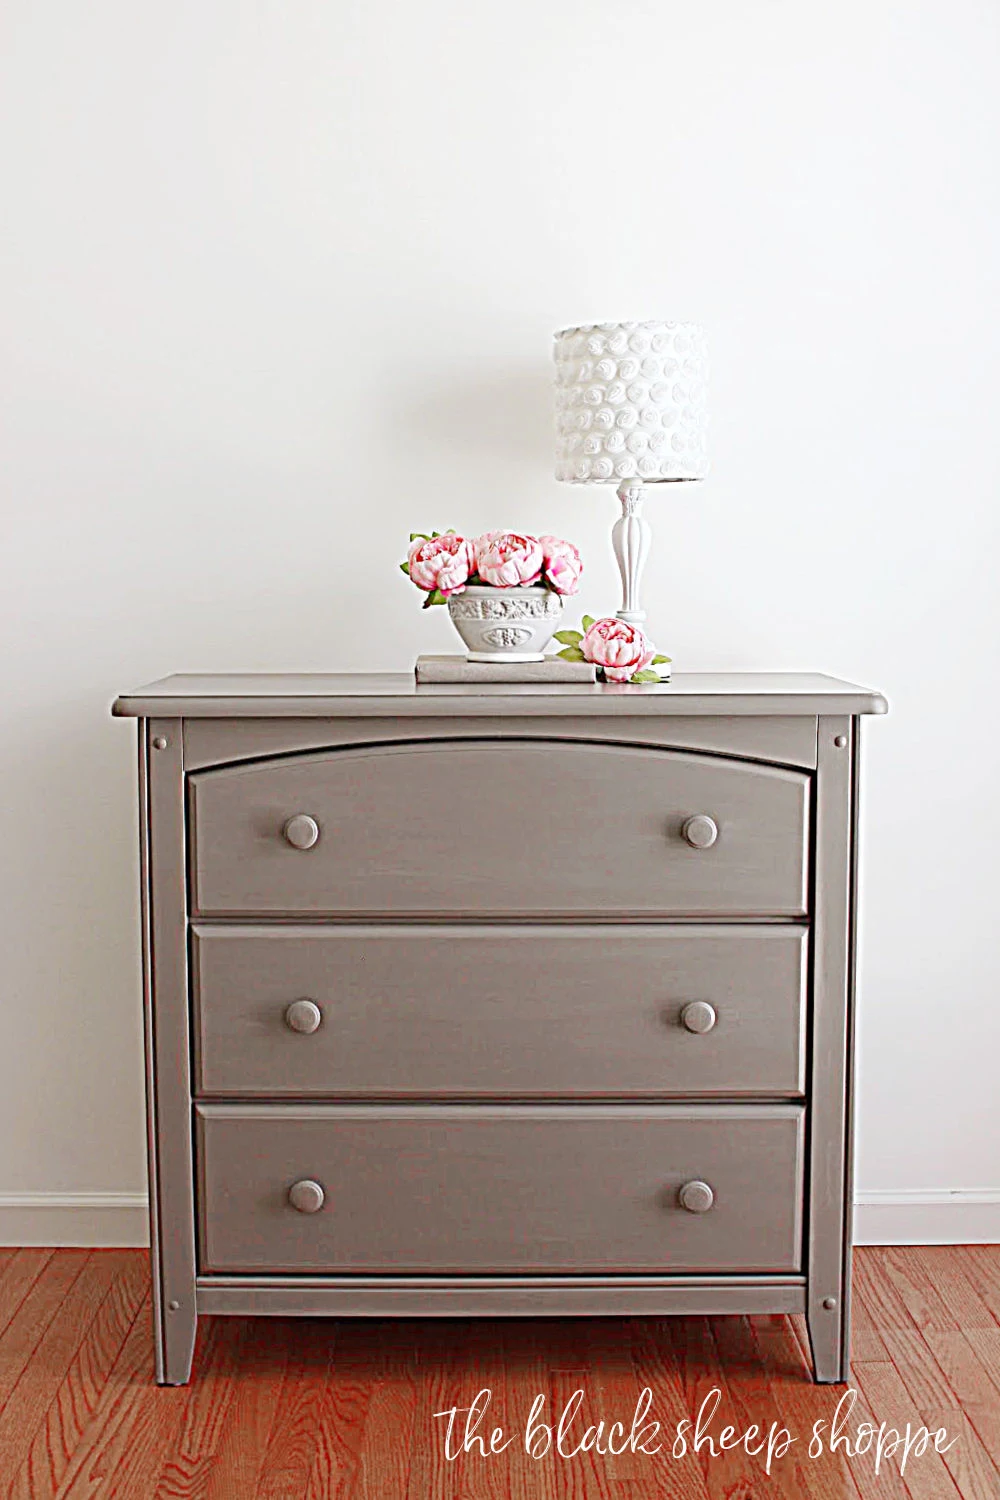
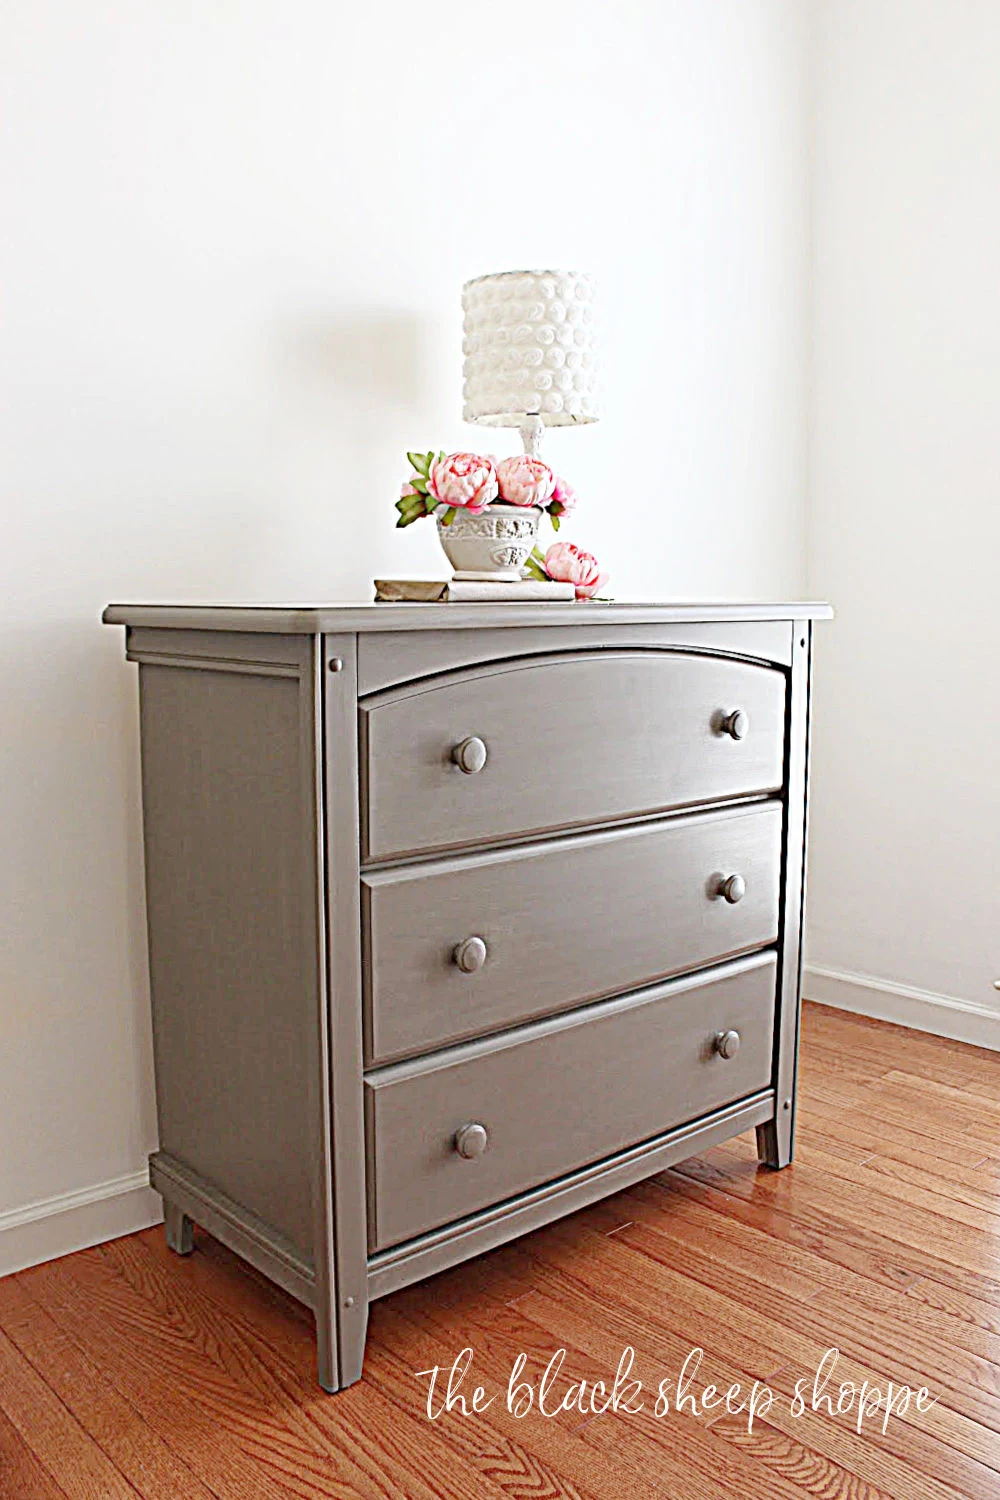
AFTER:
I didn't care for the yellow-ish tone of the old finish and wanted to paint it a neutral color. I thought black or white would be perfect, but I was out of both colors (shocking I know!), but I did have plenty of Coco chalk paint on hand, so I chose that instead. I think the new color on this dresser looks sophisticated, but it's also versatile enough to work in a nursery for either a boy or girl.A smaller dresser like this doesn't take up a lot of space . . .


Comments
Post a Comment
Select the NOTIFY ME box to receive a notification of a reply to your comment (yes, I do try to acknowledge all comments). There might be a publishing delay on older posts as they are moderated to reduce spam.