Create Storage Space from Old Furniture
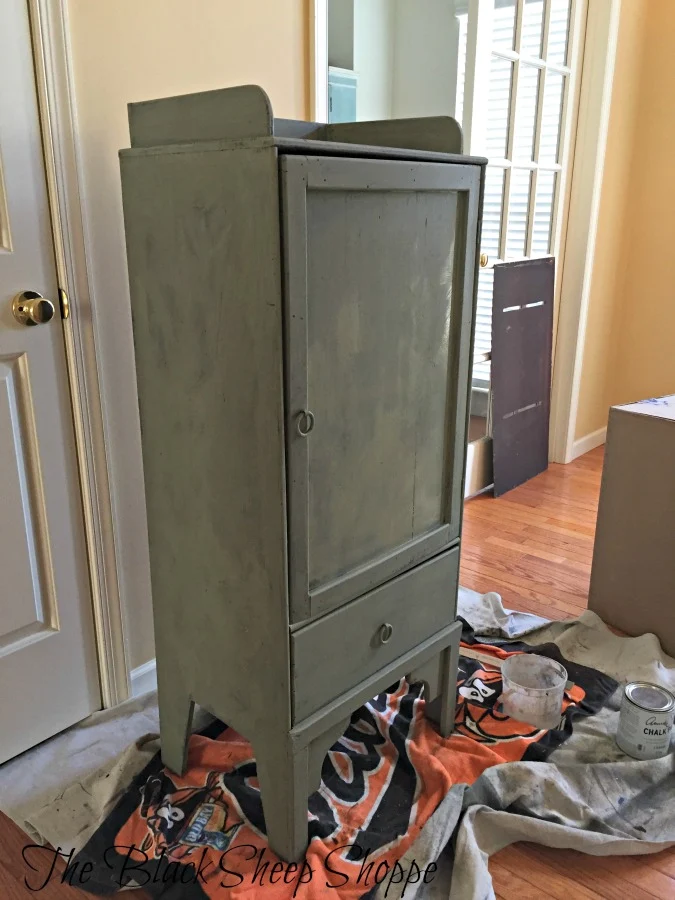
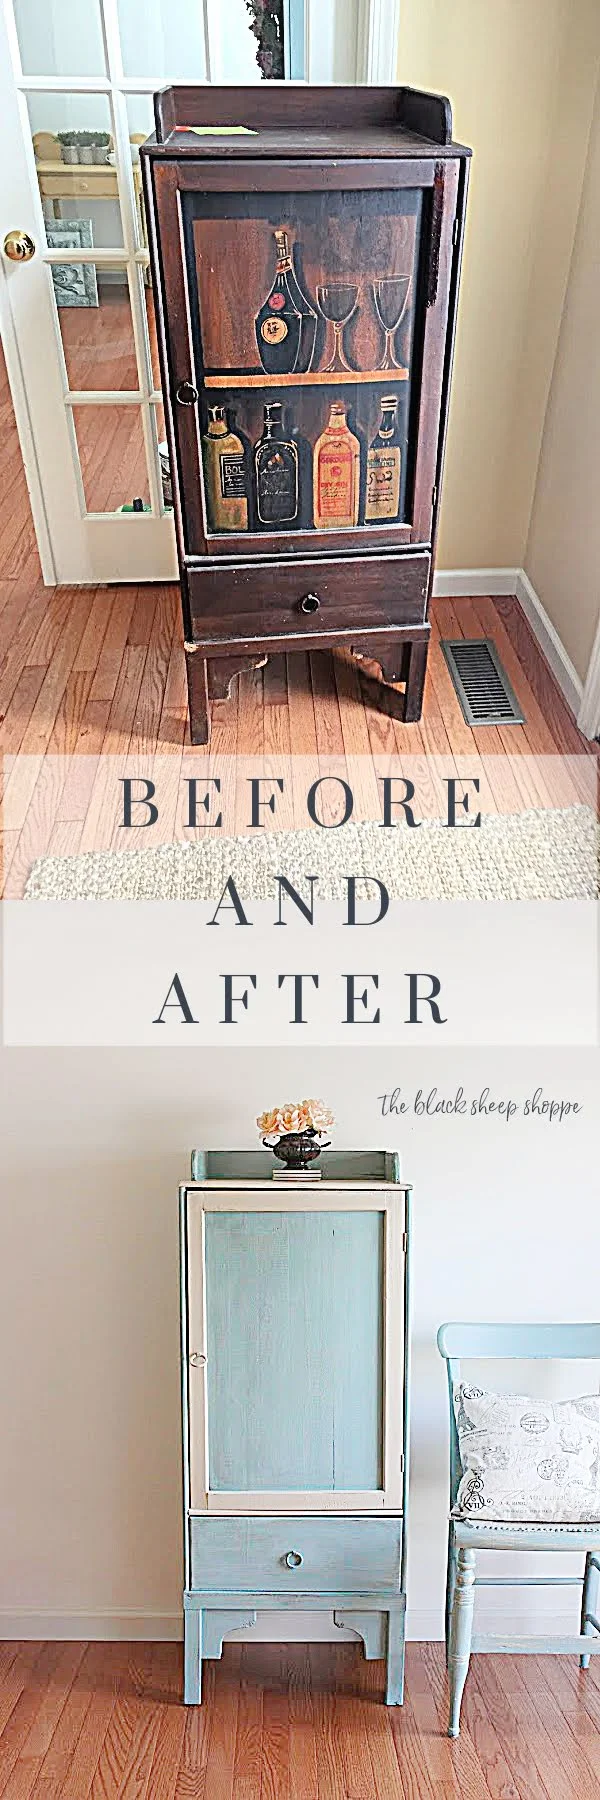
I wanted to transform this liquor cabinet into something that would work as more functional storage. I didn't have a specific design plan in mind but instead let the design evolve as I went along.
The interior had racks for storing bottles and wine glasses.
Other than some dirt the cabinet is in fairly good condition with the exception of a bit of bowing on the door. However, the door functions as intended, so I won't attempt any repairs to the door.
The first step is to remove the back of the cabinet and gut the interior. The racks were held in place with nails, so we began by sawing the center of the racks and then using brute force (hammer and crowbar) to remove them completely.
Now that the racks are removed I can better visualize the storage space this will have. However there was some surface damage to the wood where the racks were removed, so I needed a plan to fix that. More on that in just a moment . . .
The wood had a dark stain and didn't seem to have a sealant coat on it, so I cleaned the cabinet and then gave it a coat of shellac inside and out. I painted the cabinet after the shellac was dry.
I still didn't have a final design plan in mind at this point, so I gave the entire cabinet a base coat of paint. This step helped me see past the original dark wood and painted liquor bottles. I wanted to switch out the hardware with some really pretty glass knobs, but the original pulls weren't removable, so I had to work with what I had.
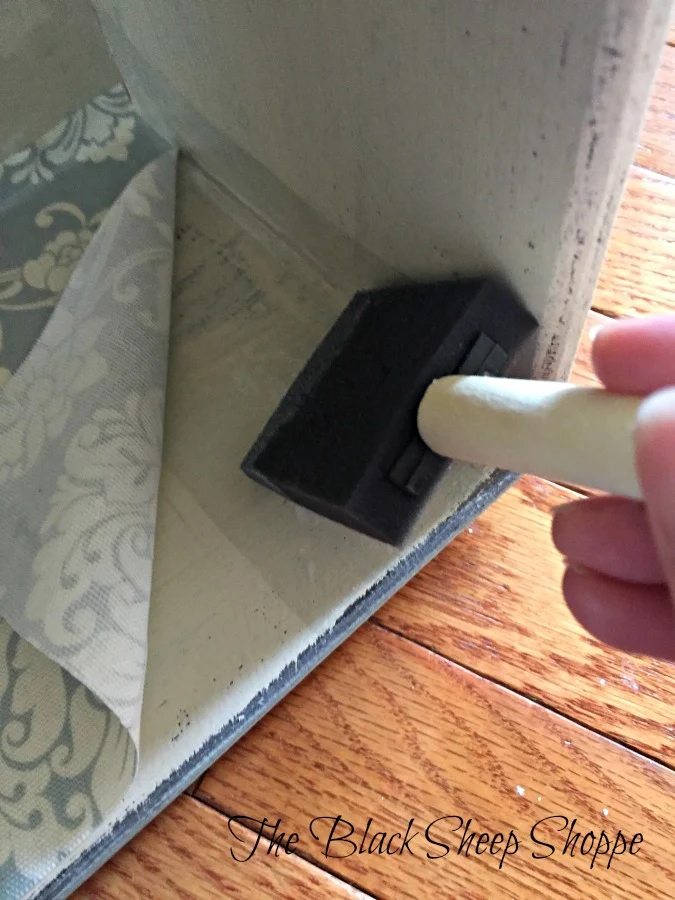
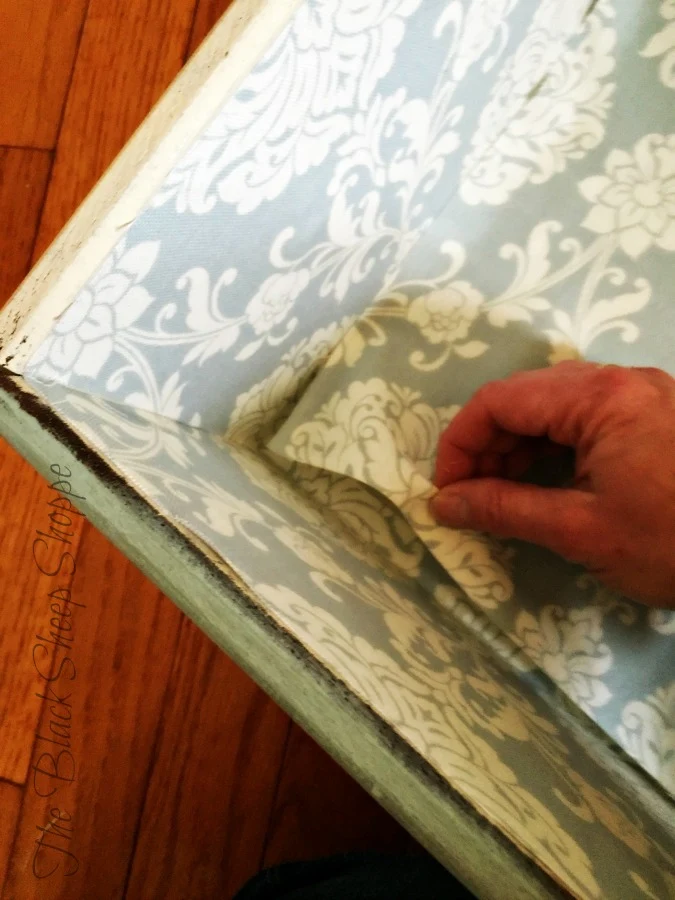
Nothing is ever square in the world of either construction or fabric, so when I cut the fabric for the sides of the drawer, I cut it slightly larger than necessary and made sure to line up the top edges prior to adhering. This way if it something wasn't quite square it would be hidden later when I applied the bottom piece. Then I folded back the fabric and applied ModPodge to a small section.
I pressed and smoothed the fabric in place.
The glue isn't completely dry at this point, so it can still be re-positioned, but it has enough tackiness to hold it in place while I continued gluing the rest of the fabric piece. I carefully folded the fabric out of the way, applied glue to the remainder of the section, and then smoothed it into place making sure the top edge was even with the top of the drawer.
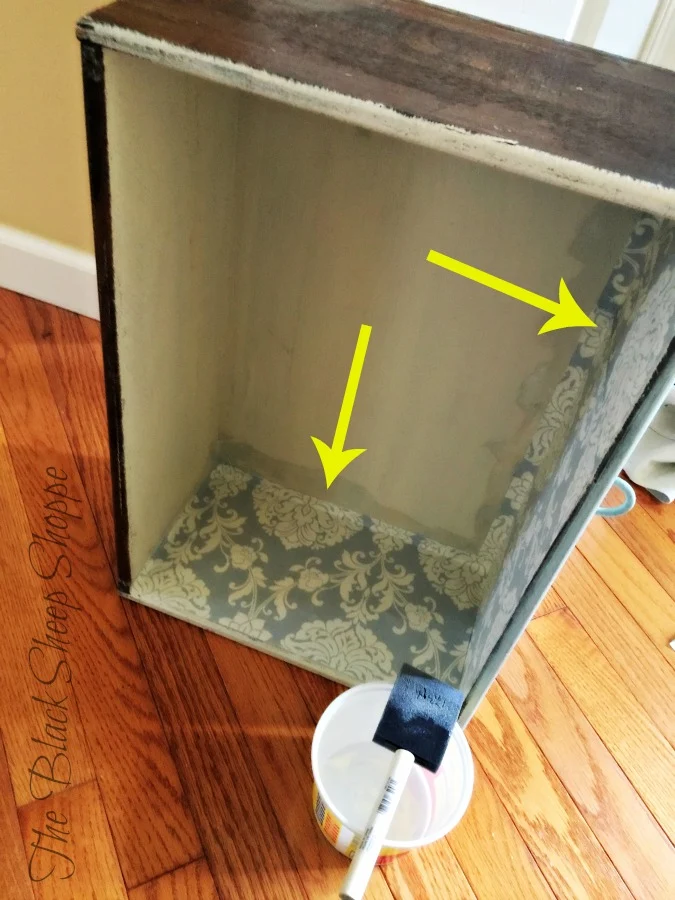
I allowed a bit of overlap on the side pieces so there wouldn't be any gaps when the bottom piece was added.
Finally I added the bottom piece of fabric and it was looking so pretty! This is where having the slight overlap of fabric is important. If I had tried to line up the cut edges exactly there might have been a slight gap. Although the pattern doesn't line up exactly the transition is visually seamless.
I used the same method to line the rest of the interior. I lined the two sides, the back, and the top.
The final step of this project was to create a shelf for the interior. I used some of the left-over wood from the racks to create a shelf support and nailed them in place.
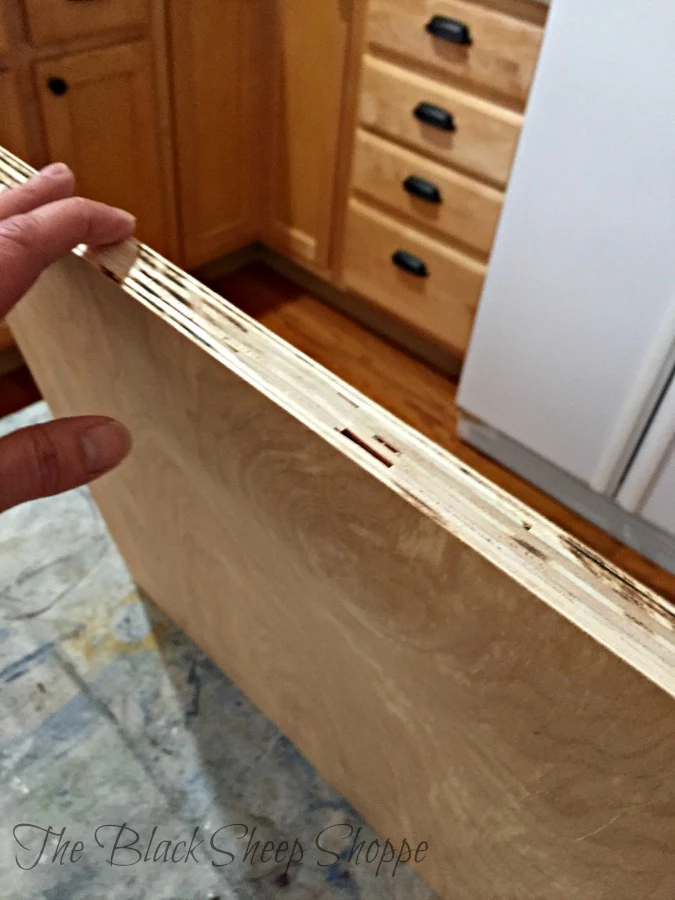
I had a piece of plywood leftover from another project that I used to create the shelf. However, the edge of the plywood wasn't pretty.
Easy fix! I trimmed veneer edging to the length of the shelf.
I lined up the edging and then ironed it in place. There aren't any action shots of me ironing because I needed both hands for this step! But it was very easy to do. The edging has adhesive on the back and once the heat of the iron is applied it forms a quick and strong bond.
The edging was a little wider than the shelf, so I used a blade to trim it to size.
AFTER:
And here we are finally at the finished storage cabinet! The main color is Duck Egg Blue and the trim is Old Ochre.
For the next photo I added a twin size quilt to the bottom shelf to add some scale for visual reference for the amount of storage this cabinet will hold.











Thank you. The wine racks were destroyed in order to remove them from the cabinet. However, I will cut what I can into squares and re-purpose them for another project. I sell my projects locally at the Lebanon Peddlers Mall in Lebanon, Ohio. (This cabinet already sold.) Thanks again!
ReplyDeleteAnother gorgeous piece. Just shows how something dingy and visually pretty boring can be transformed into a beautiful piece. Definitely ugly duckling to swan here! That fabric sets the piece off so well. Well done on the elegant transformation.
ReplyDeleteThanks so much Michelle! I agree that the fabric works well on this piece, and I think that was what really gave it the transformation it needed.
Delete