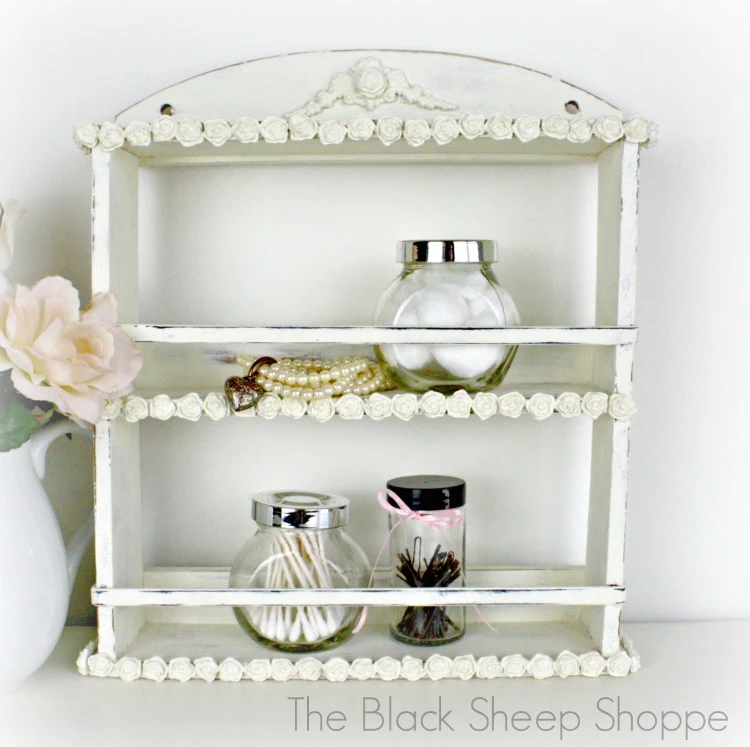
This tired old shelf was transformed with paint and DIY clay rosettes. It was a country style spice rack that I found at a thrift store.
First I painted it white. It was a little plain, so I decided to give it a more romantic shabby chic style with rosettes.
I dressed it up using bendable silicone molds and paper-clay to create embellishments. I'll include a full supply list at the end, but for this part of the project I used:
- Molds
- Paperclay
- Cornstarch
- Small paint brush
- Spatula or flat object (optional)
Paper clay is fun to work with! It molds easily and dries to a hard finish. Ater I'm done working with the clay I use my food vacuum sealer to re-seal the package so the remaining clay remains pliable for the next project.
The first mold I created was for the top of the shelf. It is from the set
Baroque No. 4 by Iron Orchid Designs. First dust the mold with a generous amount of cornstarch which will help easily release the clay. Next press the clay into the mold. I used a flat spatula dipped in a bit of water to smooth out the back. Finally, I bent the mold to release the clay onto my work board. It's probably best to let it dry overnight, but I did these in the morning and it was dry later in the day.
 |
| Dust, press, and release. |
For decorations around the borders, I used a
silicone mold with roses. The set I purchased comes with 4 molds with a variety of shapes and sizes. These are very tiny roses and I needed a lot of them to cover the borders. Luckily I could make three at a time, so it actually went a lot quicker than I anticipated. I also made one larger rose to affix to the baroque design that I made earlier.
 |
| Silicone molds and paperclay roses. |
After
It can still be used as a spice rack, but I think it will work even better as a shelf in a bathroom or dressing closet to organize and store odds and ends.
 |
| Shabby chic shelf. |
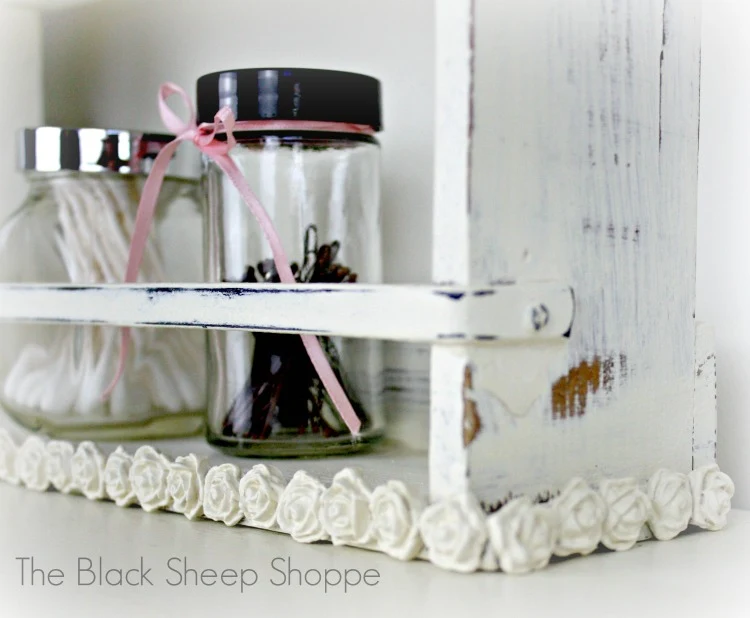
I used E-6000 glue to affix the paperclay molds to the shelf and then applied paint. I used a liquid wax to seal the paint on the roses, but I think Mod Podge would work just as well. I didn't get a good shot of the mold on the top, but if you look closely you can see where I added the rose to the baroque applique.
 |
| Paperclay roses adhered to borders. |
The shelf has two holes at the top so it can be hung on a wall. But the bottom is flat, so it can also be used to rest on a counter or dresser. So I was careful to make sure that the roses applied to the bottom would line up evenly and allow the shelf to sit level.
 |
| Clay roses used for embellishments. |
I love how the little roses look against the distressed paint.
 |
| Decorative roses create a shabby chic design. |
Thanks so much for stopping by today!
Supply List
Below are the supplies I used for this project. Some links are affiliate links.
- Annie Sloan Chalk Paint products: Old White and soft clear wax
- Baroque No. 4 by Iron Orchid Designs
- Silicone rose molds
- Paperclay
- Small paint brush
- Cornstarch
- E6000 glue I purchased a larger tube that had a narrow applicator tip so it was easier to control the glue on a relatively small space. It's also sold in smaller sizes which are great if you don't work on a lot of projects. It's not the same as "superglue" and adheres much better.
- Americana Decor Creme Wax I used this wax to seal the paint on the flowers as it has a more liquid consistency than the ASCP wax and was easy to brush on into the little crevices of the flowers. Alternatively, you could use Mod Podge to seal the paint.
- Vacuum sealer used to seal up the left over paperclay. This will keep the clay fresh and pliable for the next project. I also use it to seal up containers of wood filler which is notorious for drying out. Oh yeah I use it to seal up food, too.


Comments
Post a Comment
Select the NOTIFY ME box to receive a notification of a reply to your comment (yes, I do try to acknowledge all comments). There might be a publishing delay on older posts as they are moderated to reduce spam.