Today I will walk you through the process of how I transformed the damaged veneer on this table. It's a LONG post, so simply scroll to the bottom if you just want to see the "after".
 |
Before: Pedestal table with
severe damage to the scalloped edge. |
As you can see in the photo, there was significant damage to the veneer on the scalloped edge. My Plan A was to try to recreate the edge. Plan B was a little vague, so I'm happy to report that Plan A worked.
Repair Damage
Luckily there were some areas still intact which I used for a pattern. For the first part of the repair I used veneer edging, painters tape, a pencil, and scissors. (I'll include a full supply list at the end of the post).
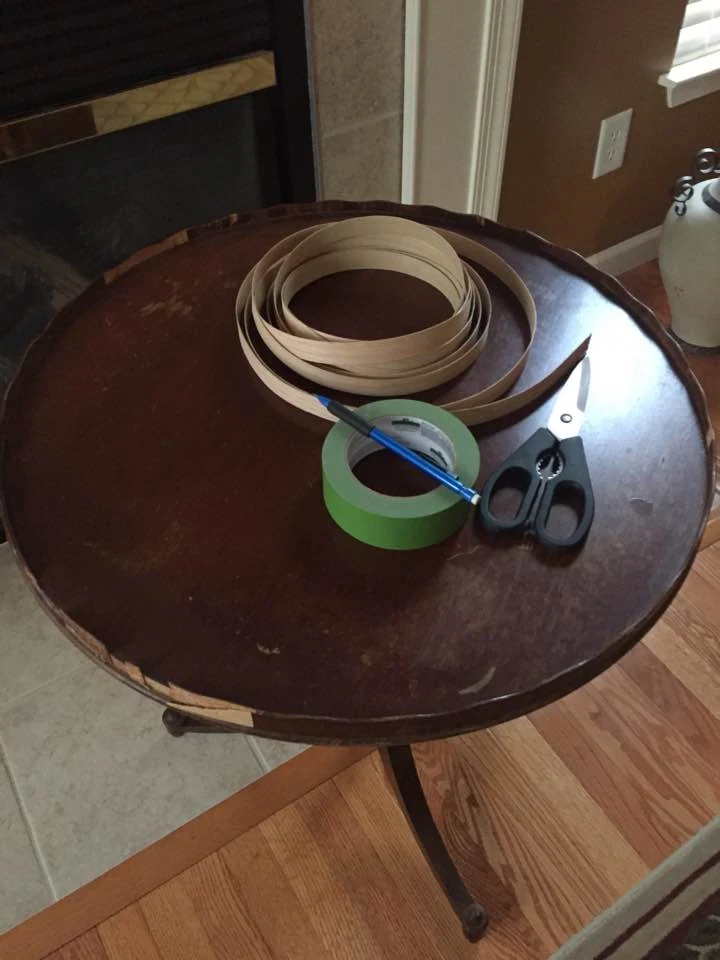 |
| Supplies used for the repair. |
The first step is to trace the pattern of the scalloped edge. One side of the new edging is a thin piece of wood (right side) and the other side has adhesive (wrong side). I cut a piece of edging from the roll and taped it to an undamaged area wrong side out.
 |
| Tape the new edging wrong side out. |
Here's a closer look at the side with adhesive. I lined up the top of the edging with the top of the scalloped edge. There was a gap at the bottom which I later filled in with wood filler as I planned to paint the table, but there are wider strips of edging that could be used instead.
 |
| Taped wrong side out to trace the pattern. |
Next I used a pencil to trace the scalloped pattern on the "right" side.
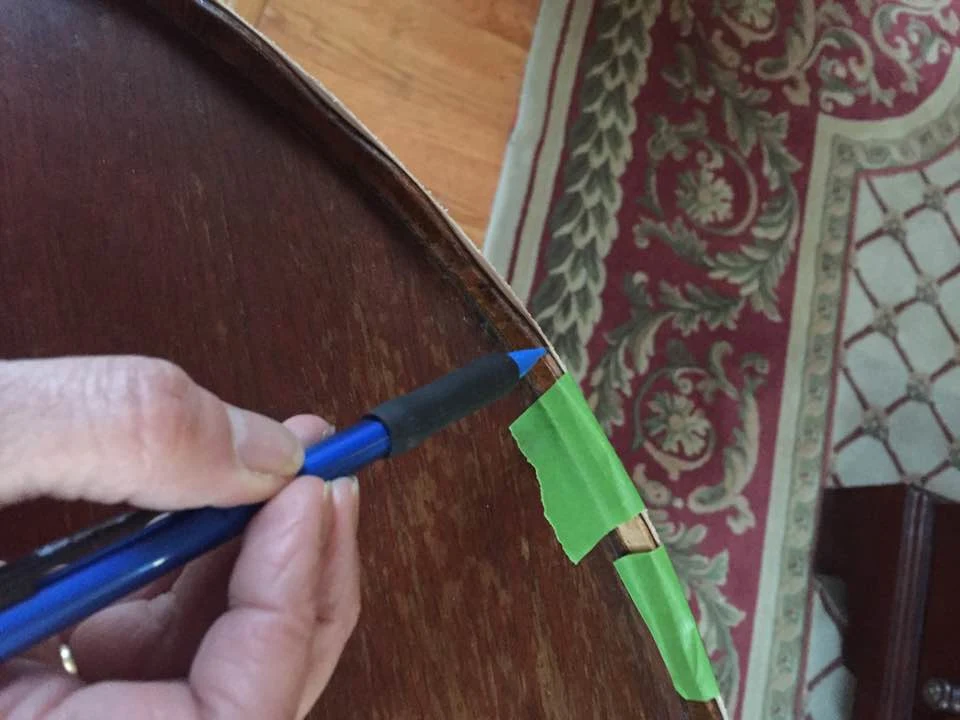 |
| Trace the pattern on the "right" side with a pencil. |
After the pattern was traced I removed it from the edging.
 |
| Pattern transferred to new edging. |
And then I cut along the pencil line with scissors. The product is very easy to work with and no special power tools are required.
 |
| Cut out the pattern with scissors. |
I cut the edging to size of the damaged area. Normally you cut a little larger, adhere it, and then trim it to size, but it was a tight spot, so I decided to cut it to size to start with.
 |
| Tape "right" side out to the damaged area. |
Then I used a hot iron to activate the adhesive. I covered my iron with aluminum foil to prevent damaging my iron.
 |
| Affix the new edging with a hot iron. |
The adhesive activates very quickly. Once it cooled down I removed the tape. Next I applied wood filler to fill in the gap at the bottom of the edging and to other areas on the table with chipped veneer.
 |
| New edging in place! Apply wood filler to fill in any gaps. |
After the wood filler was dry I sanded it somewhat smooth. The other areas of the edging weren't completely smooth, so I didn't spend too much time trying to get a perfect finish.
 |
| Sand the wood filler smooth. |
I planned to apply a distressed painted finish, so I applied a stain to the repaired area to blend it in a little.
 |
| Apply stain to repaired area. |
Painting
Before I started painting I applied a coat of clear shellac to the entire table to prevent bleed through. Now for the fun part! I applied a base coat of Coco to the entire table.
 |
| Applying Coco as a base coat. |
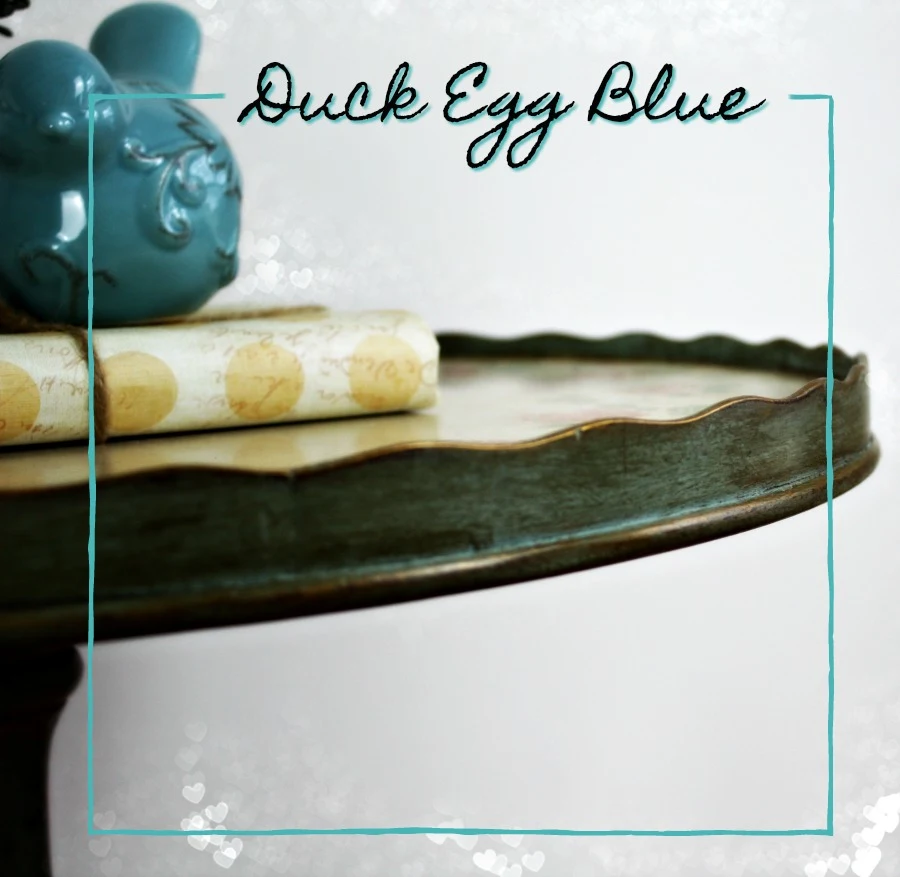
I taped off the the top of the table and painted Duck Egg blue over the base and edging.
 |
| Duck Egg blue applied for the second coat. |
Painting with a steady hand is great but for tight areas it's a time saver to just tape it off. Use small strips of painters tape to tape rounded edges. It looks time consuming, but actually goes fairly quickly.
 |
| Taping off curved and rounded edges is easy! |
The overlap pattern makes for easy removal of the tape. Rather than removing each section individually, pull up one piece and then continue to pull up gently to remove the tape in large sections.
 |
| Peel back the tape in large sections. |
I taped off the outer edge and applied one coat of Old Ochre. I used a hair dryer to speed up the drying process and to add bits of crackle finish here and there.
 |
| Hair dryer used to speed up drying and to crackle the paint. |
Stencils
I chose a floral border for the table top using a stencil. The colors I used were Scandinavian Pink, Chateau Grey, and Antibes Green. I put small amounts of the paints onto a Styrofoam plate to work off of.
 |
Colors used for stencil:
Scandinavian Pink, Chateau Grey, and Antibes Green. |
I had three small flat brushes on hand to apply the paint. Use a small amount of paint and gently wipe it over the stencil without pushing paint under the edges.
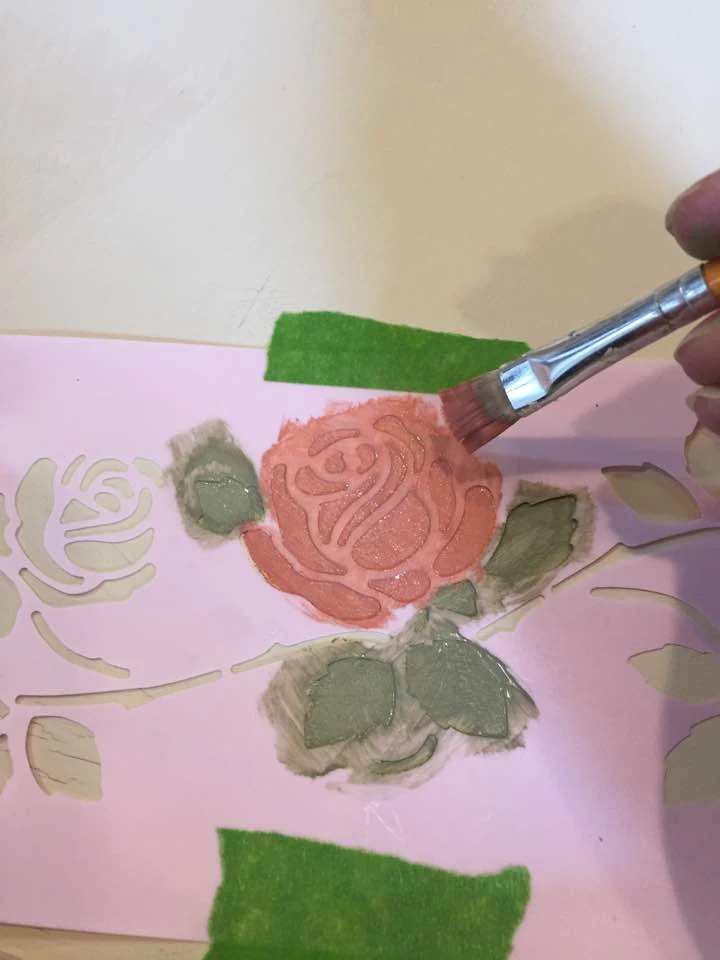 |
| Brush small amounts of paint over the stencil. |
I applied highlights of Antibes Green over the leaf areas for a little extra dimension.
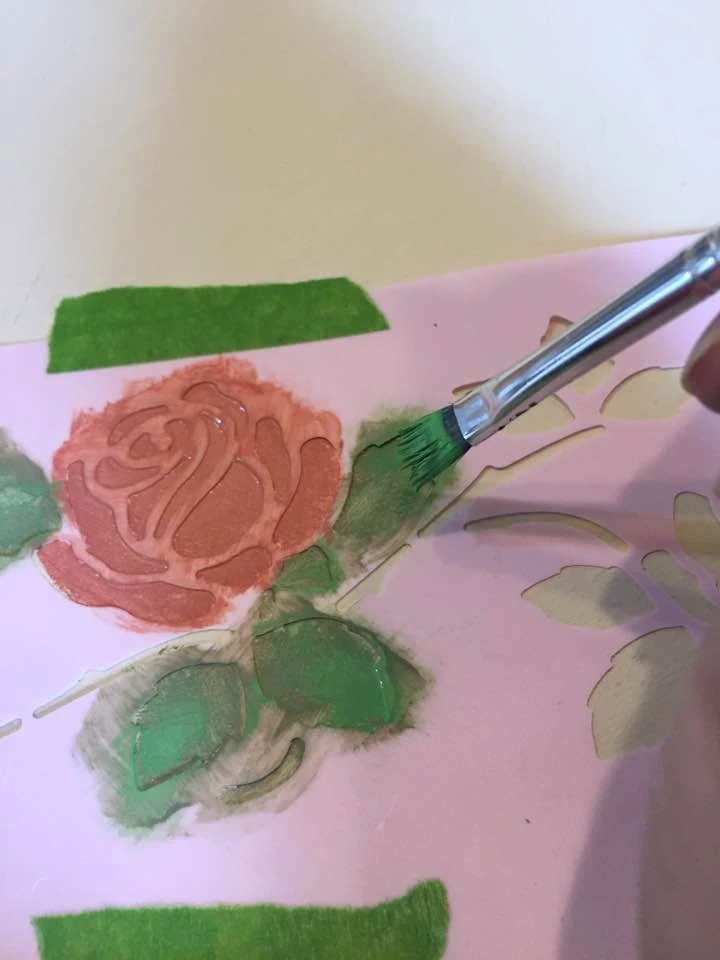 |
| Layer colors for highlights and dimension. |
The stencil I used wasn't curved to fit the round border, so I stenciled one flower and then re-positioned the stencil as I went around the table.
 |
| Pedestal table with stenciled border. |
To add a bit of age to the finish I wet distressed the paint with a damp wash cloth. By rubbing gently it will remove bits of the top layer of paint. Rubbing harder will give it a more distressed appearance. I lightly sanded the stenciled areas with 220 grit sandpaper to fade the paint just a bit. I sealed the entire table with clear wax and then applied dark wax to give it an aged patina.
 |
| Use a damp washcloth to wet distress the paint. |
Gold
Next I applied gold highlights to the edges of the table and the details here and there. I put a small amount of Rub-n-Buff on a plastic lid and dabbed a bit on my finger.
 |
| Dab finger in gold Rub-n-Buff. |
Then I lightly rubbed my finger along the edges. If too much gold is applied it's easy to remove before the gold cures with a little bit of clear wax.
 |
| Rub gold highlights along the edges. |
After
And here we are finally at the finish line. Thanks for making it this far!
Thank you for stopping by my blog today.
Supply List:
Below are the supplies I used for this project. Some are affiliate links.
- Veneer edging
- Wood filler
- 220-grit sand paper and a tack cloth (for removing sanding dust)
- Painter's tape
- Pencil, scissors, aluminum foil, iron
- General Finishes Gel Stain Antique Walnut
- Shellac and disposable foam brushes
- Chalk Paint by Annie Sloan Paint colors: Coco, Duck Egg Blue, Old Ochre, Scandinavian Pink, Chateau Grey, and Antibes green. Clear and dark wax.
- Wooster Vintage Effects paintbrush (2" angled china bristle), various small flat brushes, and a small wax brush
- Stencil (I purchased mine from Hobby Lobby. The brand is "Show-Offs").
- Wash cloth (for wet distressing) and lint free cloths for wiping off wax.
- Rub ' Buff metalic gold leaf. (You can buy this individually, but since I use it on many projects and like to have a variety of colors on hand, I purchased the 12 color sample package.)




The table you fixed, here, is stunning. I adore it.
ReplyDeleteThank you!
DeleteI love this!! Wish i could do it!
ReplyDeleteThank you! I hope you do give it a try.
DeleteI got rid of an old table because it's a similar problem. Wish I knew this before!
ReplyDeleteI think we all have a piece of furniture or two that "got away" so to speak!
DeleteWhat year is this table?
DeleteWhat year is this table?
DeleteThere wasn't a date on the table, but it was most likely from the 1960s to 1970s.
Delete