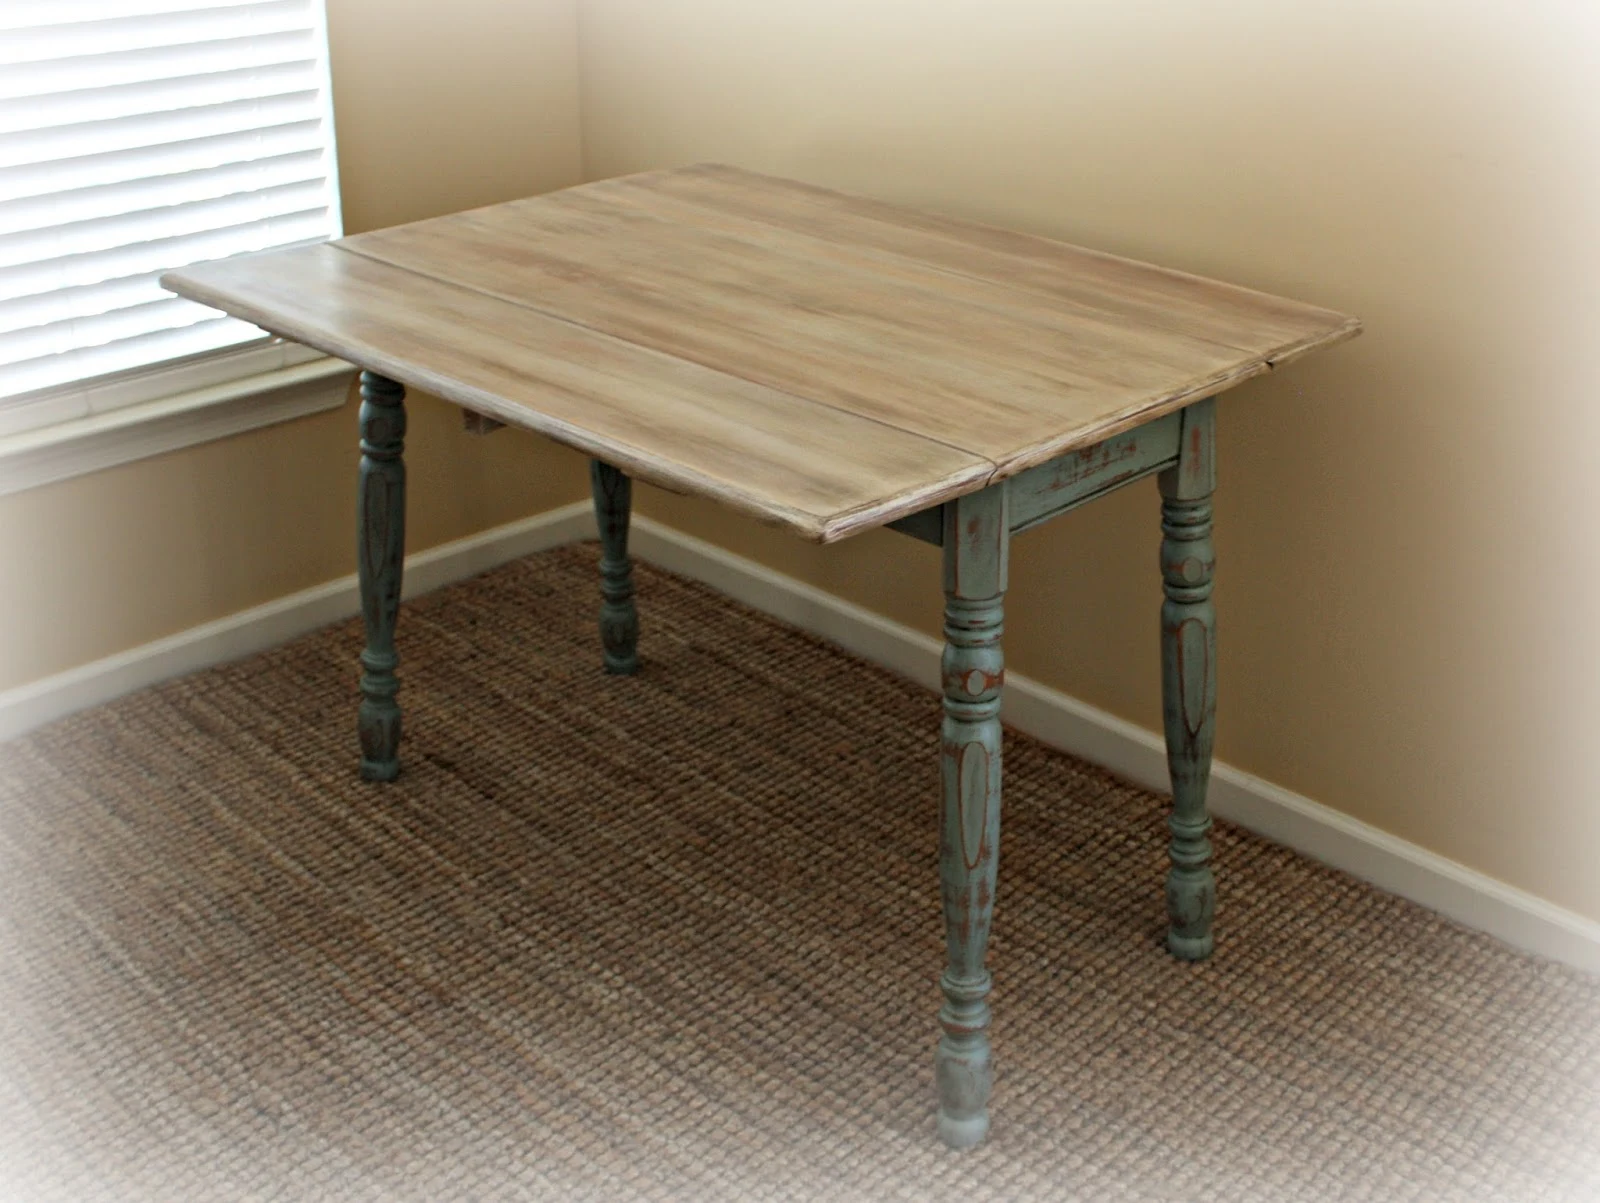
I picked up this table while I was dropping supplies off at the Restore for Habitat for Humanity. I wasn't planning on picking anything up, but I couldn't pass this one by.
Before
The table was stamped with the manufacturer's name, "St John's Table Company, Cadillac Michigan". It was in rough shape and very dirty. It required multiple cleanings and disinfectant before it was ready for paint.
The table top was badly scratched, so I used my orbital sander to smooth out the scratches.
I started with 60-grit, and then progressed to 80-grit, 100-grit, 150-grit, and finished with 200-grit sandpaper.
I hand sanded the tight spaces with 150-grit sandpaper wrapped around a flexible sanding pad.
 |
| I used 150-grit sandpaper in tight spaces. |
I turned the table upside down to paint the legs and the underside of the table. I chose Duck Egg Blue for my base color and applied two coats.
 |
| Applying the first coat of Duck Egg Blue |
Next I painted a very thin coat of Old White onto the table top and the underside of the drop leaves.
 |
| Apply a thin coat of Old White to the top. |
To achieve a thin coat and a smooth finish, I diluted the paint with water and spread it evenly over the top with a paint brush.
 |
| Dilute the paint with water to achieve a thin consistency |
Once the white was dry, I applied an uneven coat of Coco for a contrasting color.
 |
| Apply a darker color for contrast. |
Then I used a fine sanding sponge to sand back the Coco and blend the two colors together.
 |
| Sand back the darker color to blend and distress. |
To further age the finish I decided to use a decorative glaze. Before applying the glaze I first sealed the painted surfaces with a coat of soft clear wax.
 |
| Mix the glaze thoroughly before applying. |
OK I admit this part looks a little scary. I used a foam brush and applied a generous amount of decorative glaze over the waxed surface.
The next step is to wipe away the glaze with a shop towel, and you'll need to have plenty on hand as they become saturated. You could use a rag instead, but I like the absorbency of the shop towels. Use a damp shop towel to further wipe off more glaze if desired. If you wipe too much away then just apply more. It's really so easy to work with.
 |
| Wipe away the excess with a shop towel. |
After
And although the table has a worn distressed finish, it is now clean and fresh. It's so much better now!
 |
| Rustic farmhouse table with paint |
The variation of color and distressing is visible in the close up below.
 |
| Close up of layered paint and distressed finish. |
 |
| A table with small footprint is perfect for small spaces. |
The wooden supports underneath the table swivel out to provide support when the leaves are extended.
 |
| The wood support bars underneath swivel to extend the table leaves. |
 |
| Extra surface space with the table leaves extended. |
 |
| Drop the table leaves again when not needed. |
Thanks so much for stopping by!
Supply List
(Affiliate links included.)


Does the glaze come in different colors? If so what color did you use. Have a very small table I want to do. I have zero experience and this will be my first endeavor. This table is beautiful!! You are very talented.
ReplyDeleteThank you Chris. I used a Java Brown glaze. There are a variety of colors and shades from black to white by Rustoleum brand and General Finishes. Wise Owl brand also has a wide range of colors. The key to a successful glaze is to seal the paint first with wax or poly. This allows you to wipe away the excess otherwise the paint will absorb the glaze. I recommend testing the process on a small project first to get the hang of it. Good luck with your project!
DeleteI love the table you refinished.
DeleteThank you so much!
DeleteTruly beautiful! Is that what you do when a friend is coming by unexpected you just wip something up lol
ReplyDeleteThank you!
DeleteI think the table would look better all the same color duck blue. Just my opinion
ReplyDeleteThis comment has been removed by a blog administrator.
DeleteYes Duck Egg Blue all over would be beautiful!
DeleteIs there a video on this? I’m a newbie and not sure of how you got the fading
ReplyDeleteSorry but there isn't a video. I do recommend practicing the process on a small piece of furniture or scrap wood first (that's what I do). Best of luck on your project!
Delete