How to Re-wire Vintage Lamps
Not only do I love the color and shape, but the texture on the lamps is wonderful. They are ceramic, which you can easily find new today, but the weight and feel of the ceramic is different with the vintage lamps. I don't know why that is, but there is just something special about vintage,
Unfortunately the cords were very old and weren't safe to use. So they needed to be replaced. I believe the lamps are mid-century. Sometimes you can better pinpoint the date based on the cords, but it's hard to say for sure because it looks like the cords were previously replaced at one point in time as they were both different. One cord was torn and was wrapped in electrical tape.
Neither myself nor my daughter knew how to replace the cords. However, my husband showed my daughter how to do it on one lamp, and then she got to try for herself on the second lamp. I was in charge of photos.
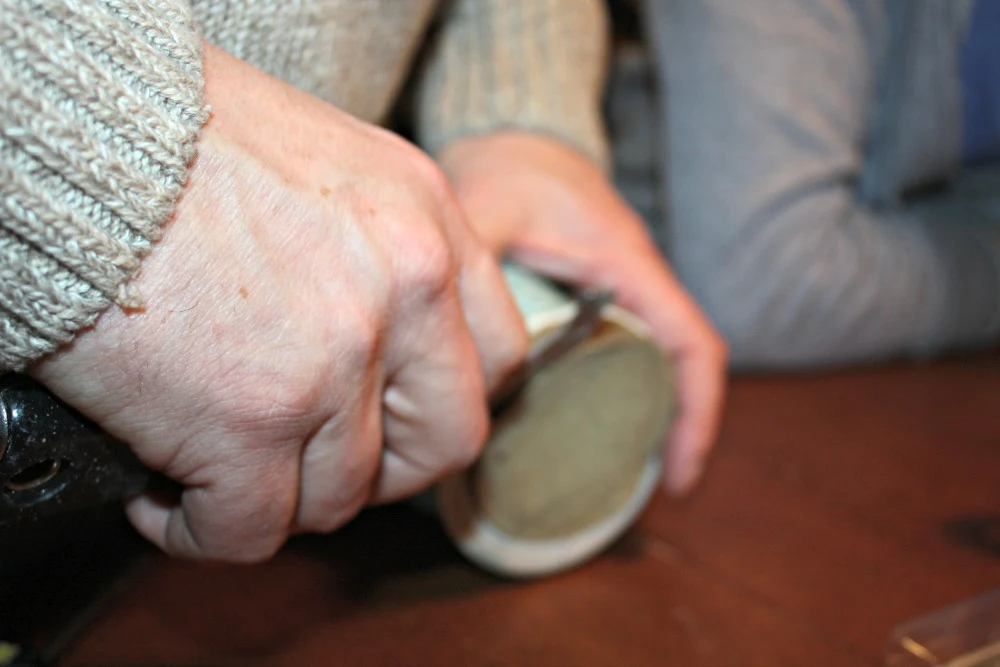
The first step was to remove the cardboard cover from the bottom of the lamp. It came off very easily.
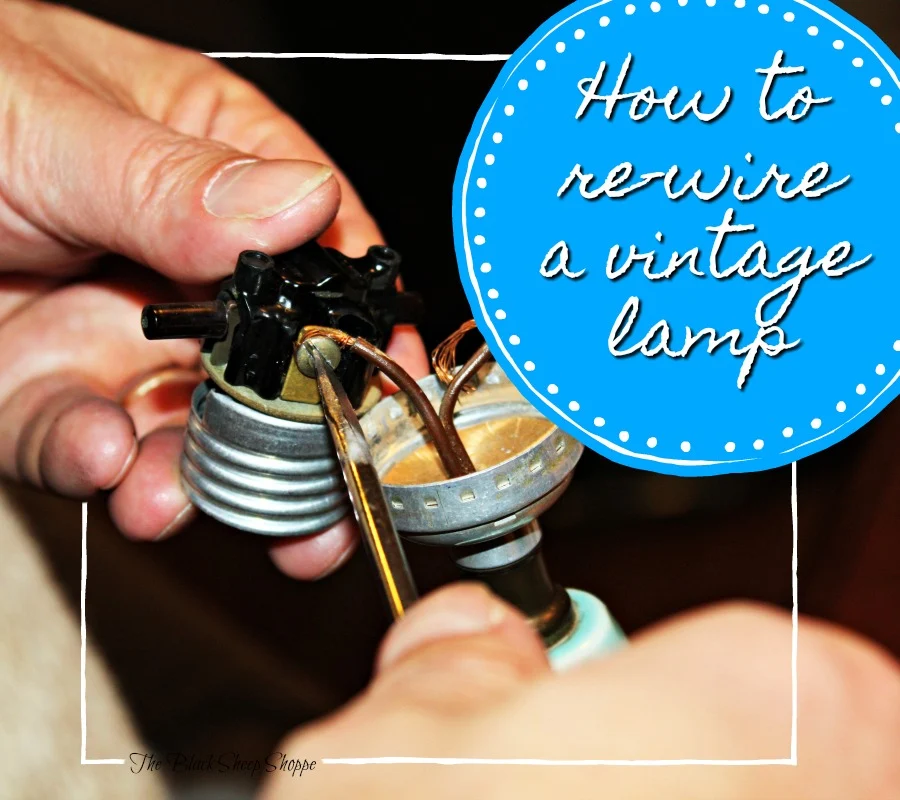
Next the old wires were disconnected by loosening the screws.
Unfortunately the screw was a little stubborn, but nothing too difficult with an extra pair of hands.
We purchased new cords at Home Depot.
So the next step is to run the new cord through the cord hole and then up through the center of the lamp. But the cord is somewhat flexible and we were having a hard time feeding it through.
So my husband attached the cord to a stiffer wire and pulled it through,
Easy-peasy.
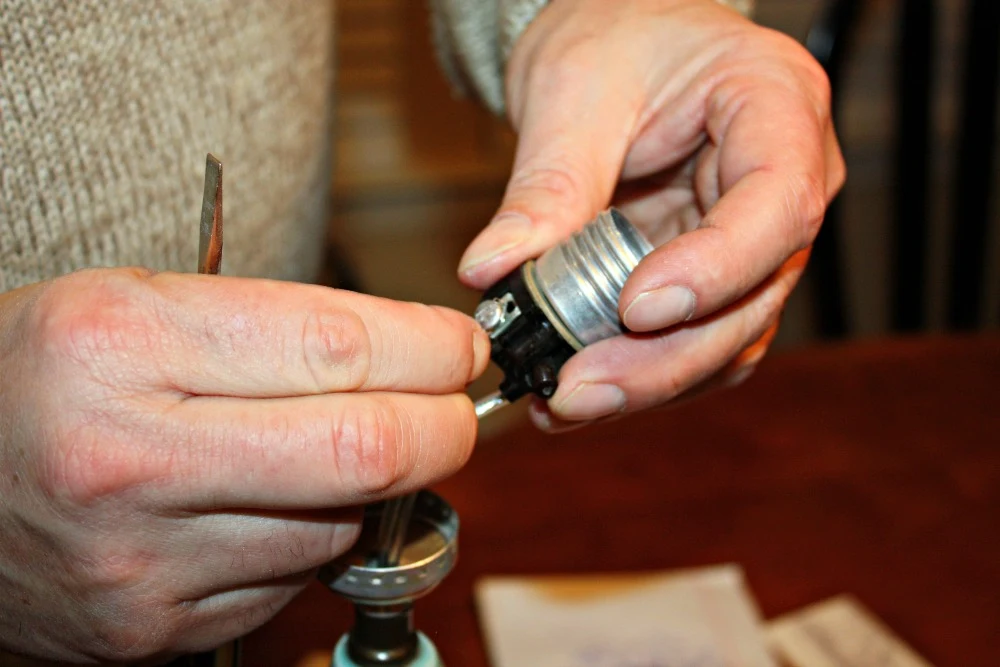
The final step was to attach the new wires to the socket. We put the new wires in place and then tightened the screws and set the socket back into place.
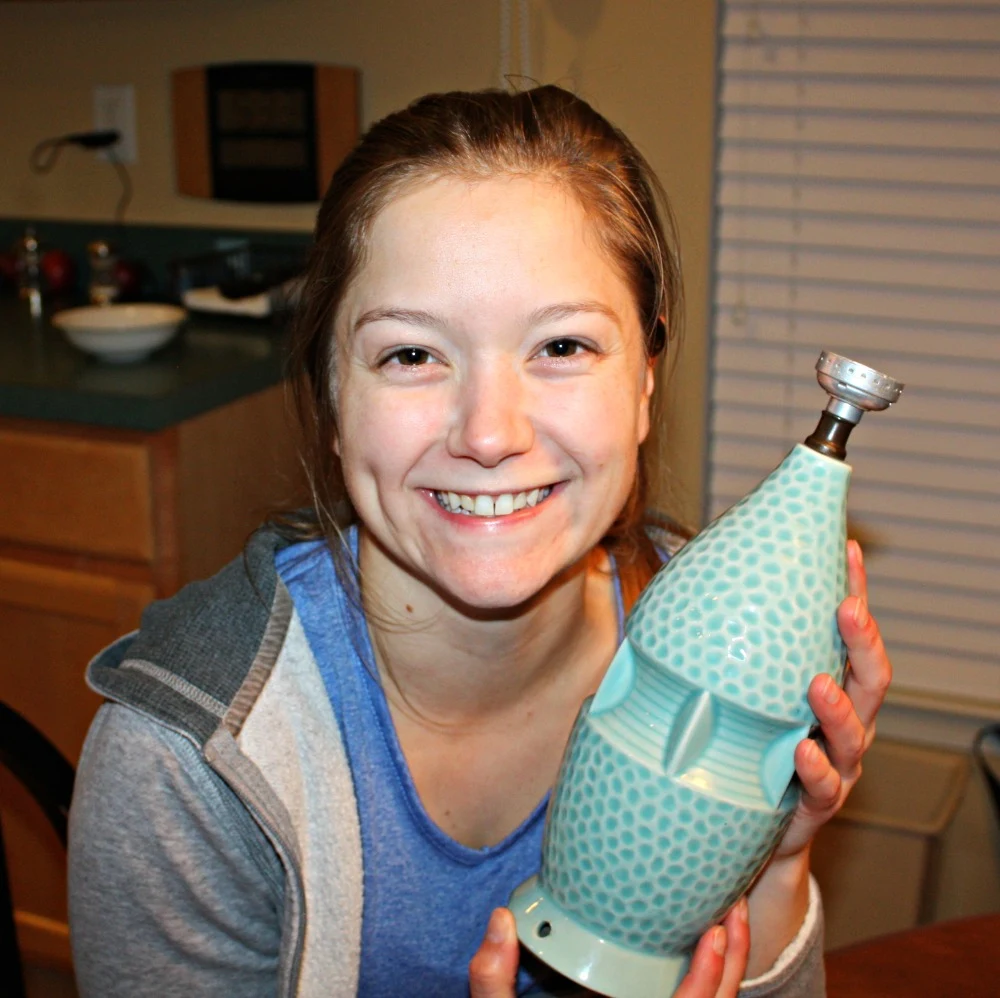
Now it's time to re-wire the second lamp. Someone was excited to give it a try!
And she did a fabulous job!
And just so you don't think I was sitting around doing nothing, I did actually contribute to this project. Remember the cardboard that we removed from the bottoms? I traced them onto felt and cut new bottoms for the lamps. Then using a glue gun I attached the felt to the cardboard and then reattached the cardboard to the lamp base. Personally, I think this was the most important step.
We went to target and my daughter picked out some new lamp shades. They are linen with a tiny bit of metallic silver strands in the fabric. She took these photos after she got the lamps home.
I should mention here the awesome headboard was fully made and constructed by my daughter. She used some plans she found online for a Pottery Barn knock off.
Now she has some extra lighting in her room and she can be proud that she learned how to do something new. I hope you enjoyed today's project . . . thanks so much for stopping by!


Comments
Post a Comment
Select the NOTIFY ME box to receive a notification of a reply to your comment (yes, I do try to acknowledge all comments). There might be a publishing delay on older posts as they are moderated to reduce spam.