What I liked about this magazine rack is that it doesn't have a center divider which means it has a generous opening and storage area. It's great for storing books and magazines of course, but it could be used in any room for extra storage.
First I sanded down the painted area so the texture wouldn't show through my painted finish.
 |
| Mouse sander used to remove decorative paint. |
For this project I chose Seagull Gray Milk Paint by General Finishes.
I received a sample pack of paint which included Seagull Gray Milk Paint, French Vanilla Chalk Style Paint and High Performance Top Coat. I've used General Finishes stains, glazes, and top coats before, but since I hadn't used their paint products I wanted to start out with a small project to test it out. The magazine rack was the perfect size to give it a try.
 |
| Free samples courtesy of General Finishes! |
 |
| Seagull Gray Milk Paint |
After
Only a small amount of paint was needed for this project. The paint spread extremely well and seemed to self-level well, too.
 |
| Shabby chic magazine rack in Seagull Gray. |
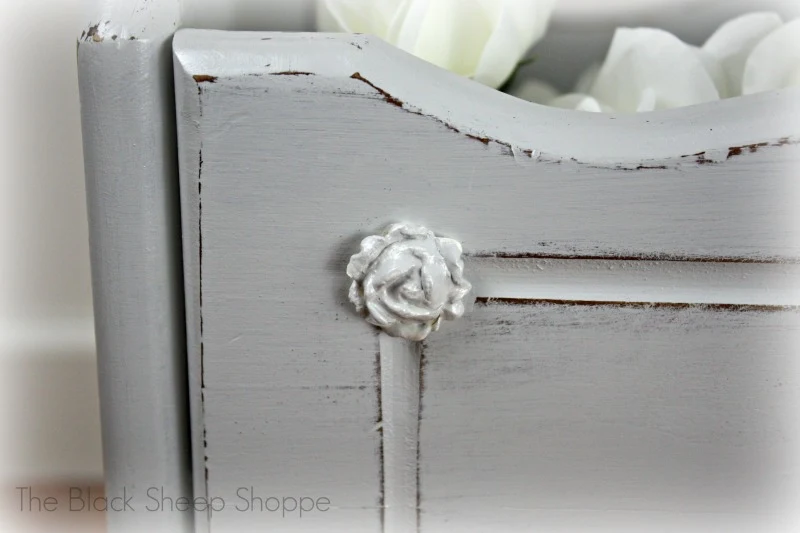
I wanted to test out if the paint would take to distressing, so I added some light distressing to the edges and was happy with the outcome.
 |
| Light distressing on the edges. |
To dress up the magazine rack a little, I created some rosettes with paper clay for some extra embellishment. (If you're interested in
learning how to make the rosettes you can read about it in my
previous post here.)
 |
| Rosettes made of paper clay added as embellishments. |
For the sides I used more paper clay to make some decorative swags and added a larger rosette to the center of each swag.
 |
| Rosette and swag added to each side. |
I sealed the paint with the High Performance Top Coat.
 |
| Close up of rosette and swag. |
Supply List
Below are the supplies I used for this project. Some links are affiliate links.


Comments
Post a Comment
Select the NOTIFY ME box to receive a notification of a reply to your comment (yes, I do try to acknowledge all comments). There might be a publishing delay on older posts as they are moderated to reduce spam.